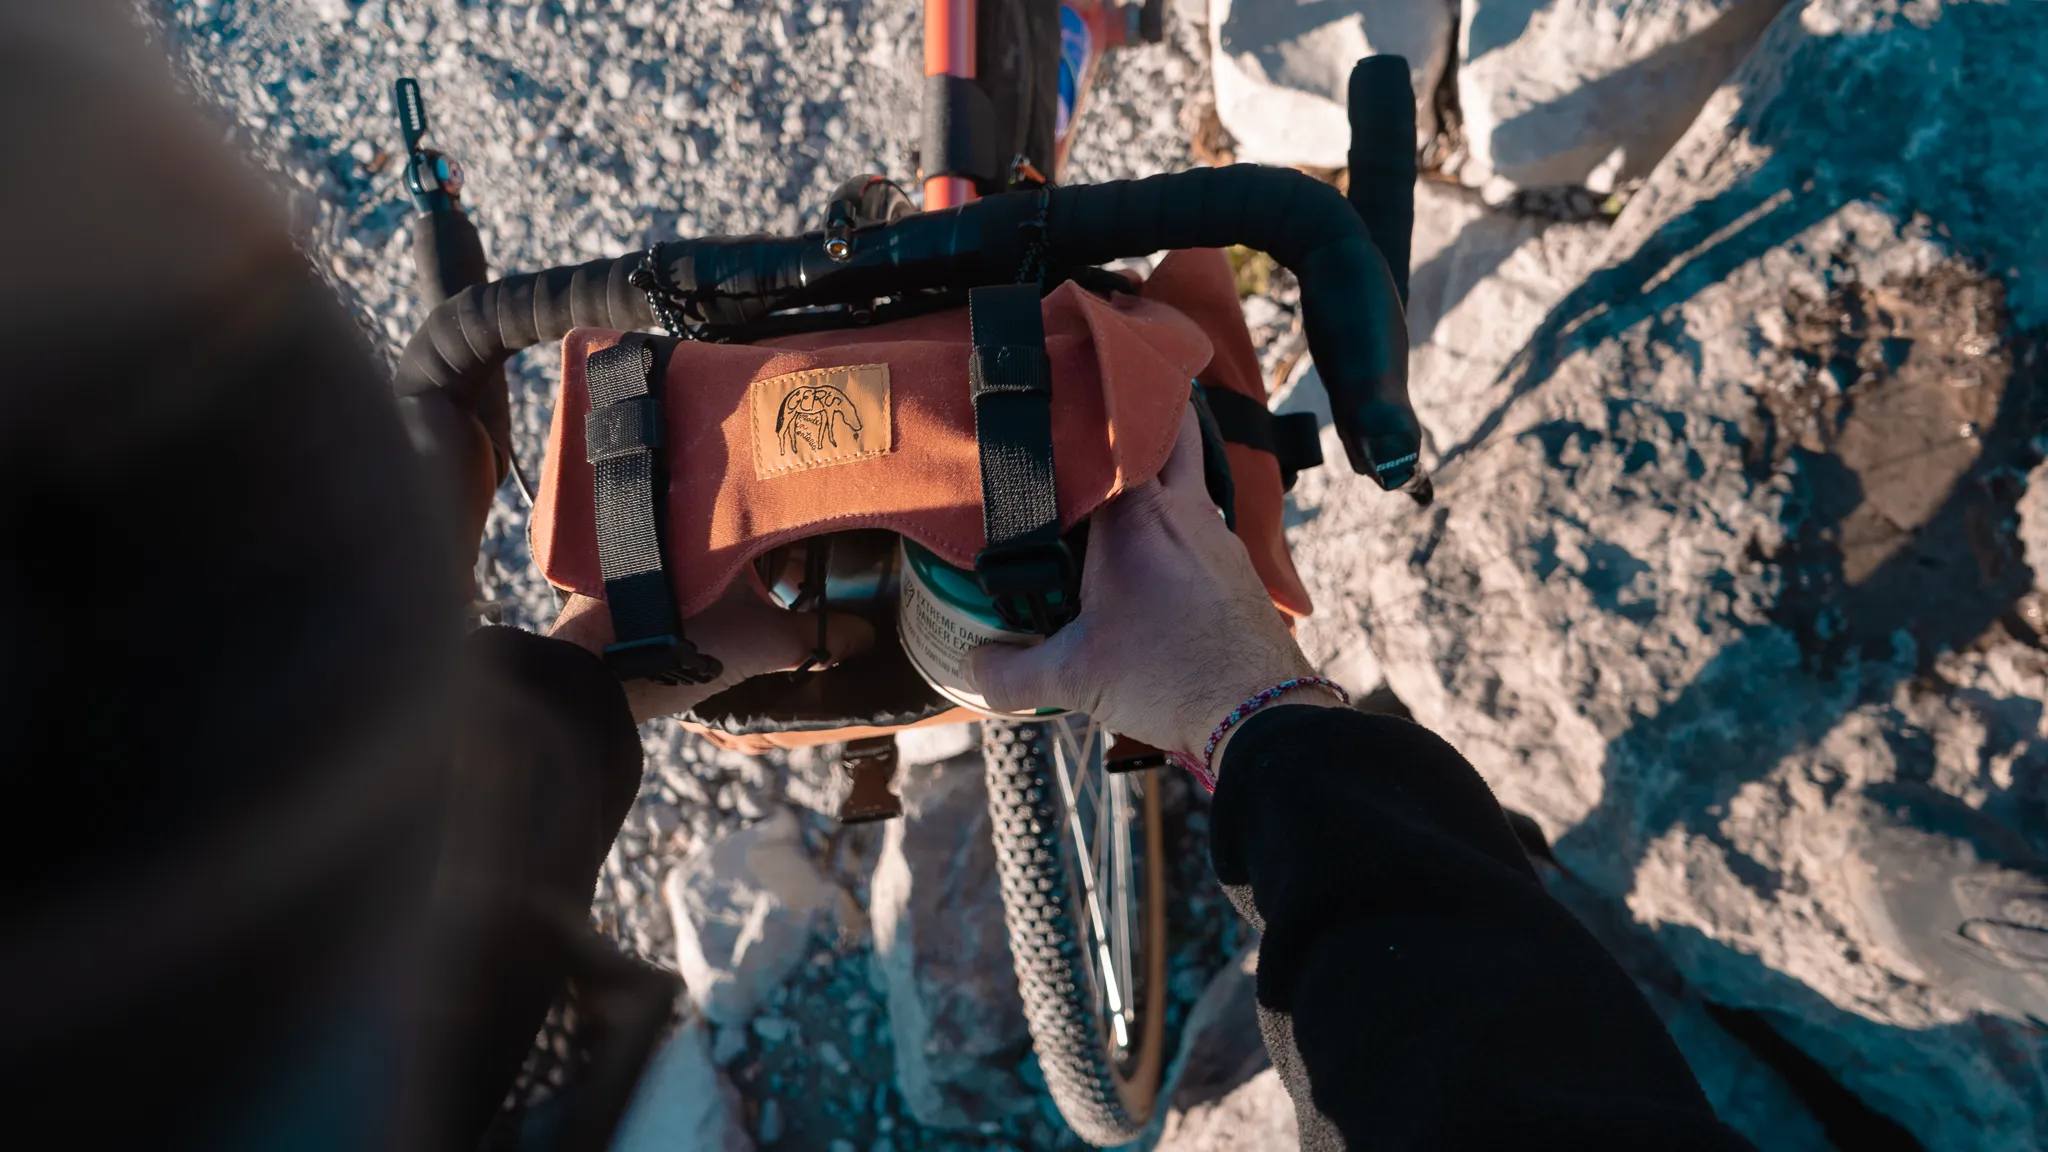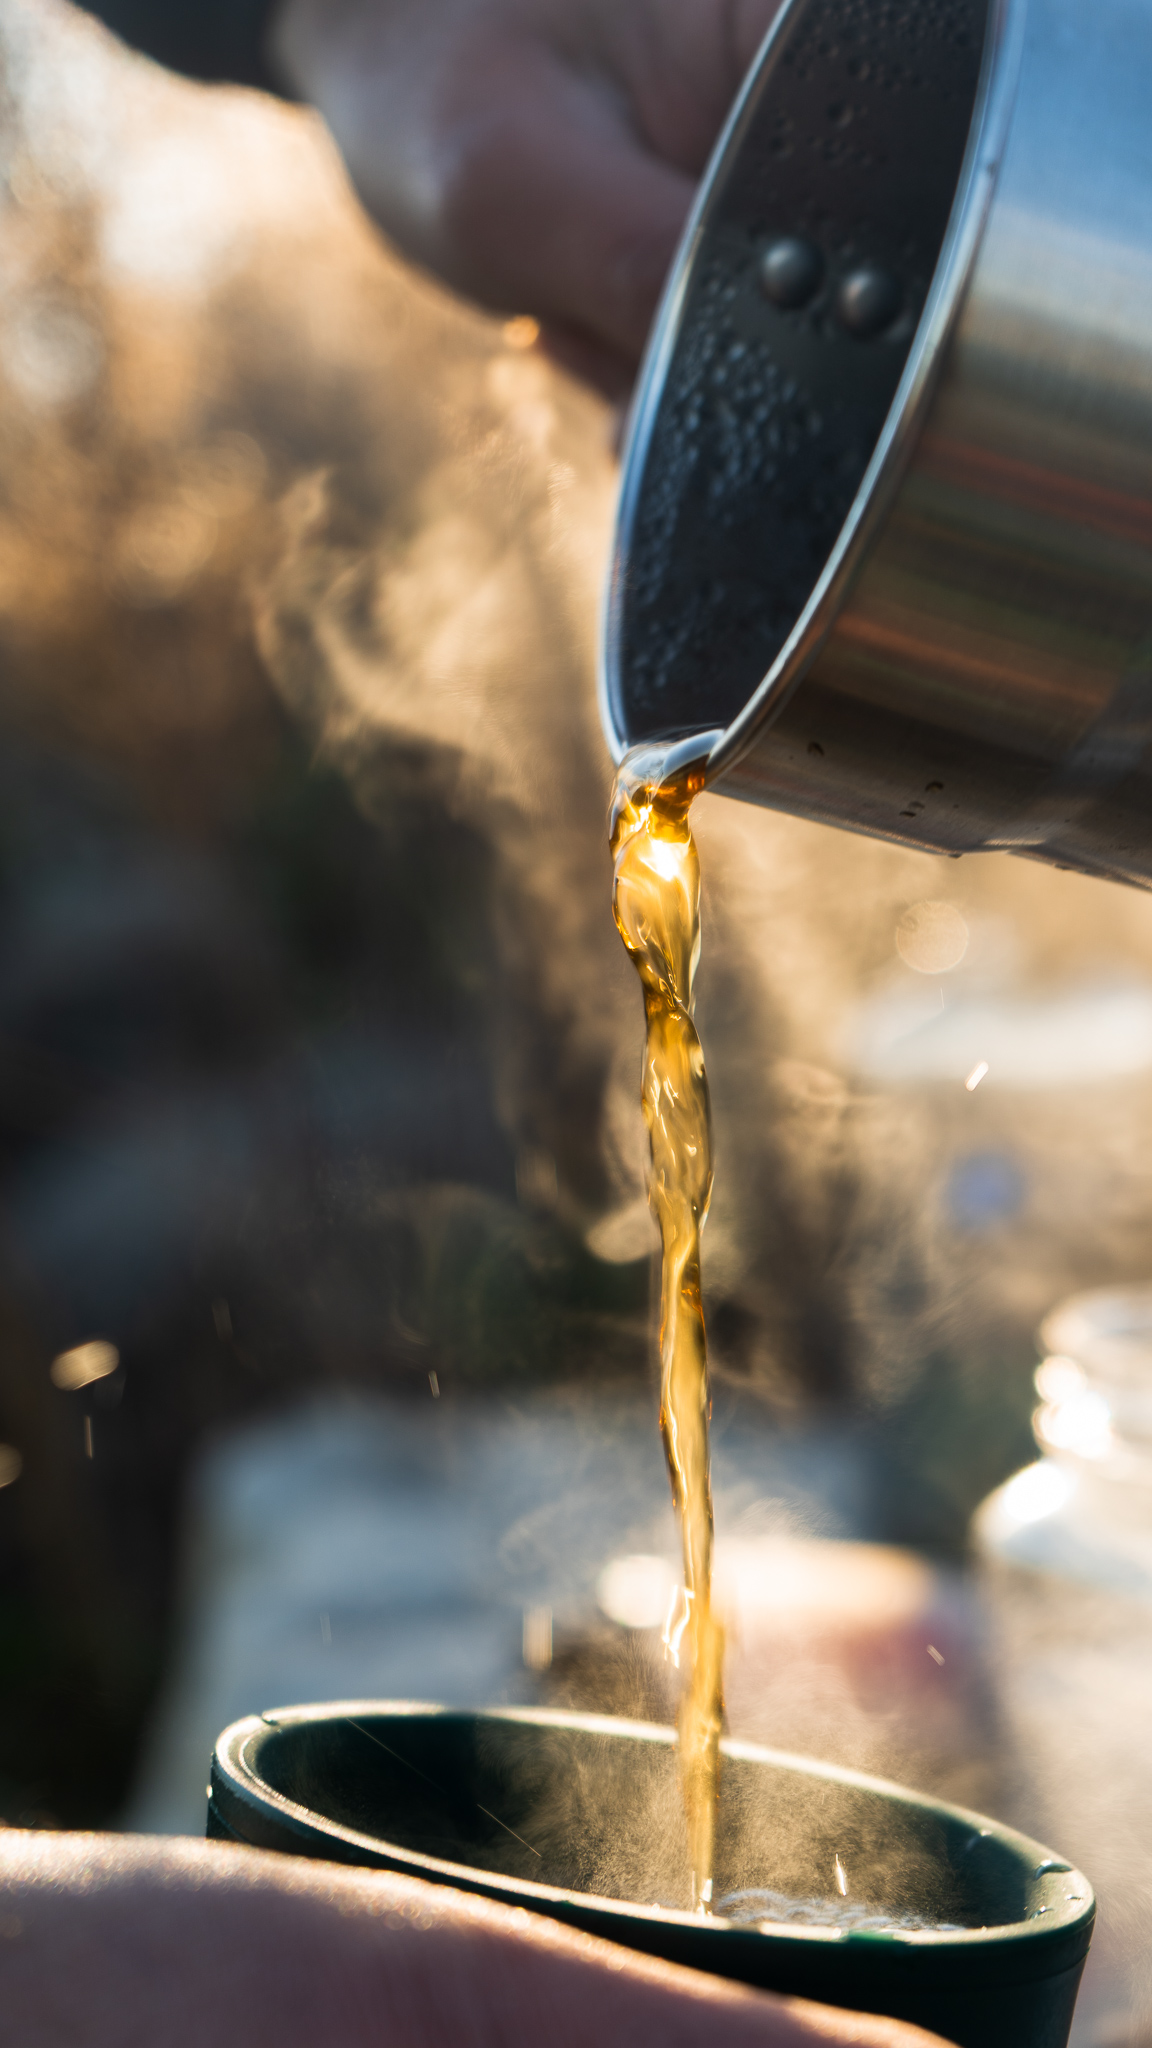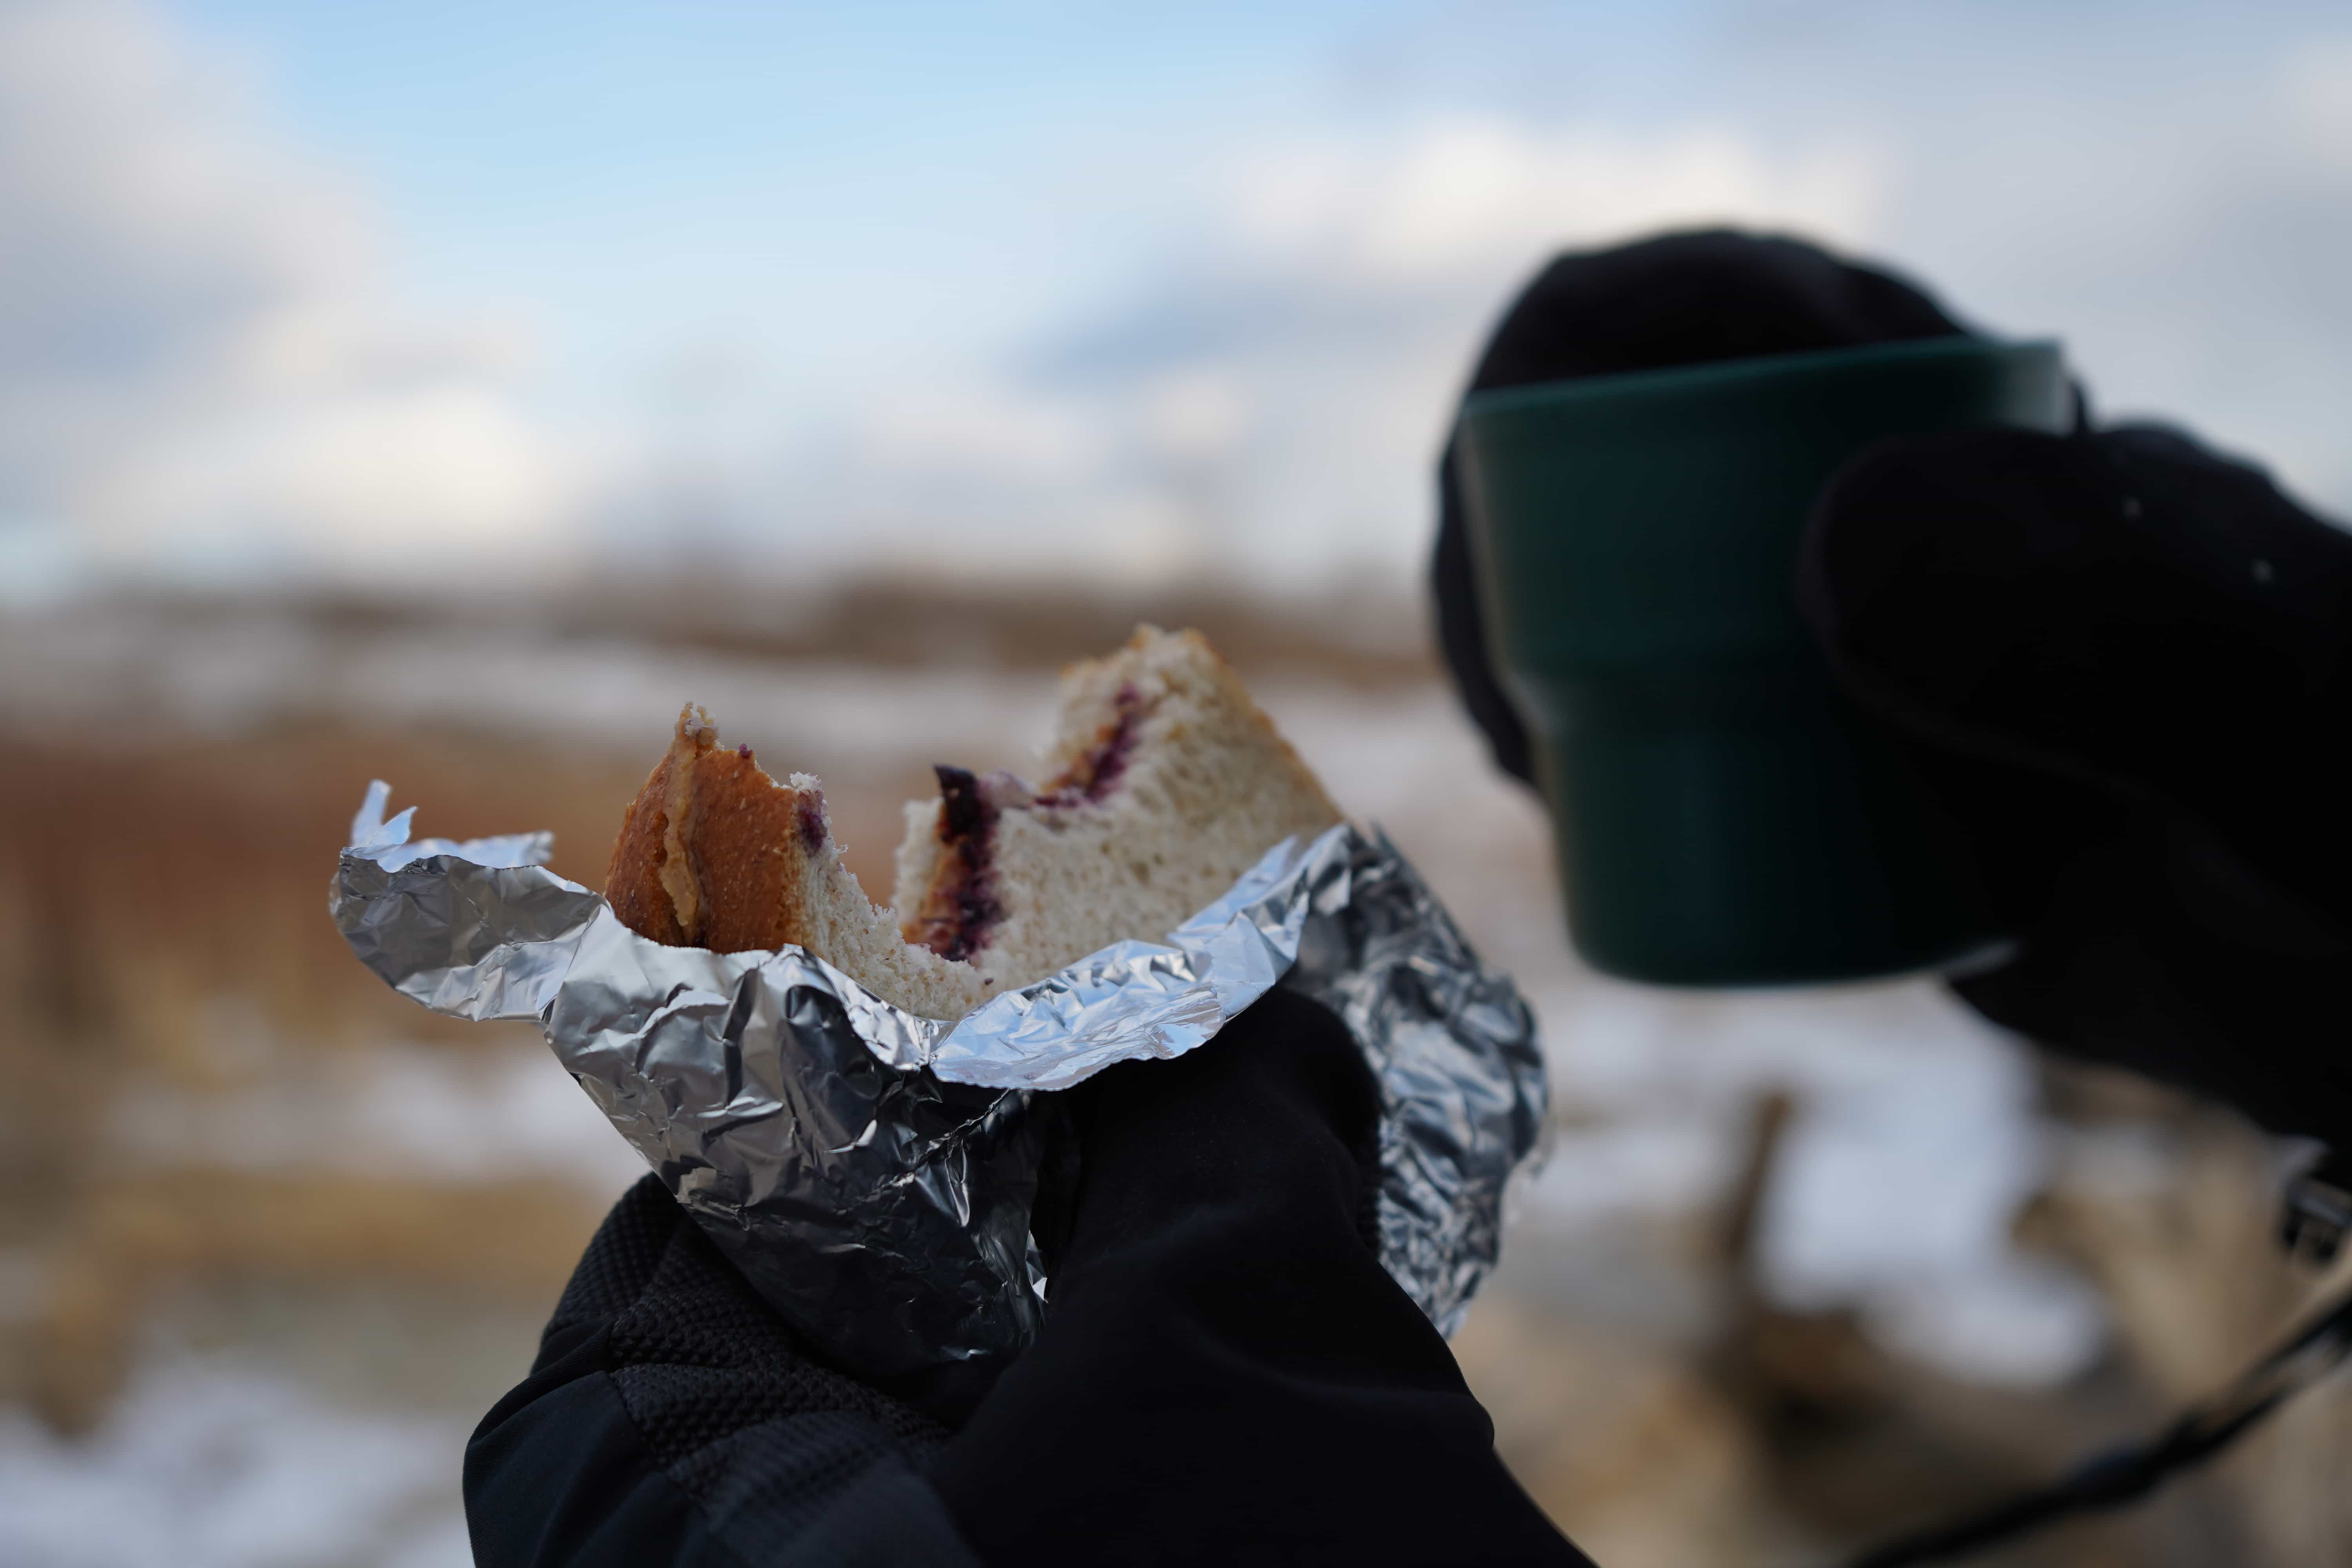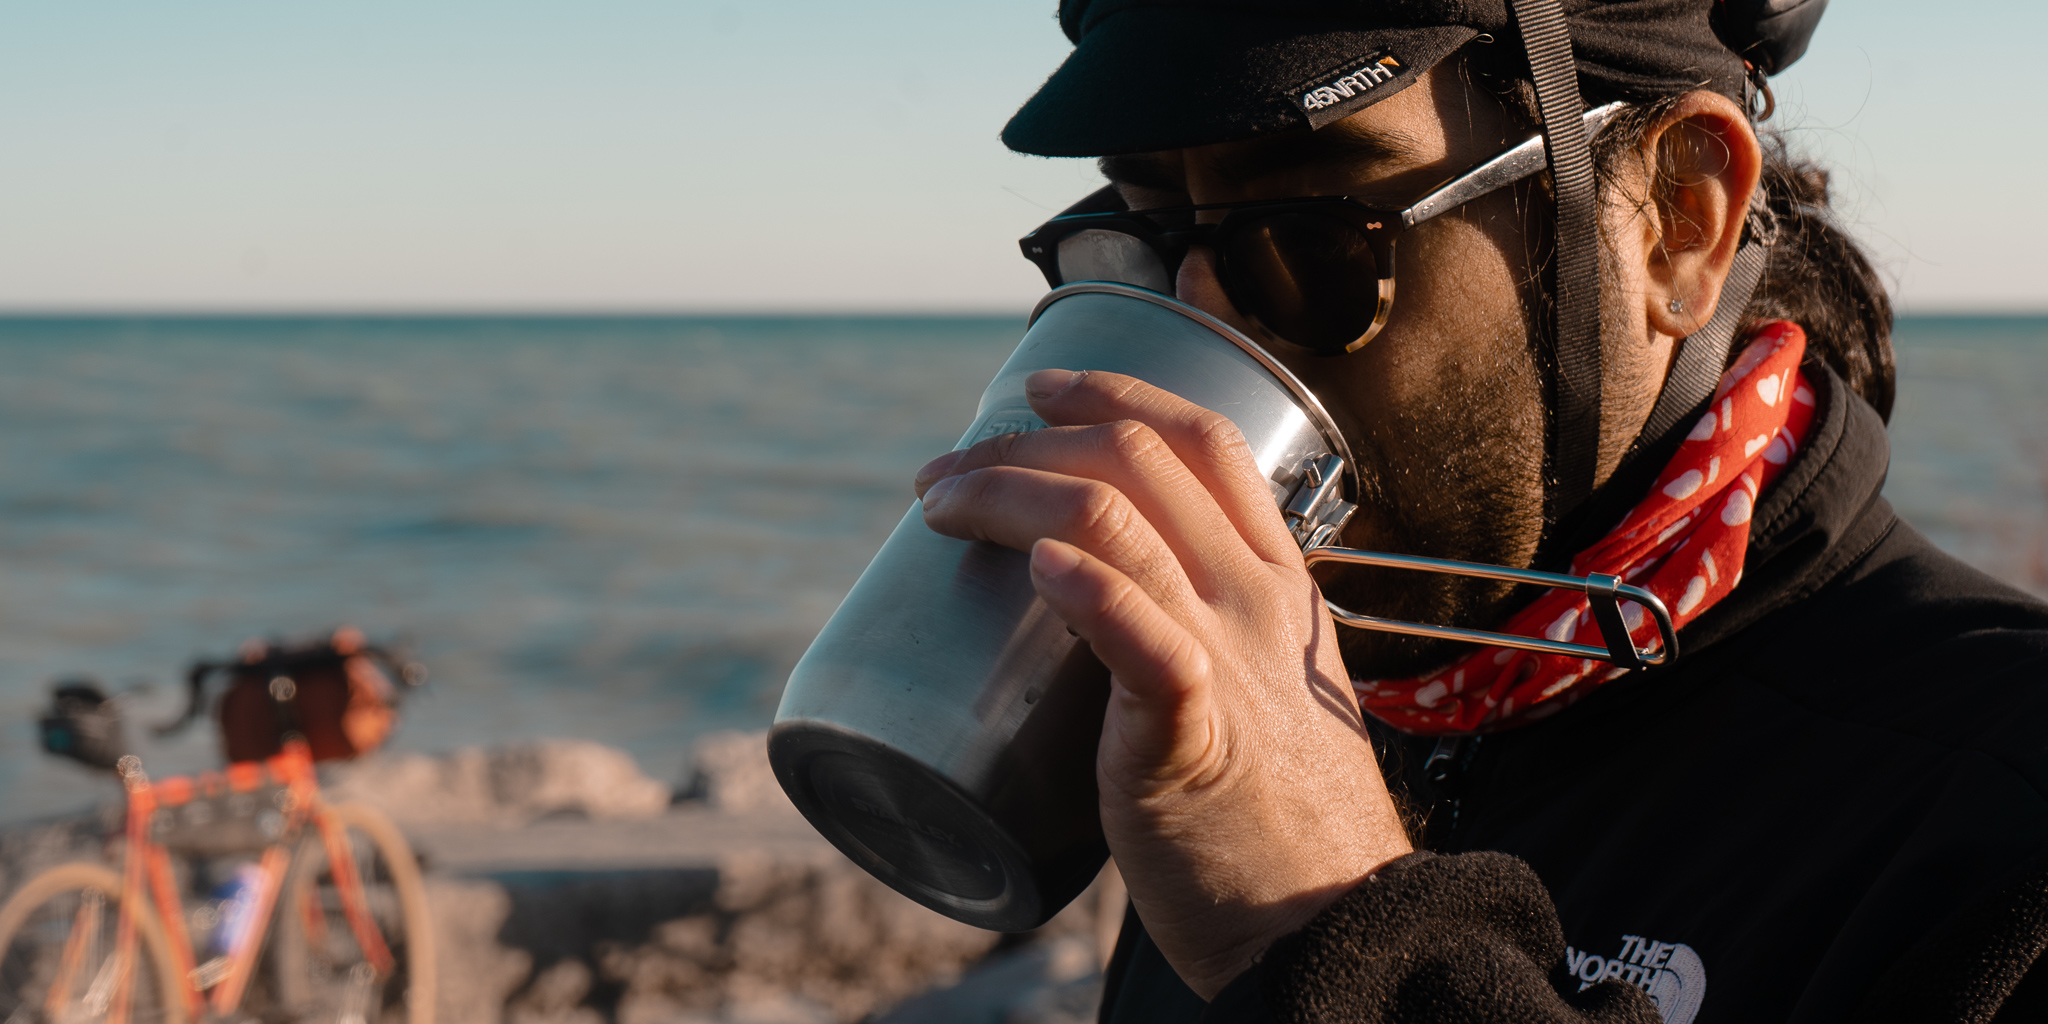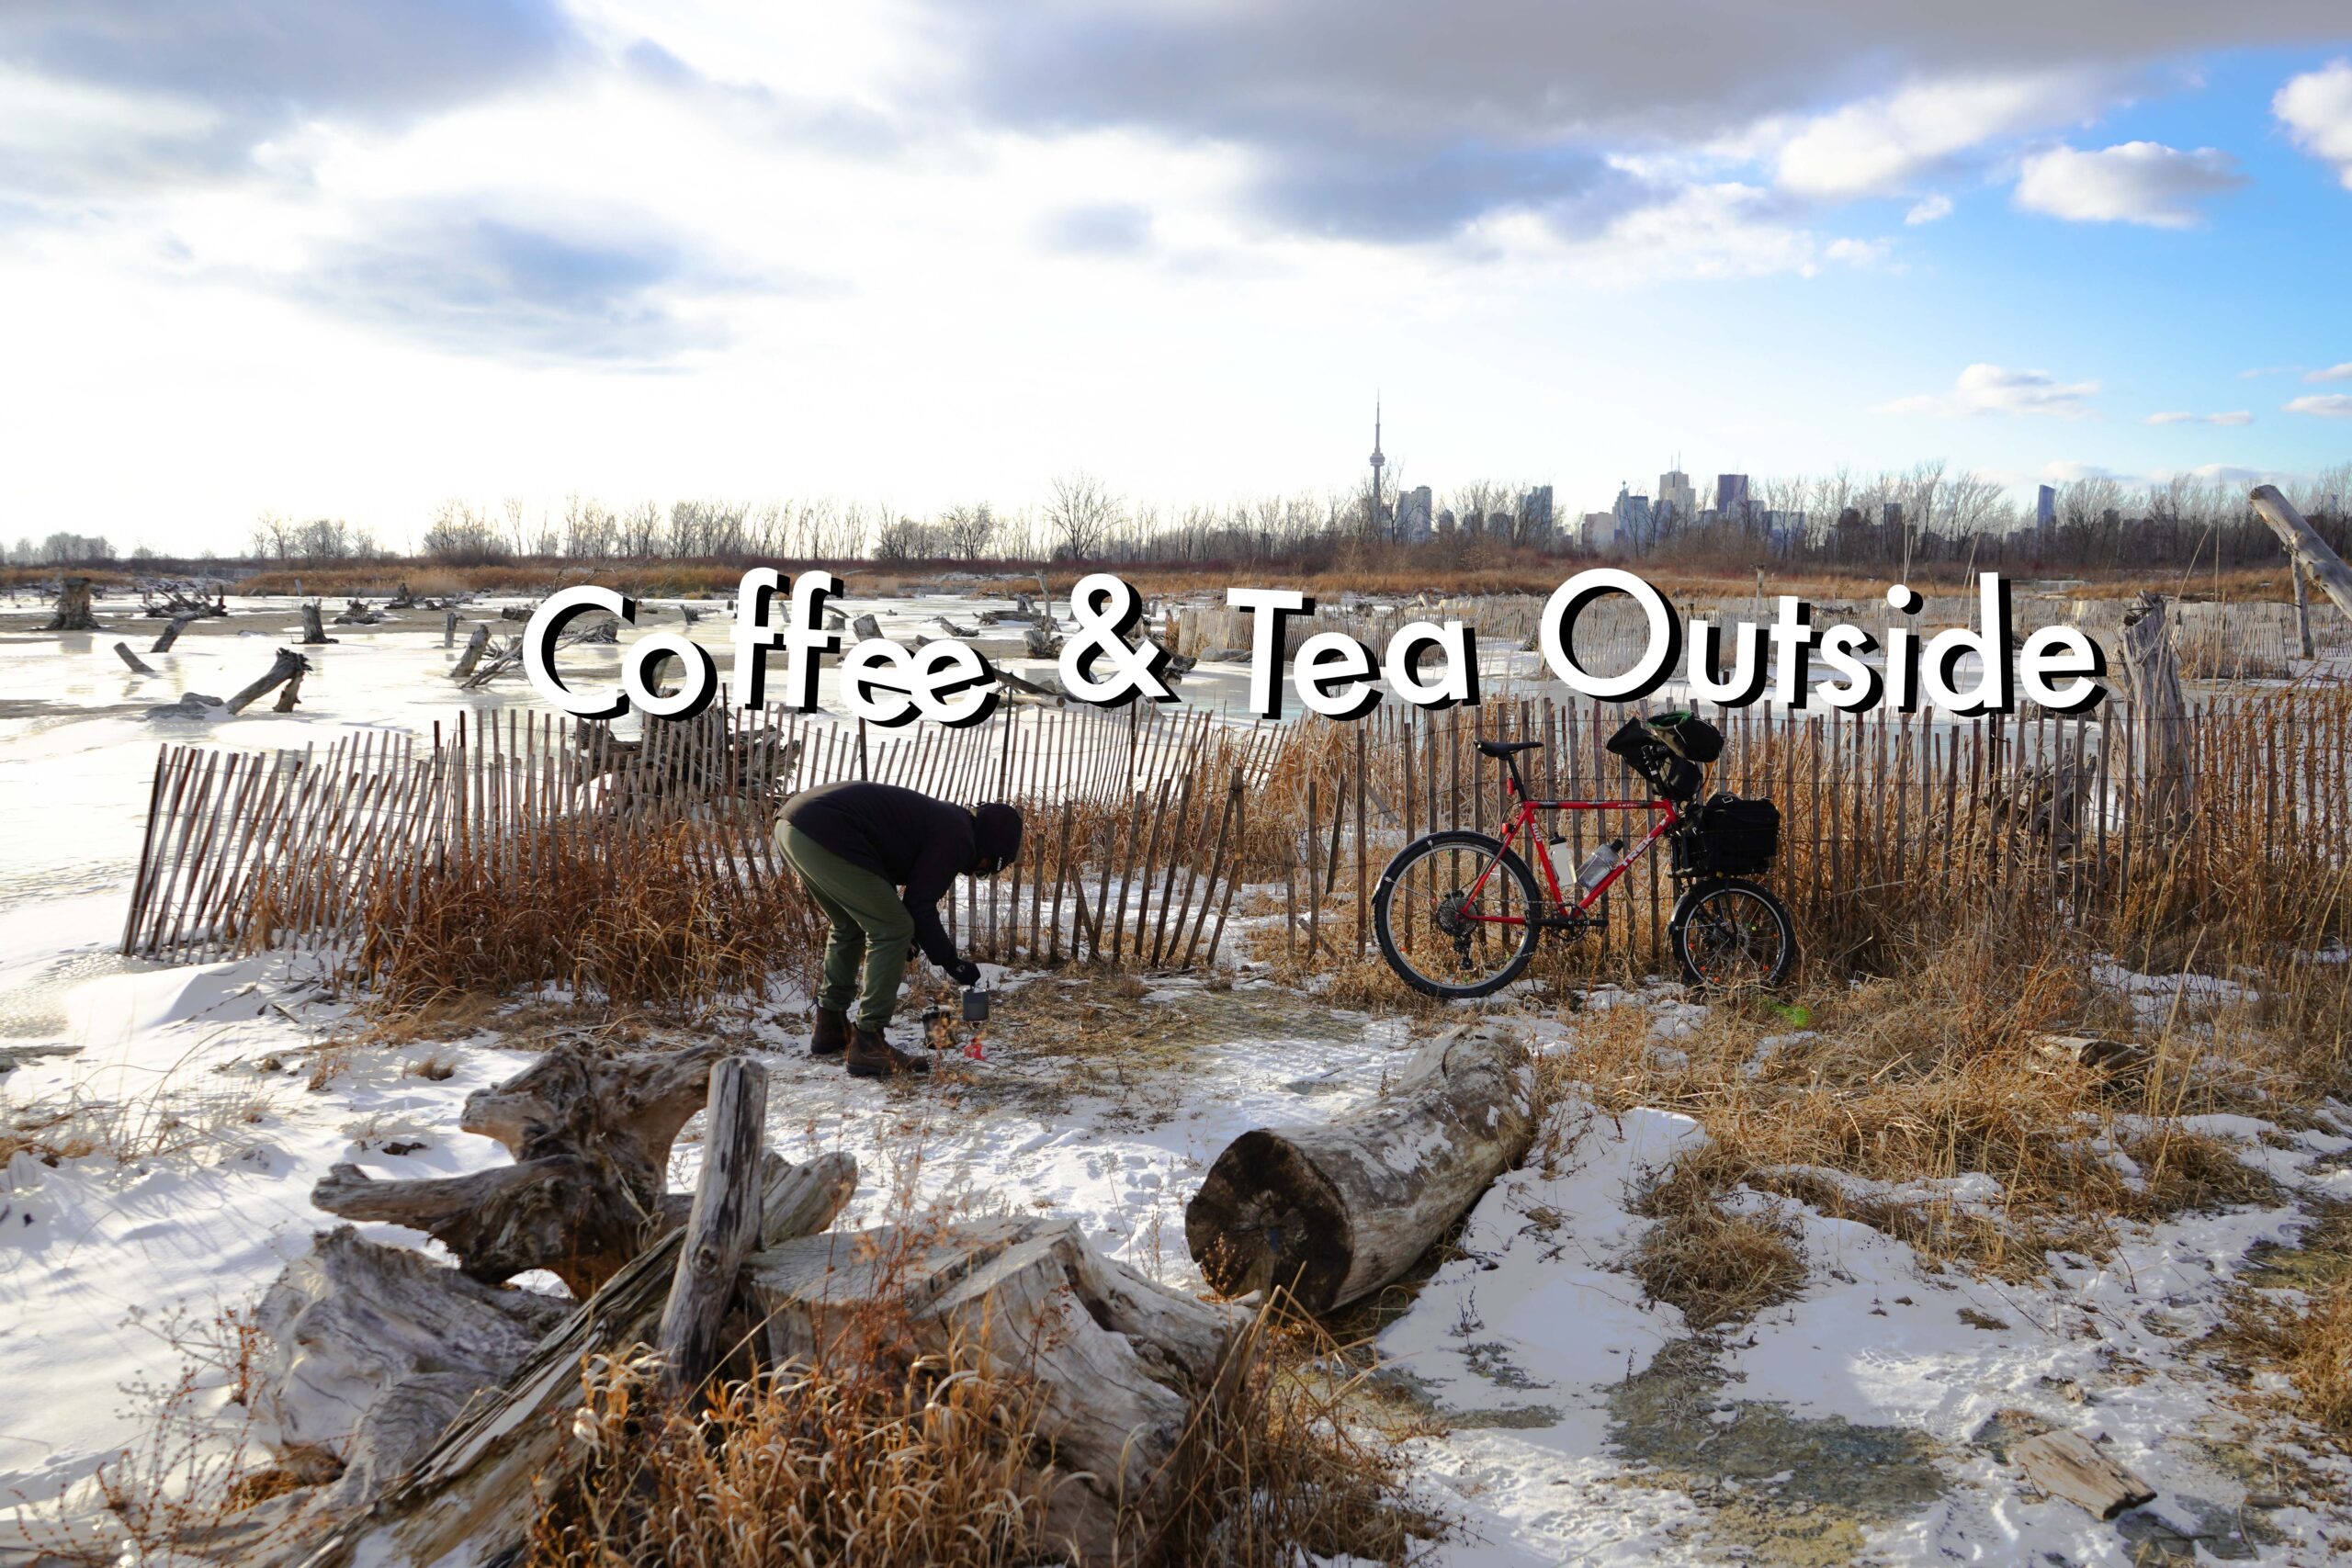
Freshly brewed coffee or tea is a bike adventure’s greatest companion for us. To be on a ride, and brew a fresh cup of your favourite drink, is such a treat. We’re not out here trying to chase personal records, so rolling slow – enjoying the moment, appreciating your surroundings and enjoying some laughs with pals – is a premium.
In this resource, we want to focus on the essentials for quick & easy warm drinks and food, like coffee, tea or even oatmeal on your bike adventures – big or small. Expensive gadgets aren’t necessary for a simple, yet effective, set up. If you’re off on a medium or large sized adventure then this is a great way to extend it, especially if you’ve got access to some clean fresh water nearby – throw on some oatmeal while you’re sipping on your favourite drink.
We’ll look at gear, water sources and setup tips.
There’s a lot of talk about adventure here, but that doesn’t mean it has to be extreme. The portability of the kit means a short ride to your local park for a hot cup of coffee might just be your cup of tea.
The Gear
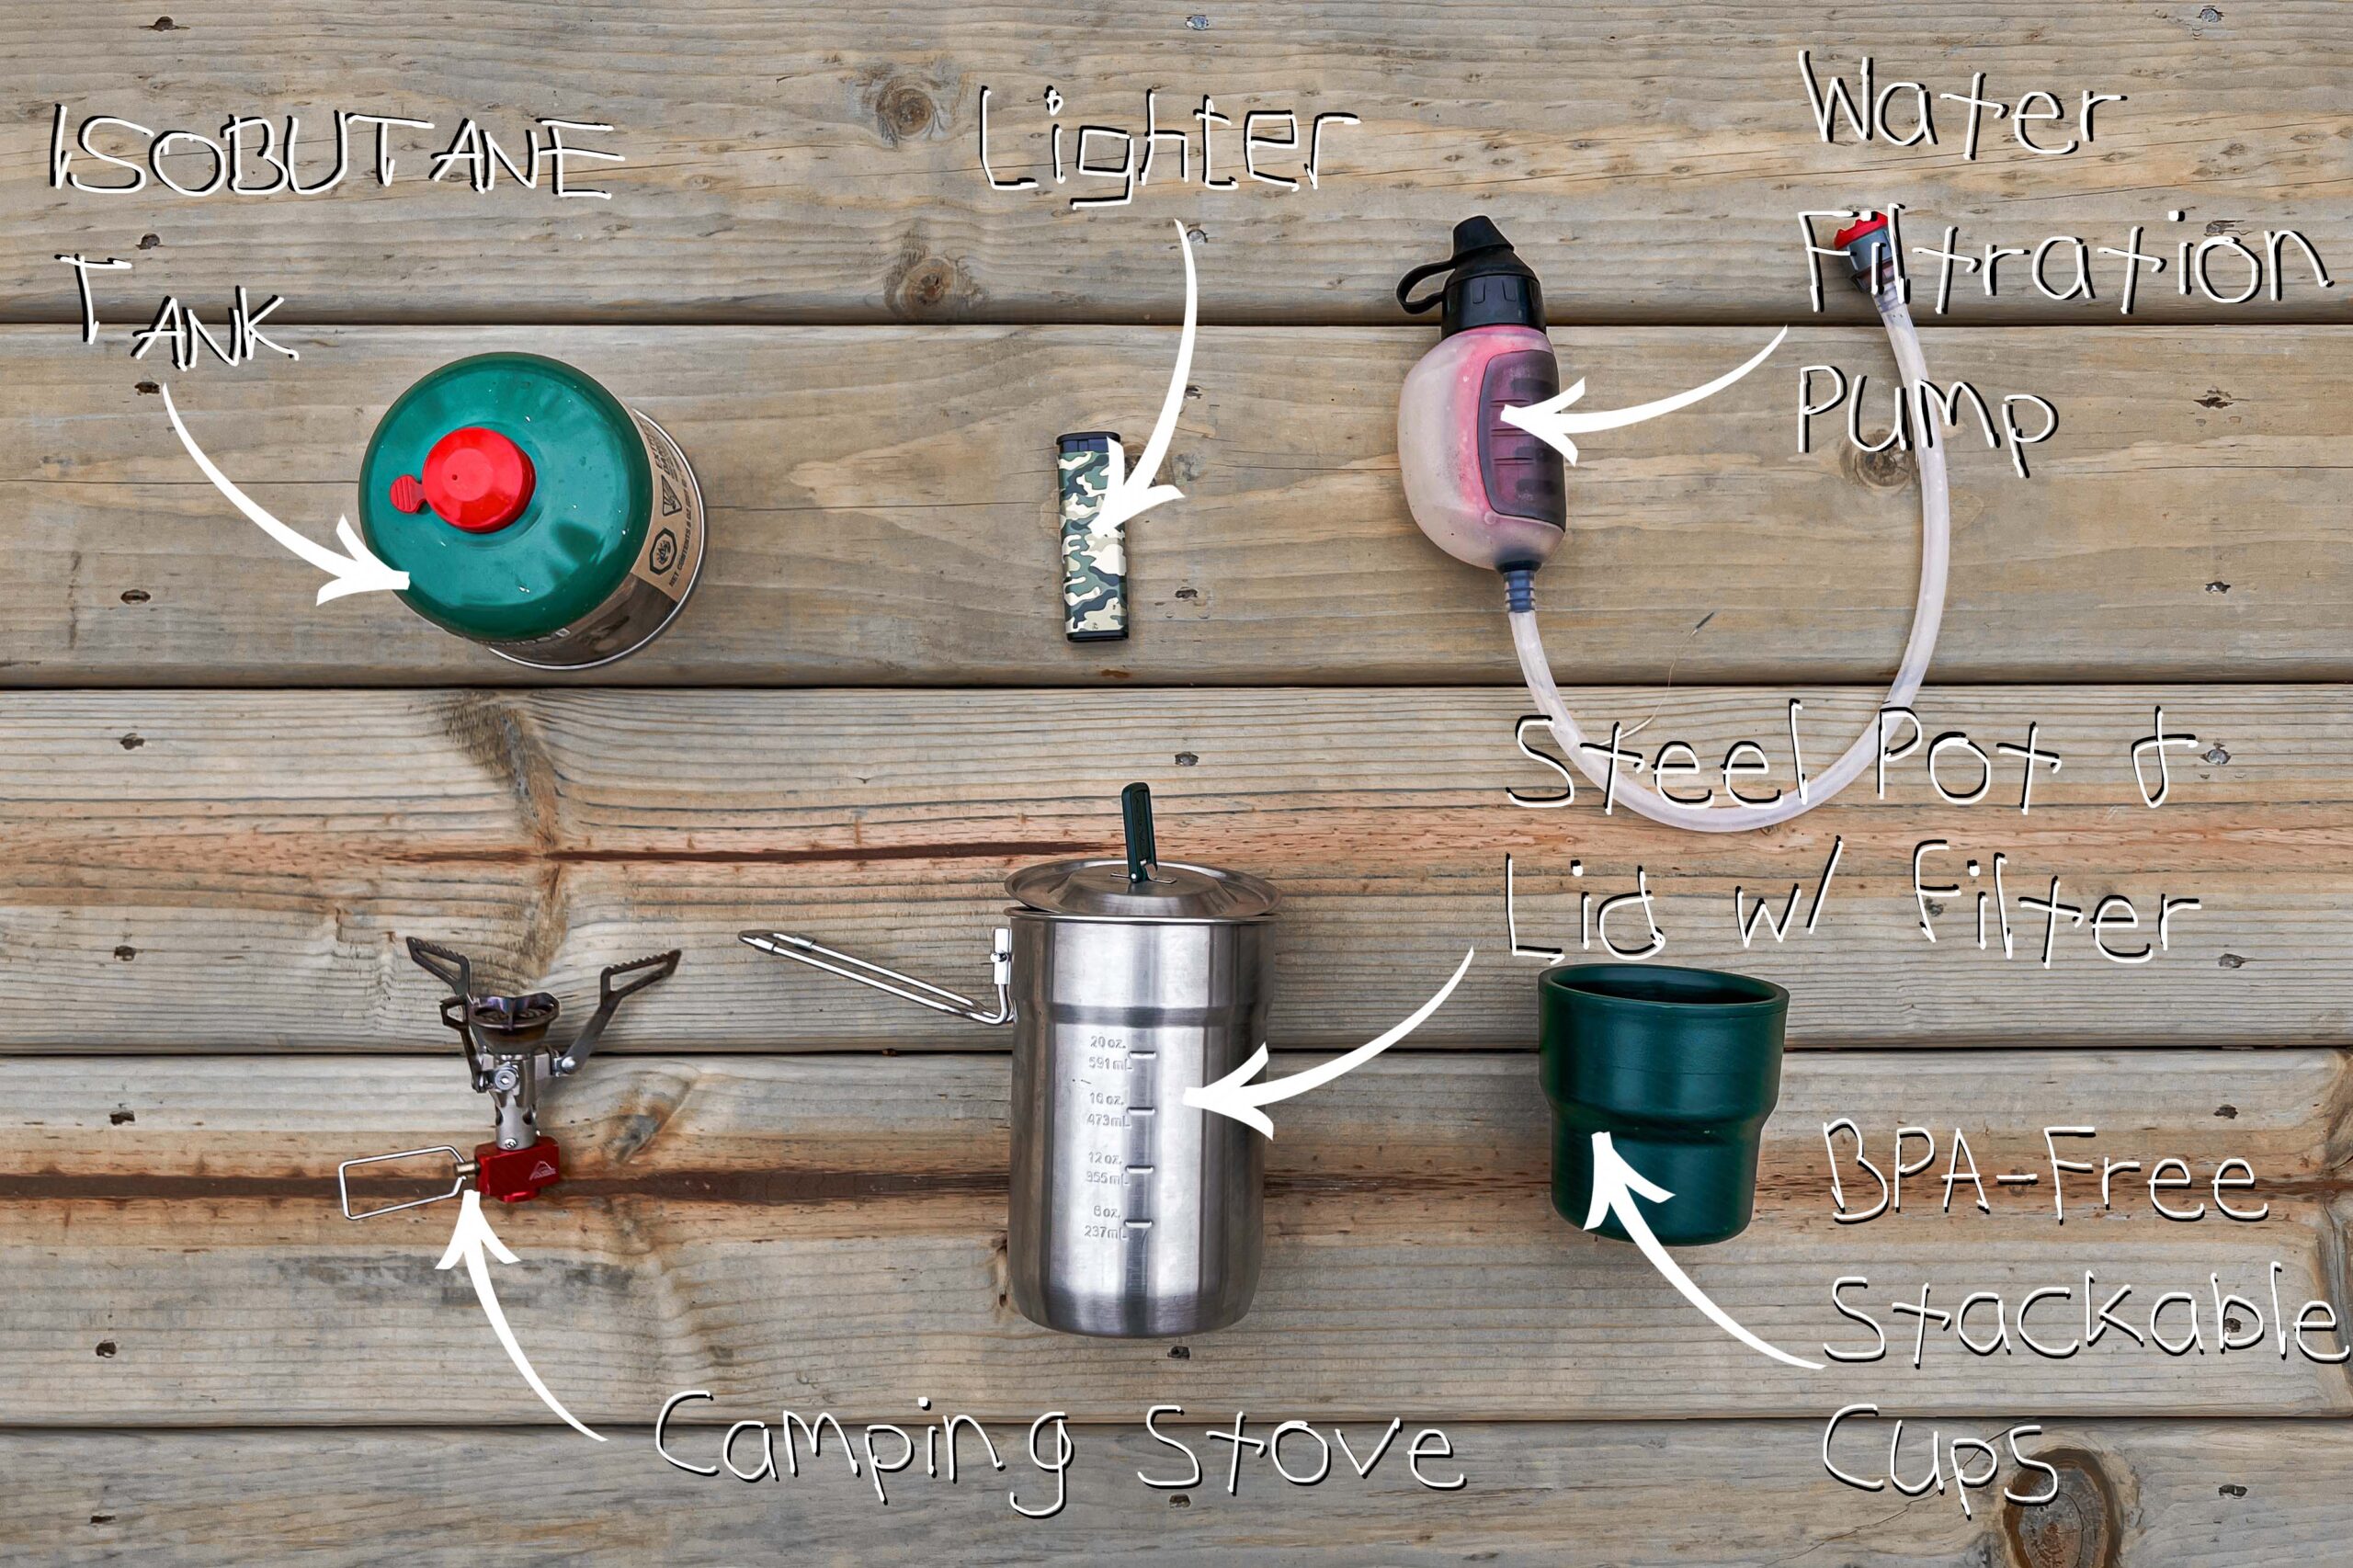
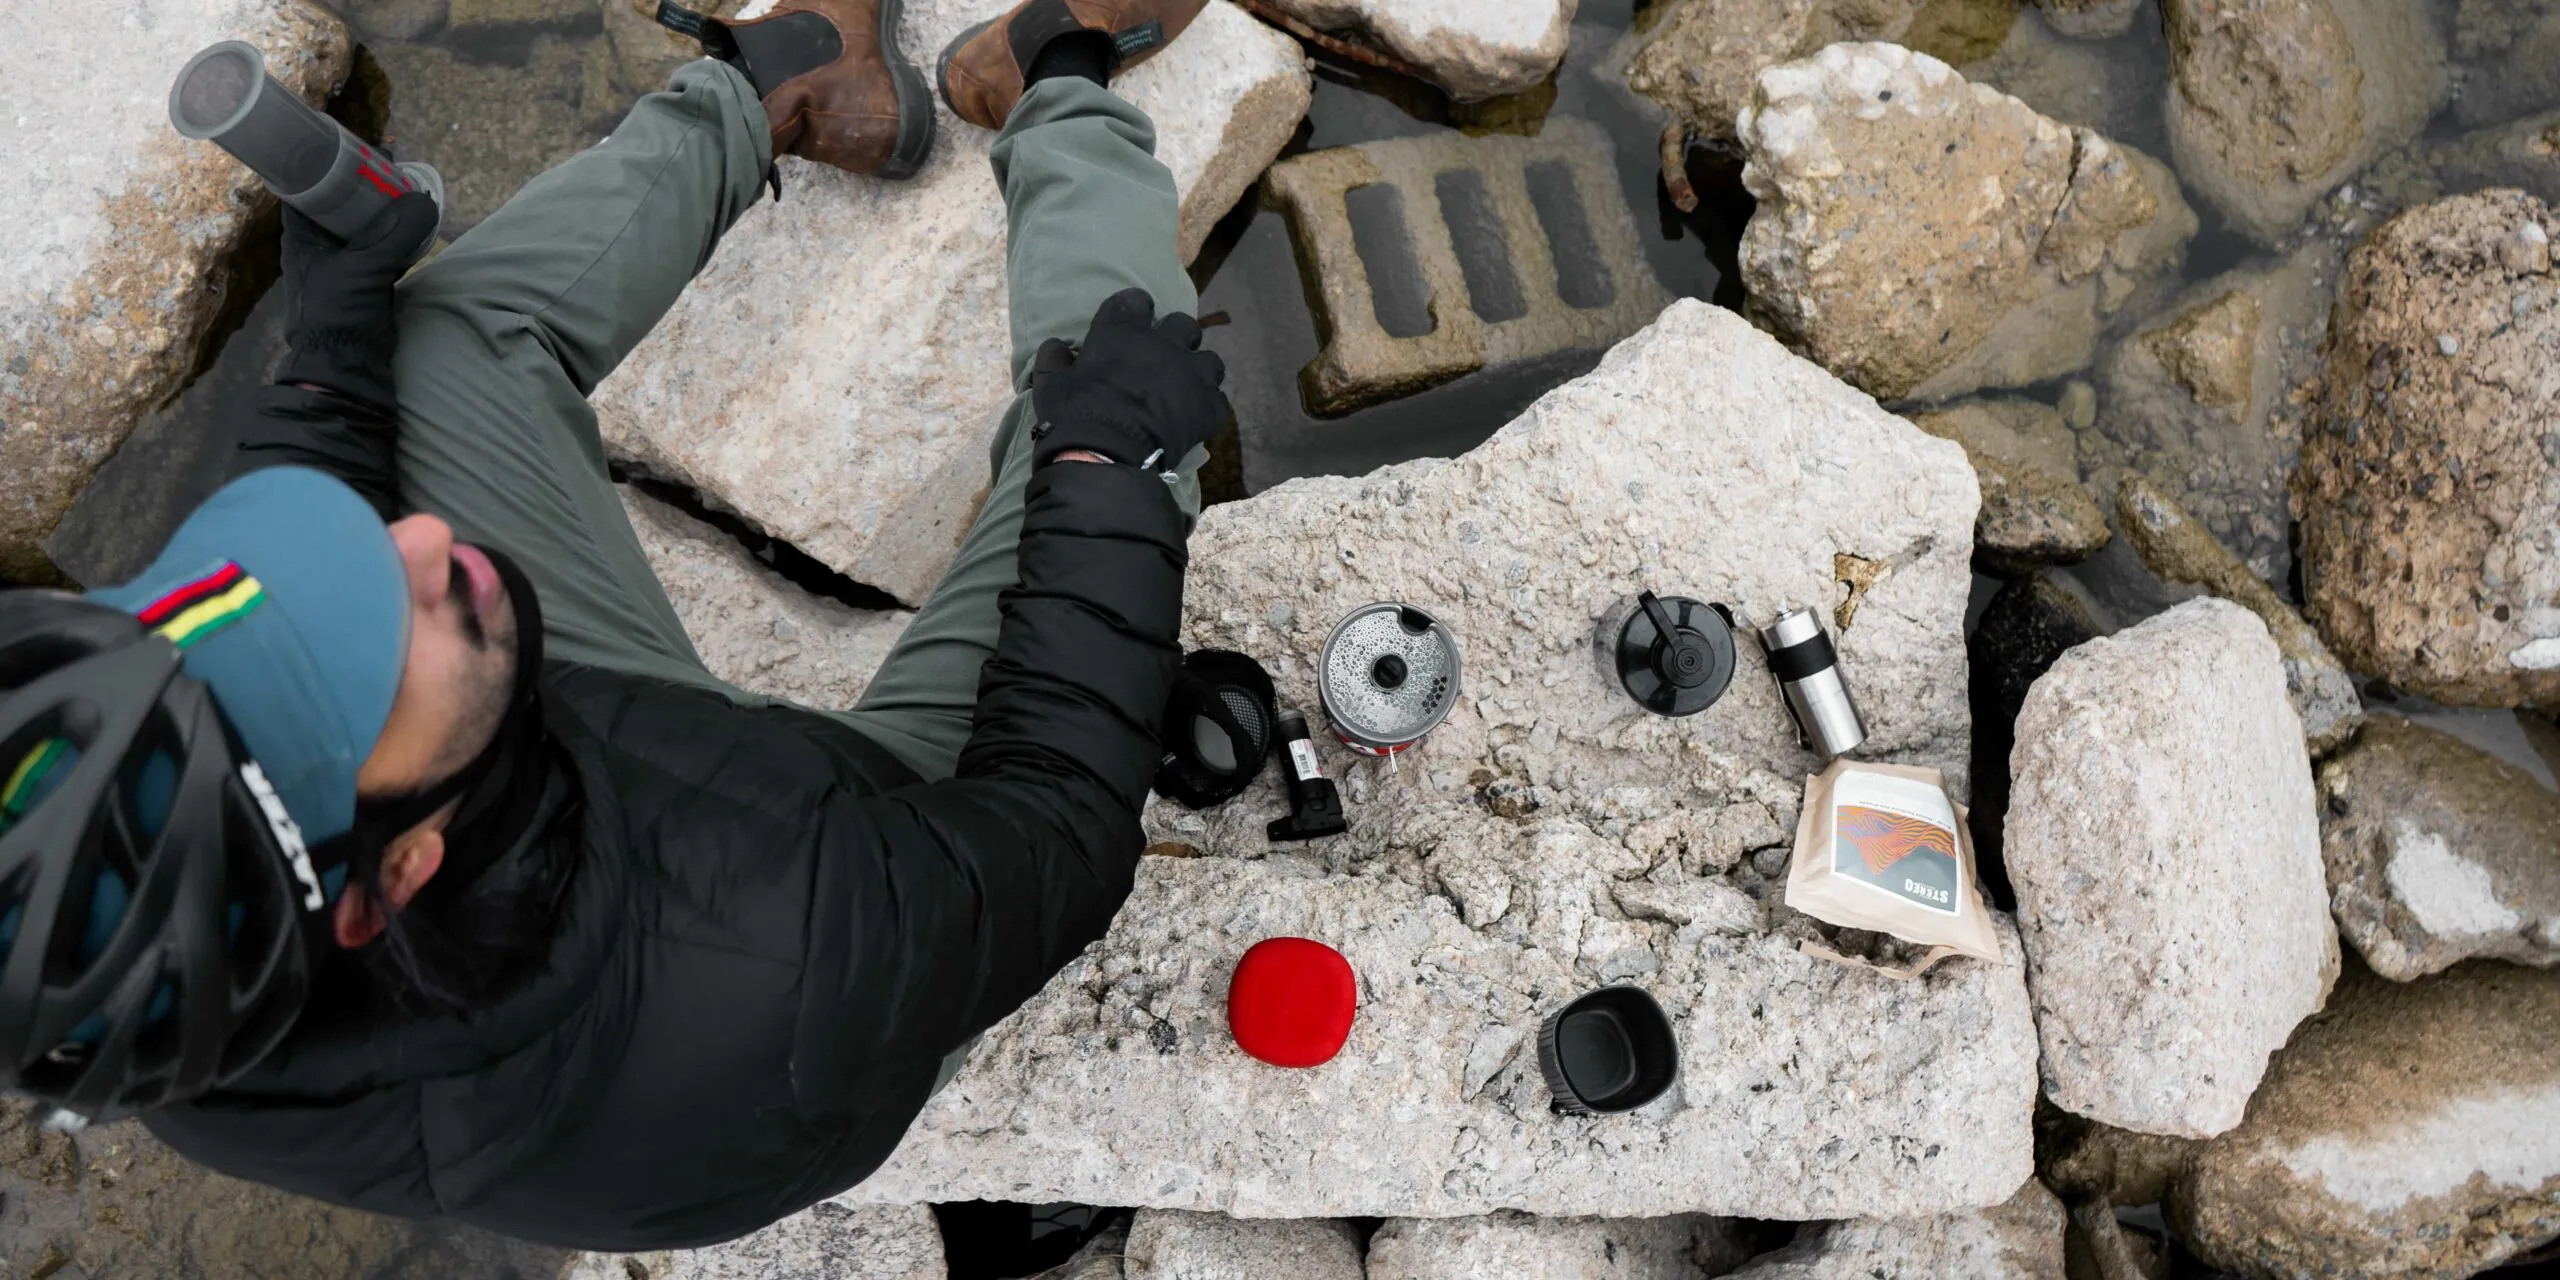
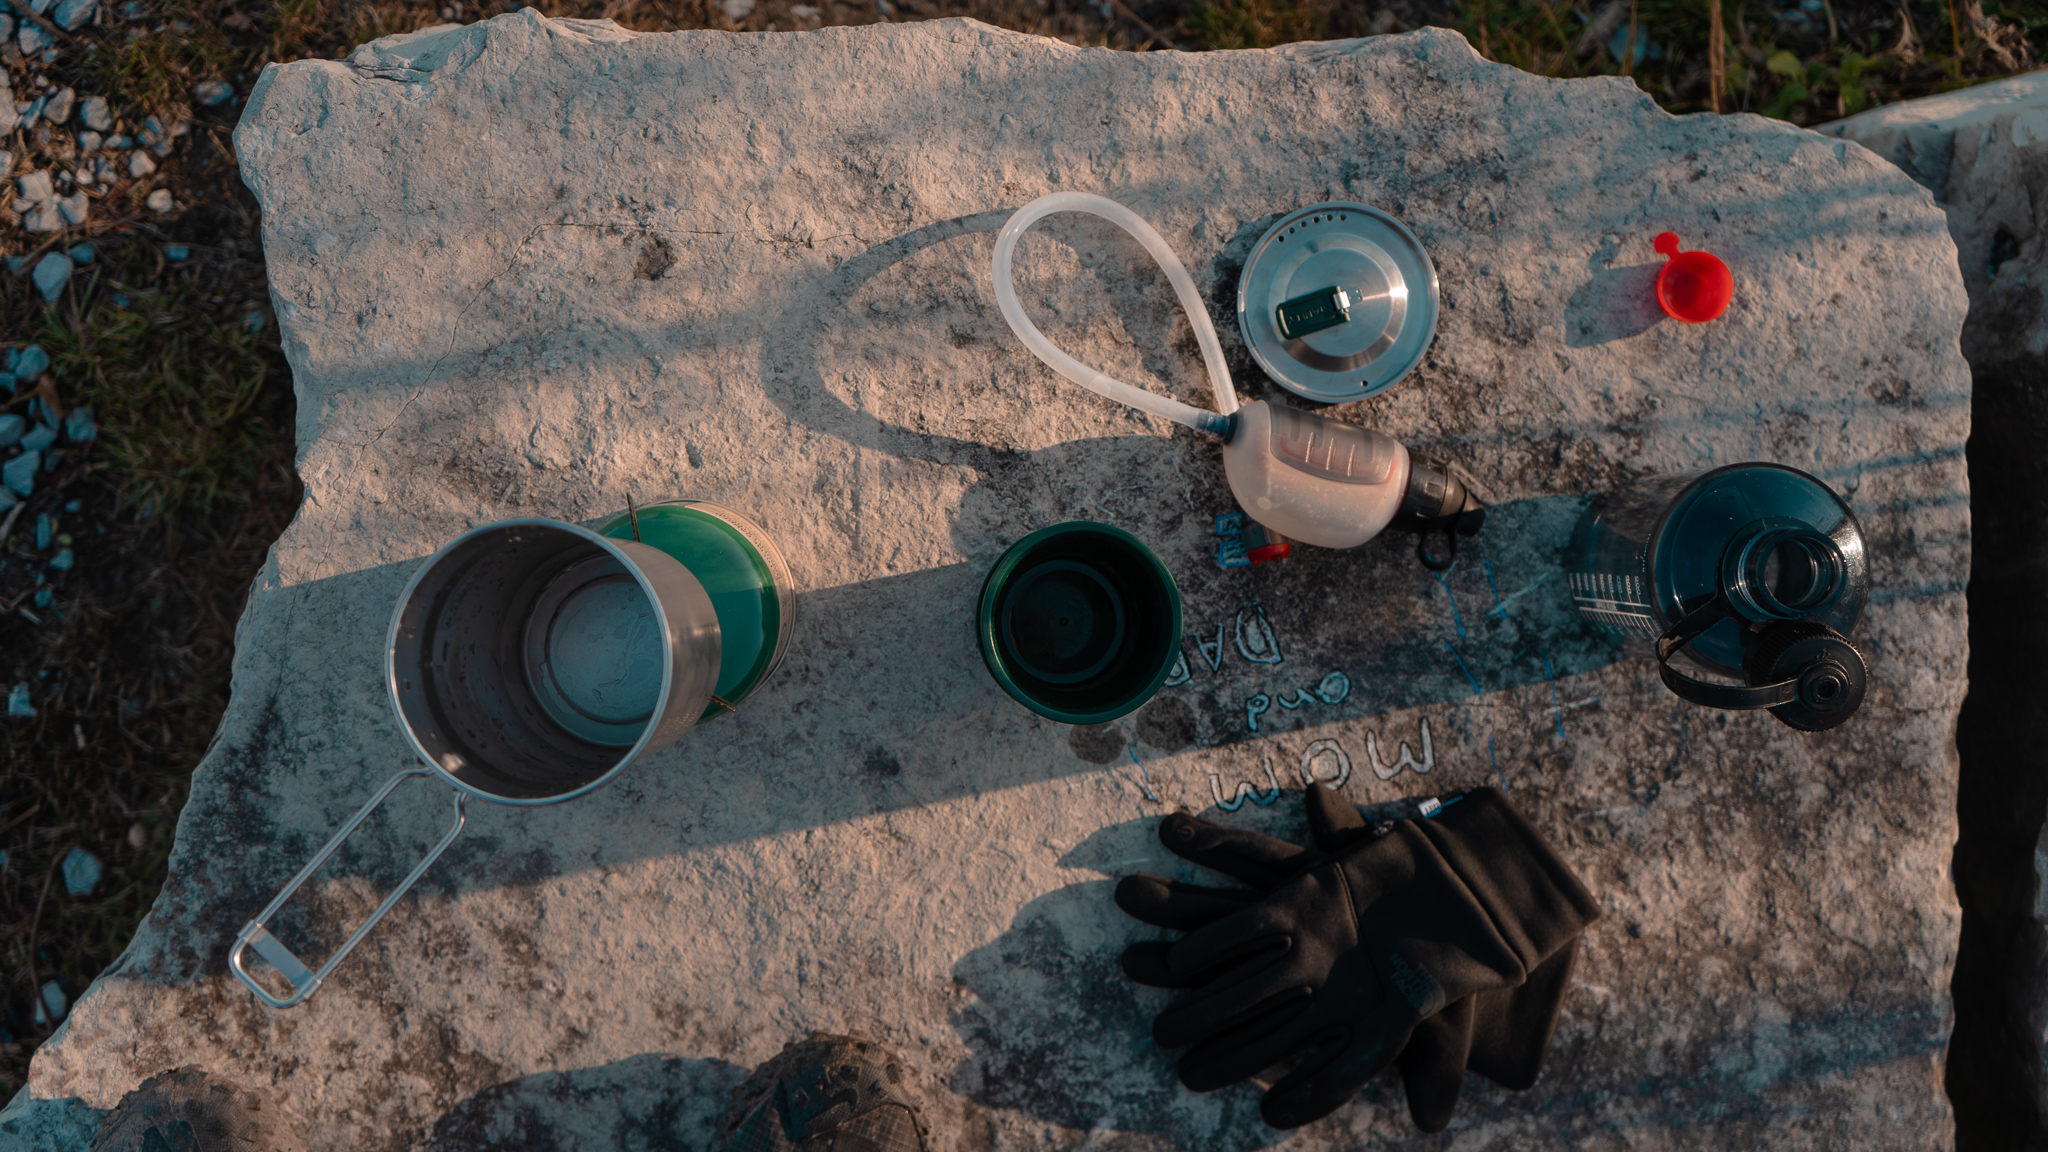
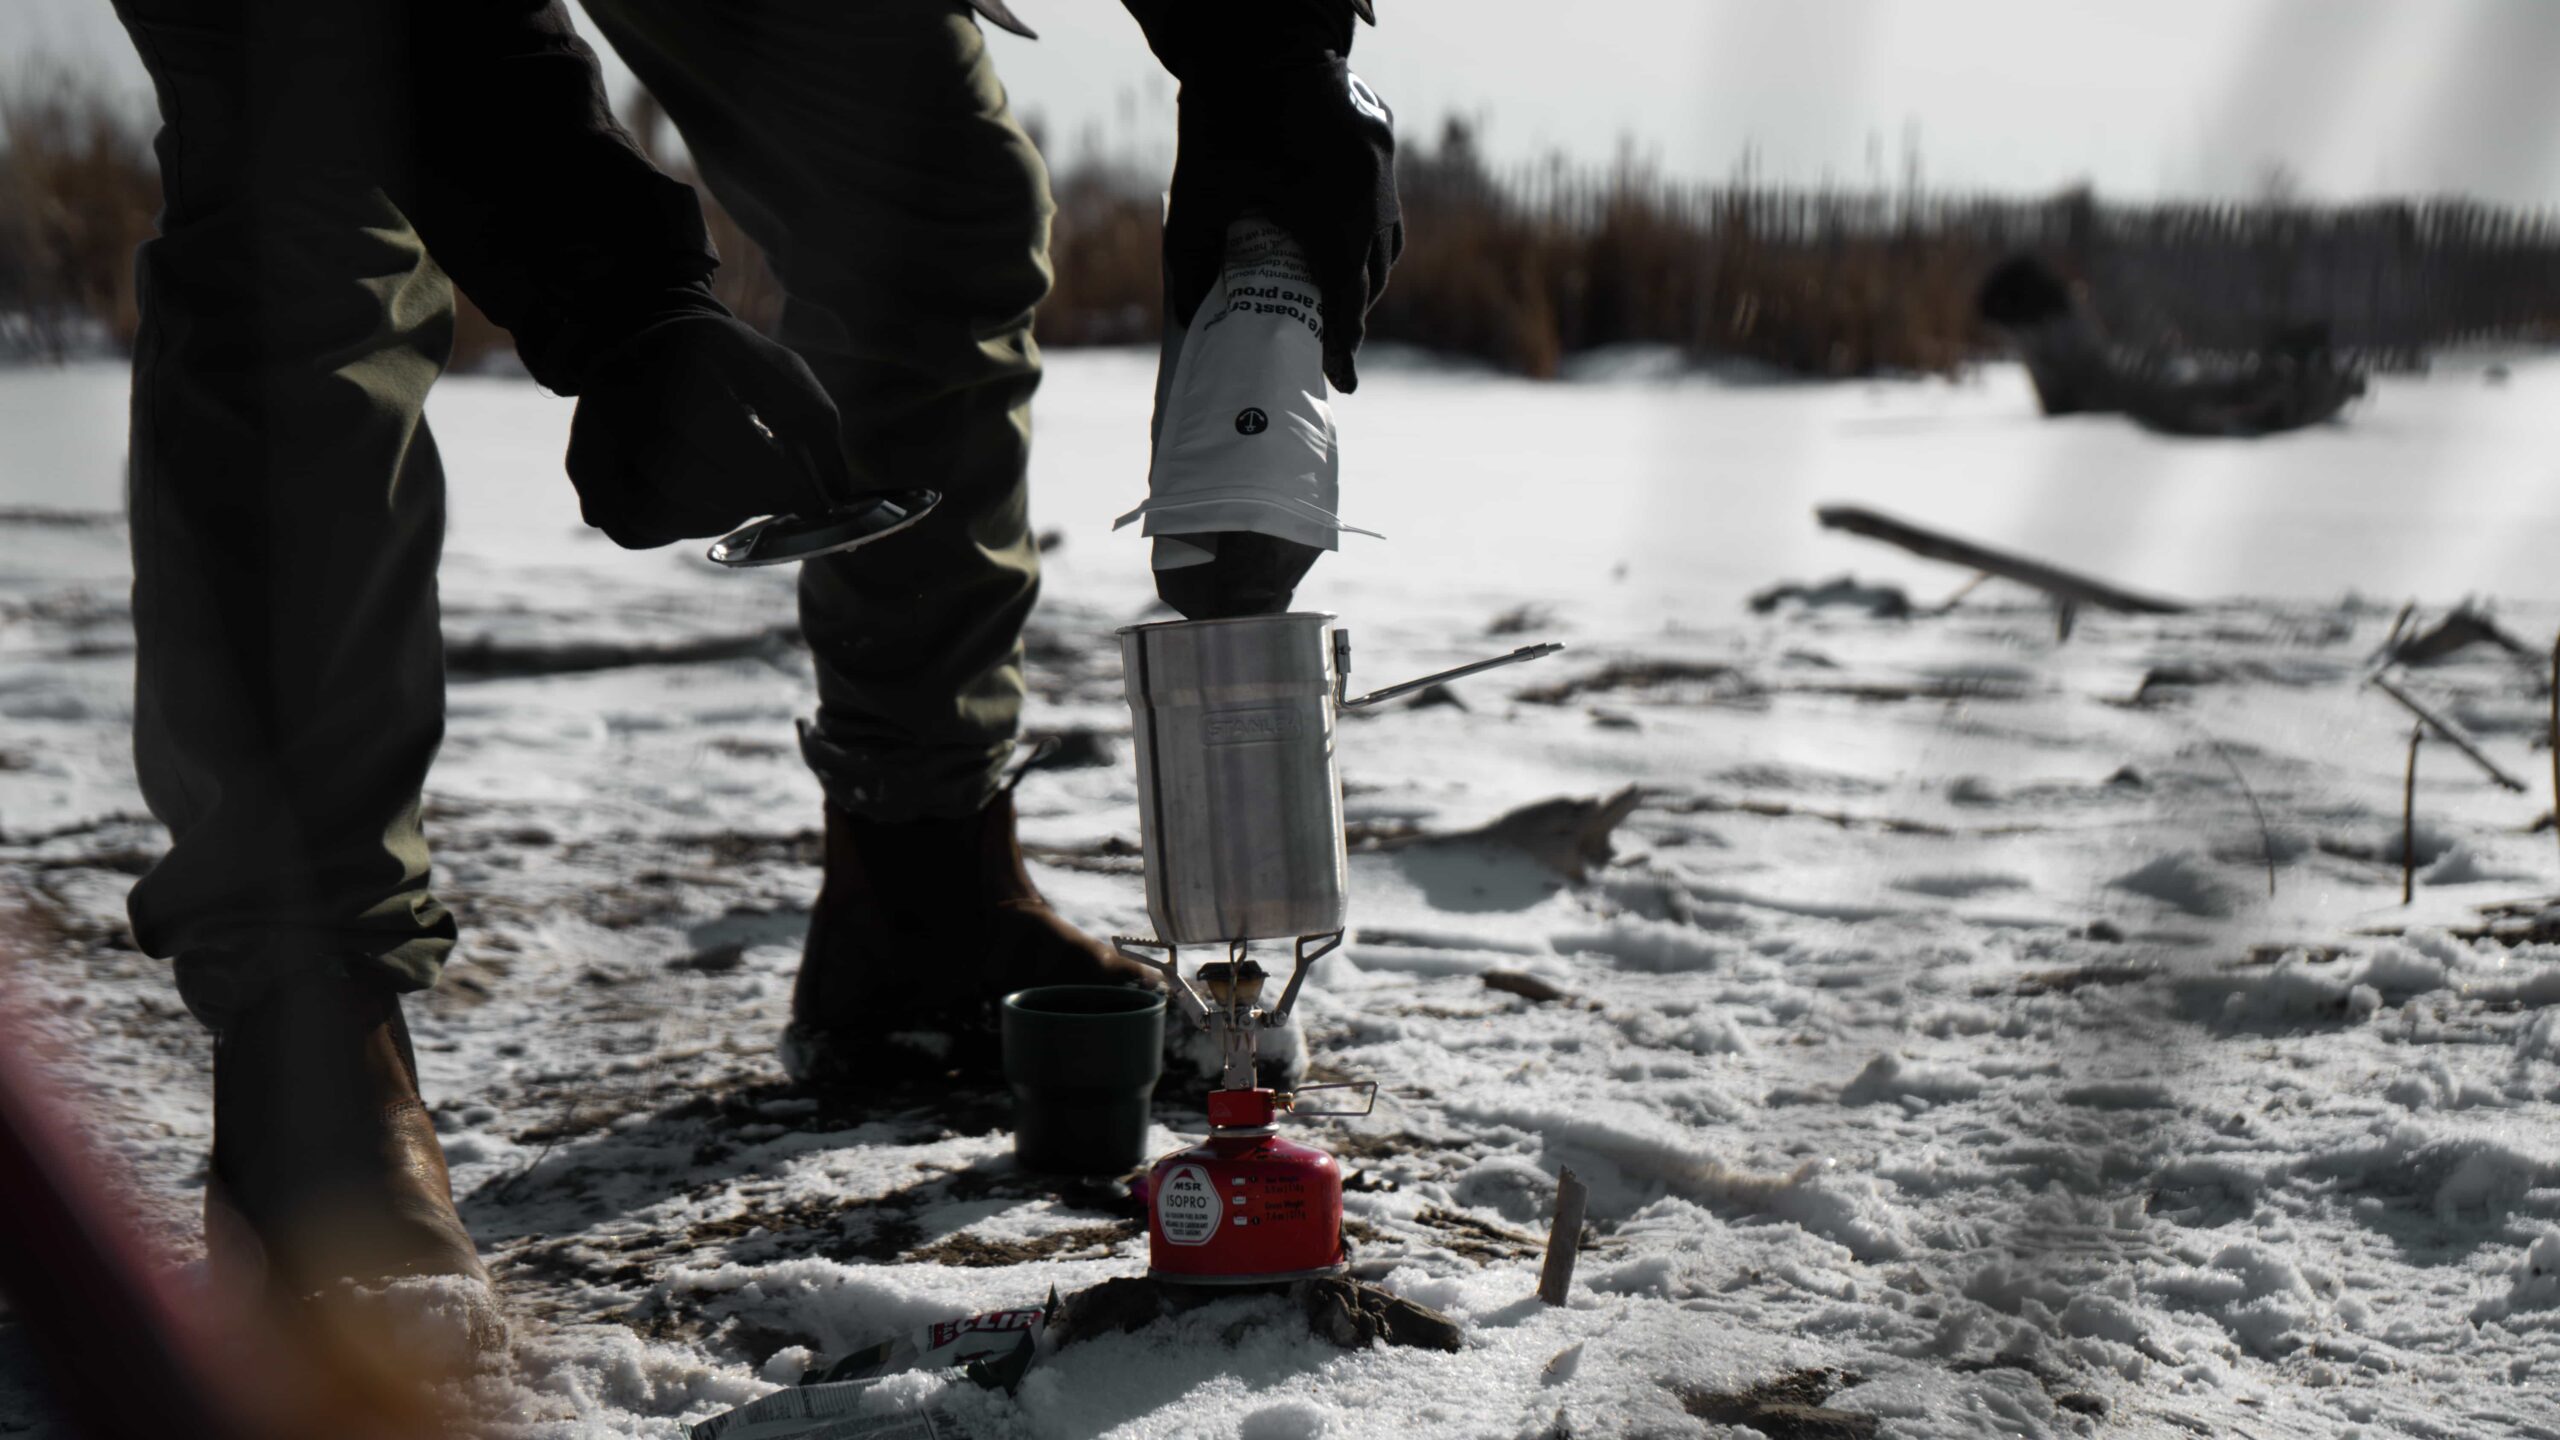
It’s really easy to get caught up in the rabbit hole that is more – fancy gear, lots of gear. That’s all fun, but it’s not necessary. We’ve got a basic kit that includes:
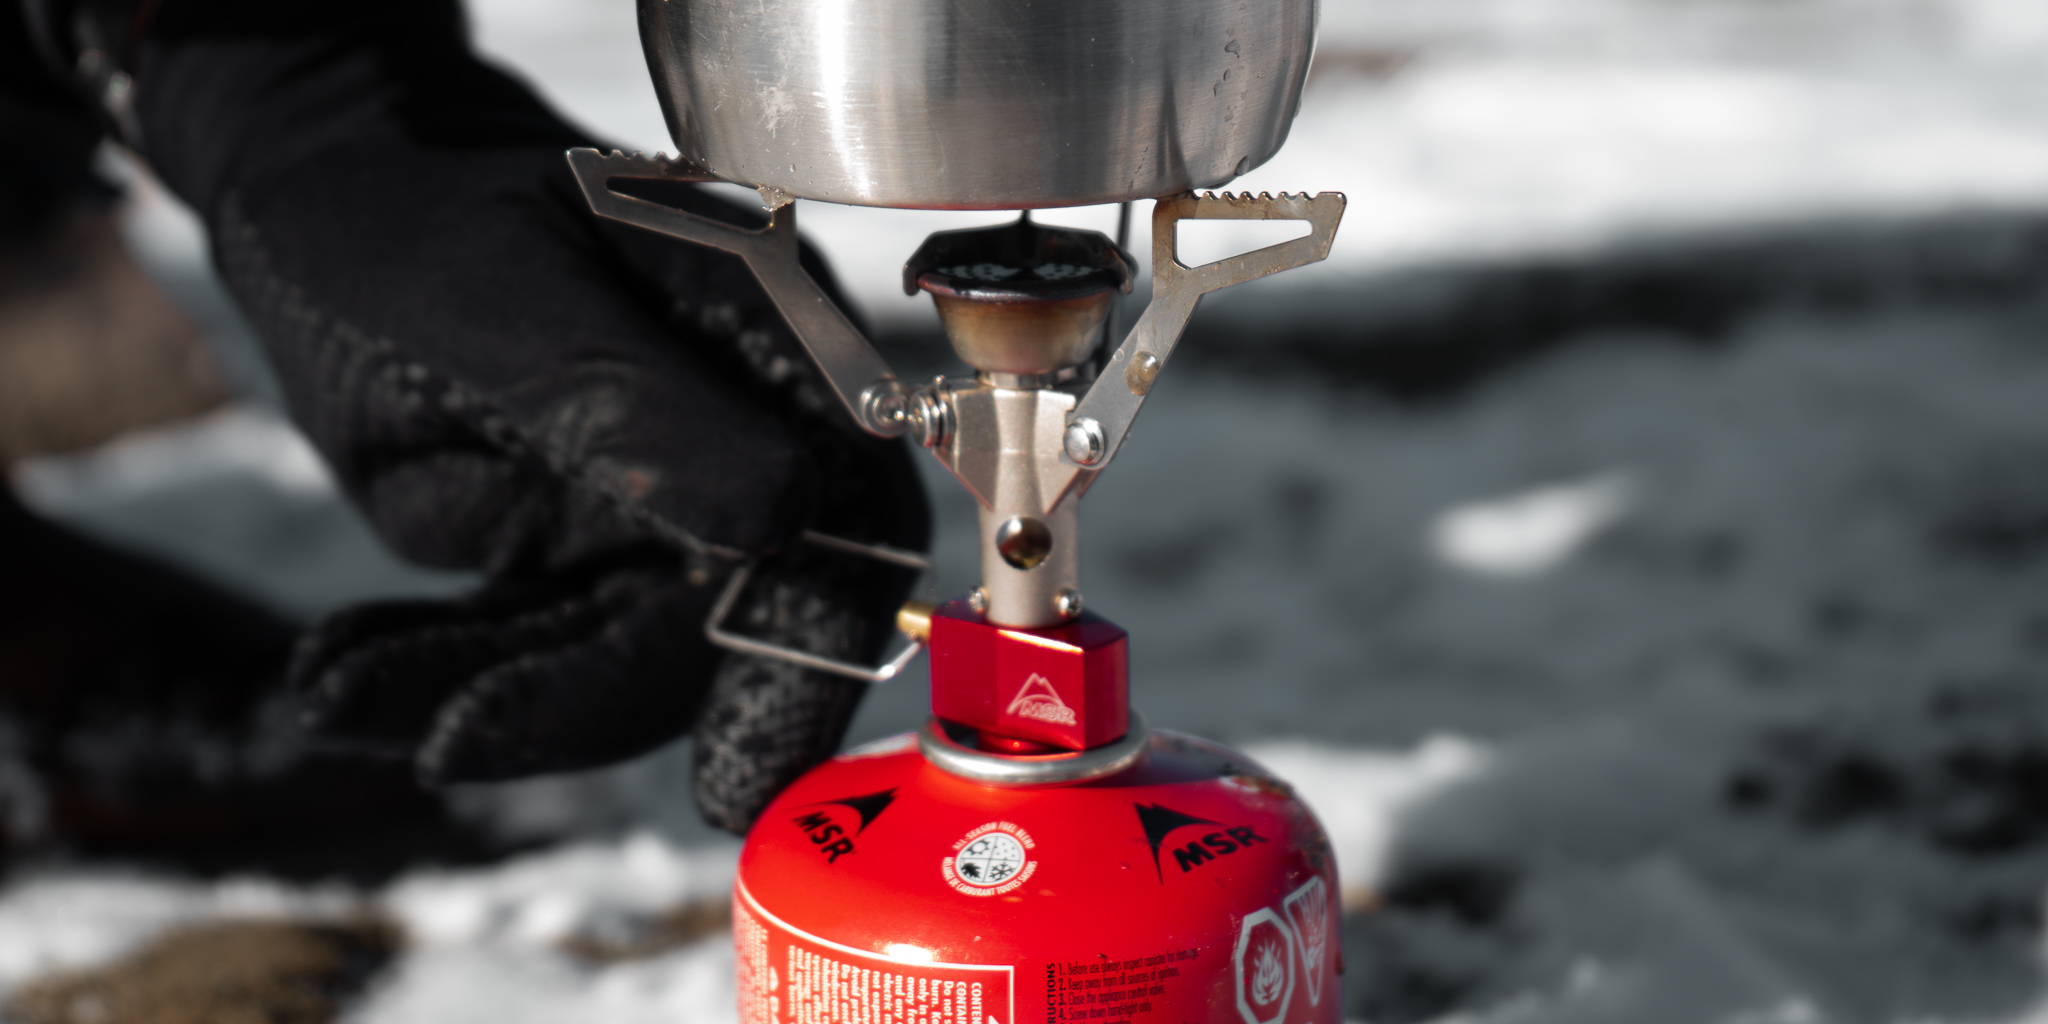
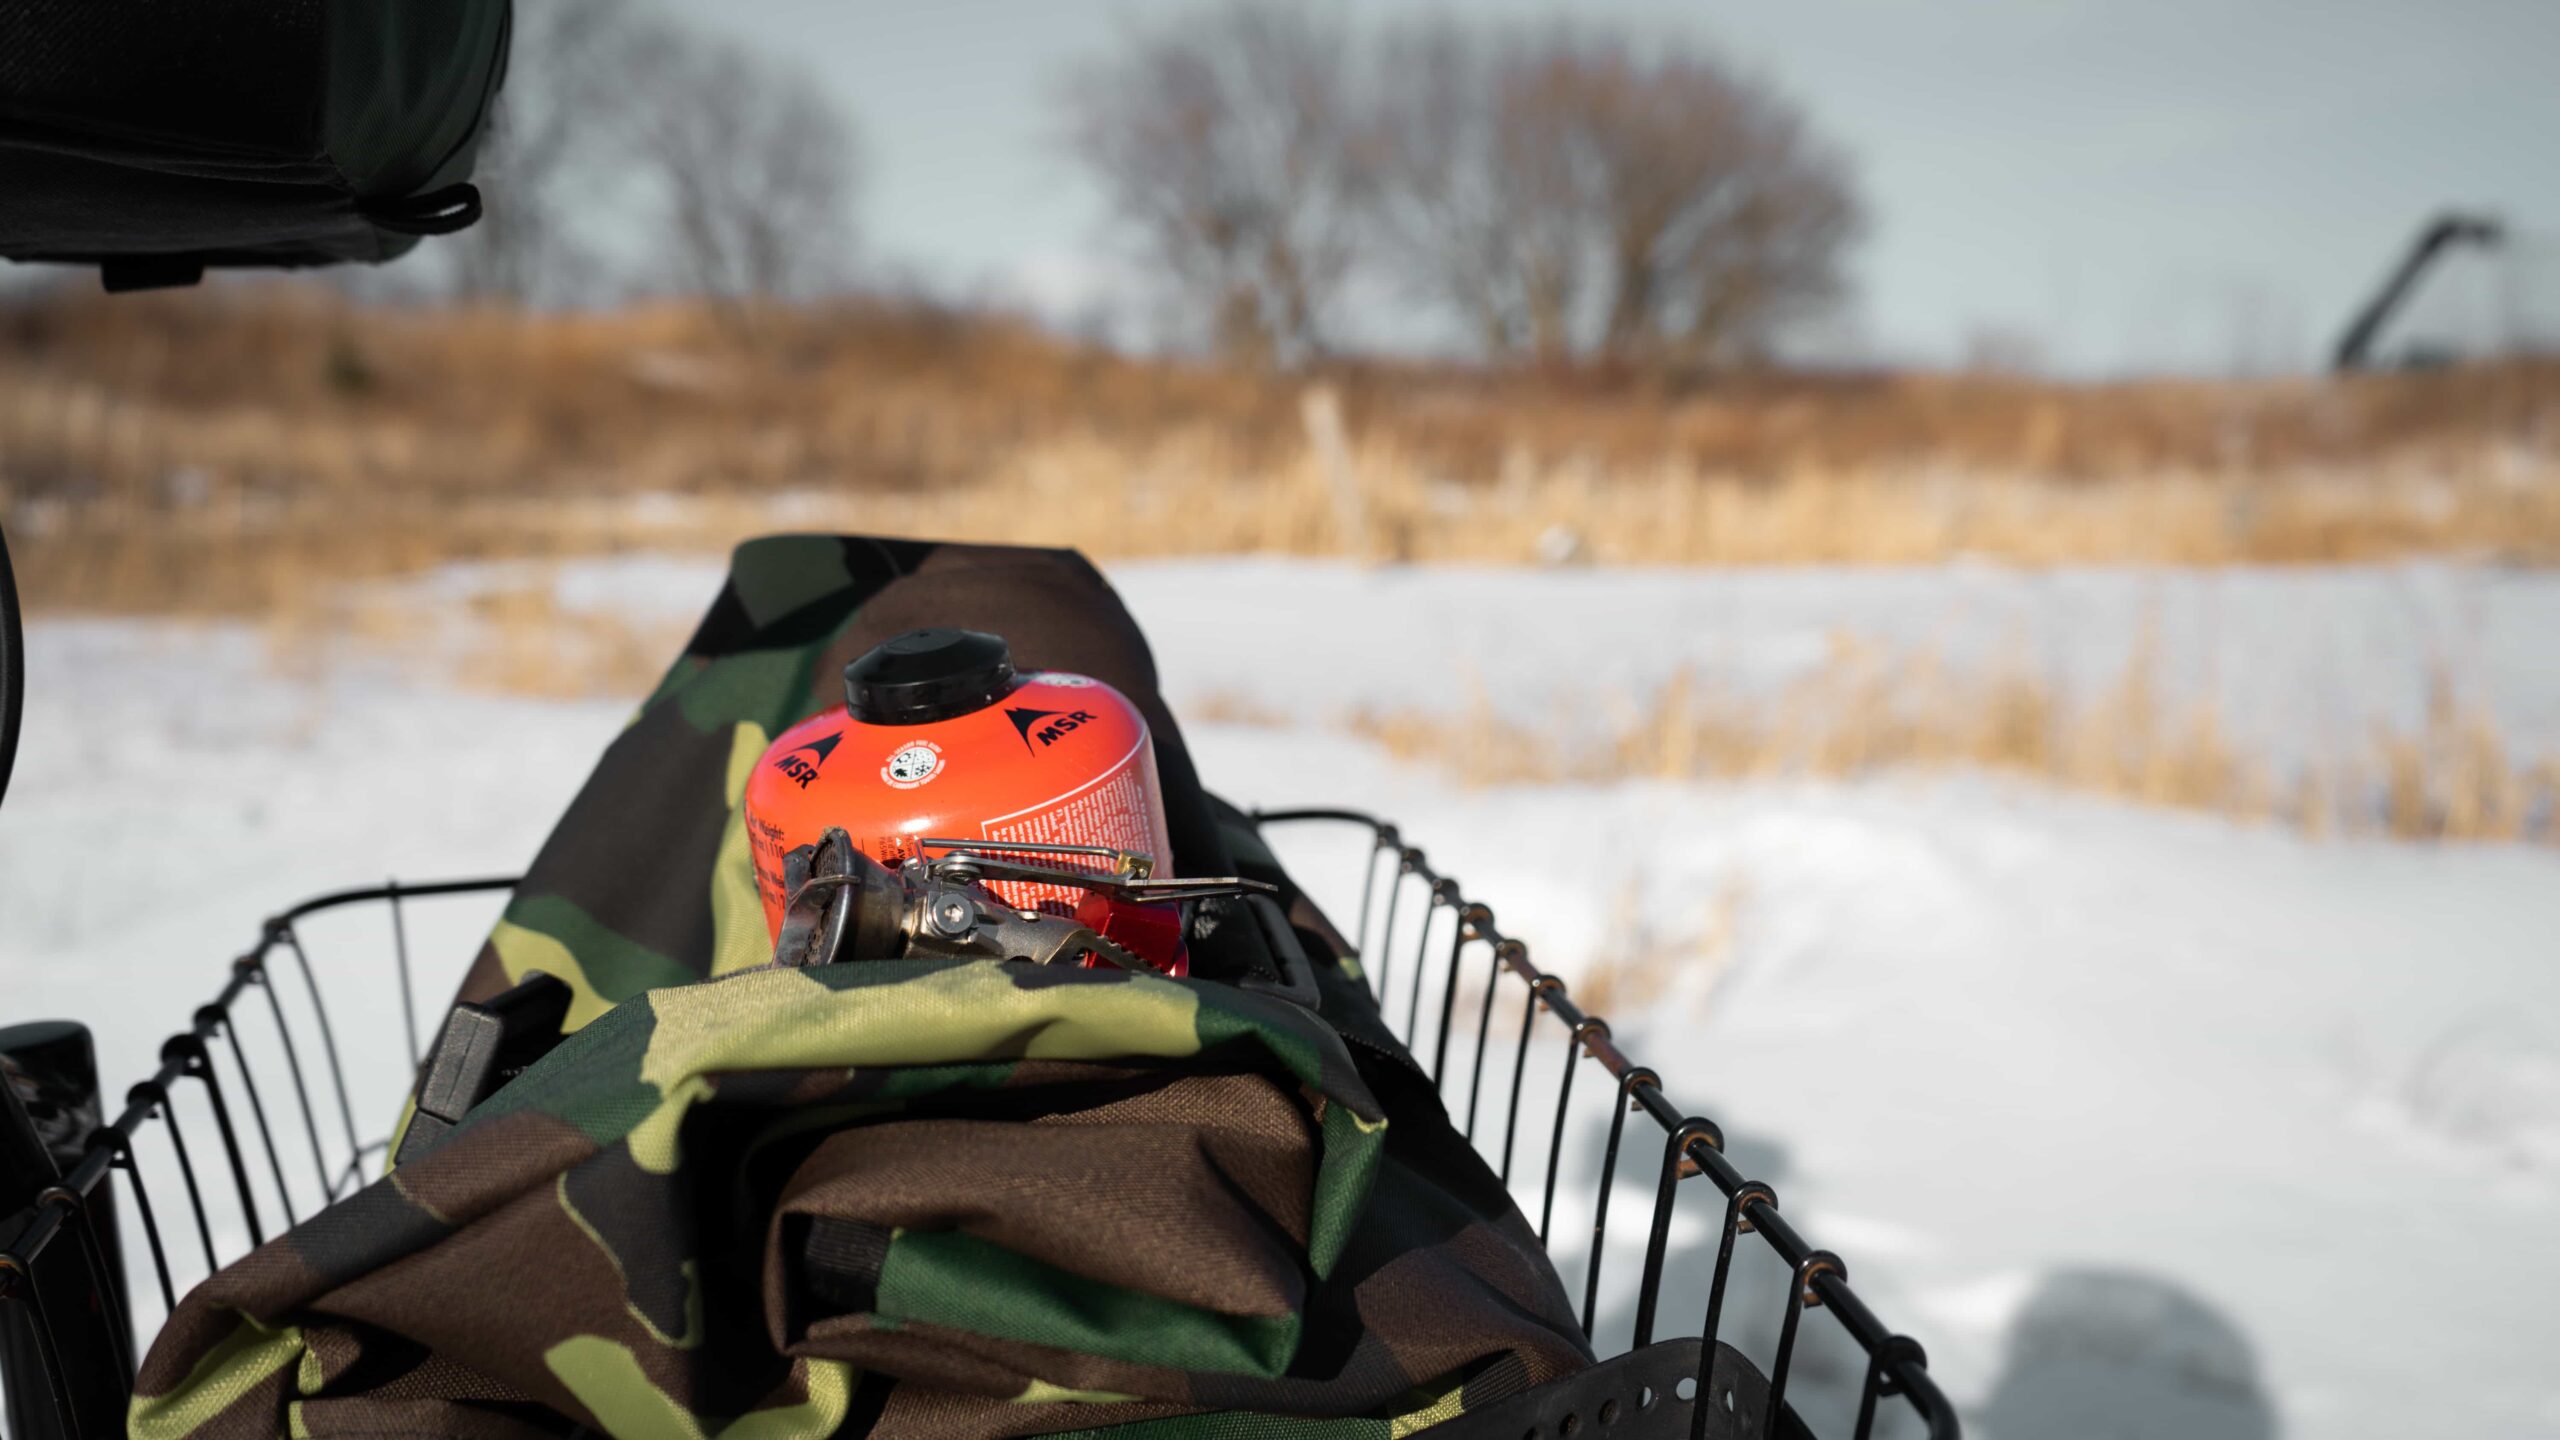
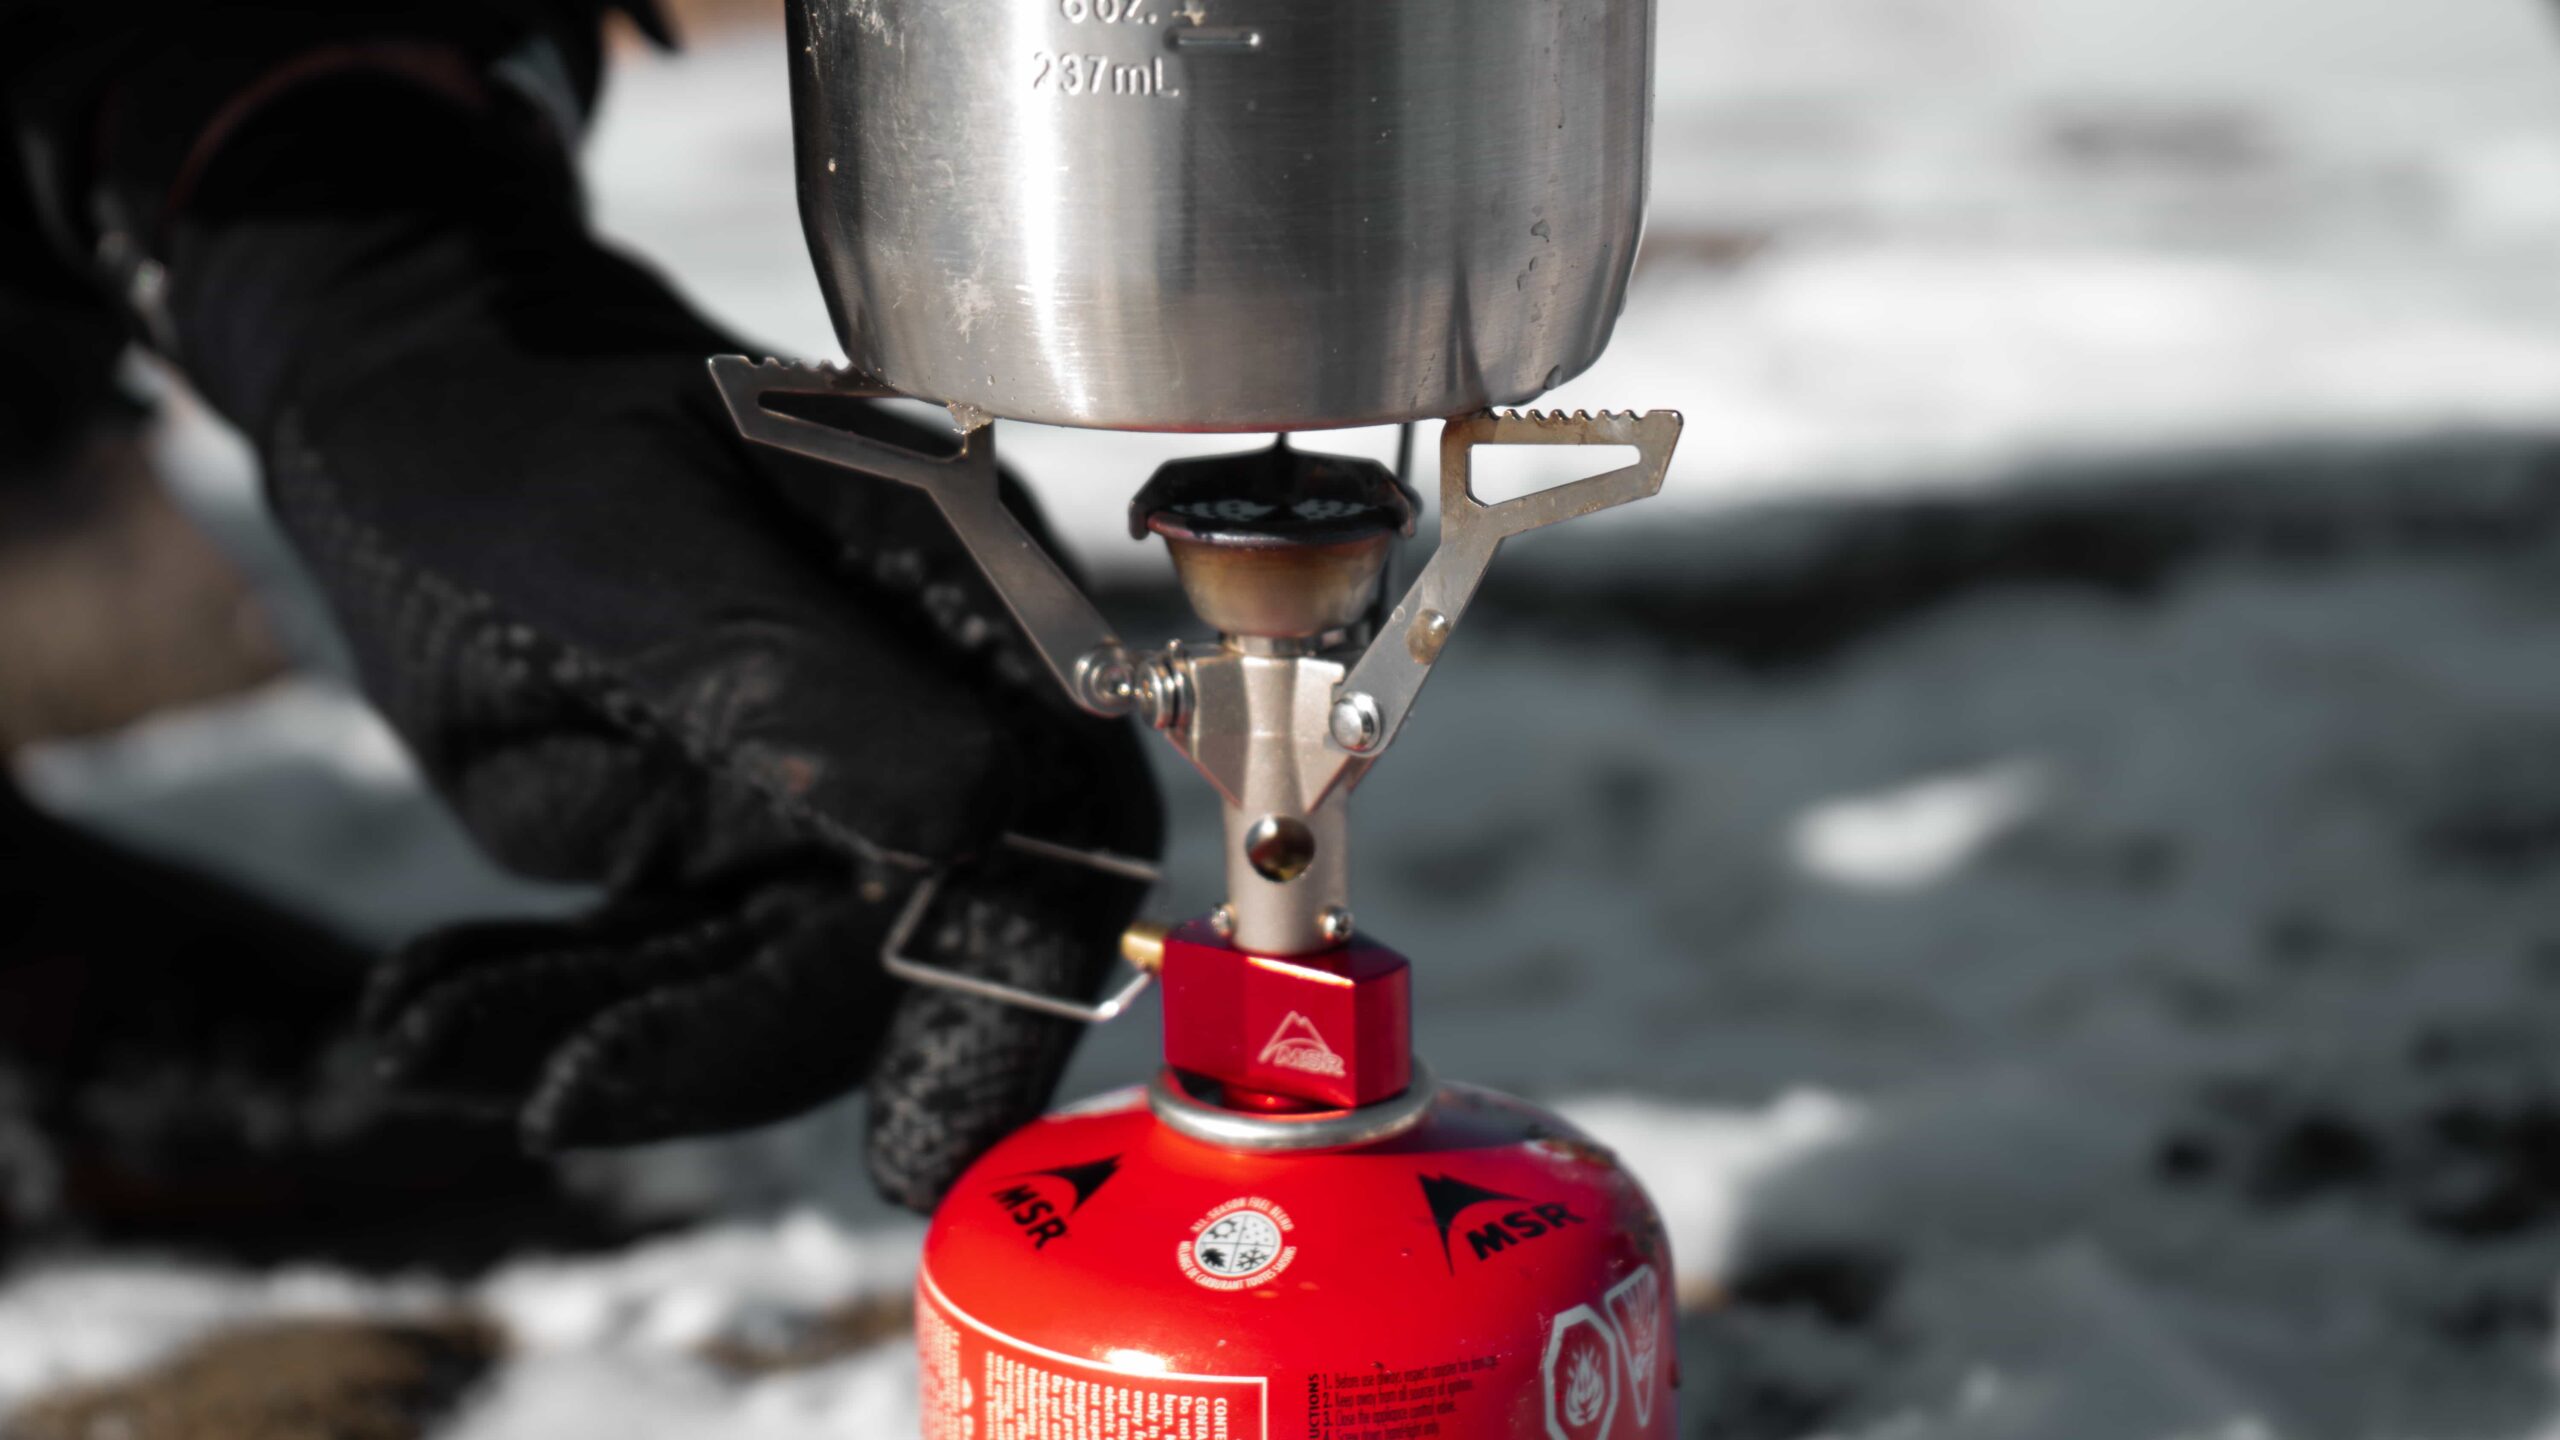
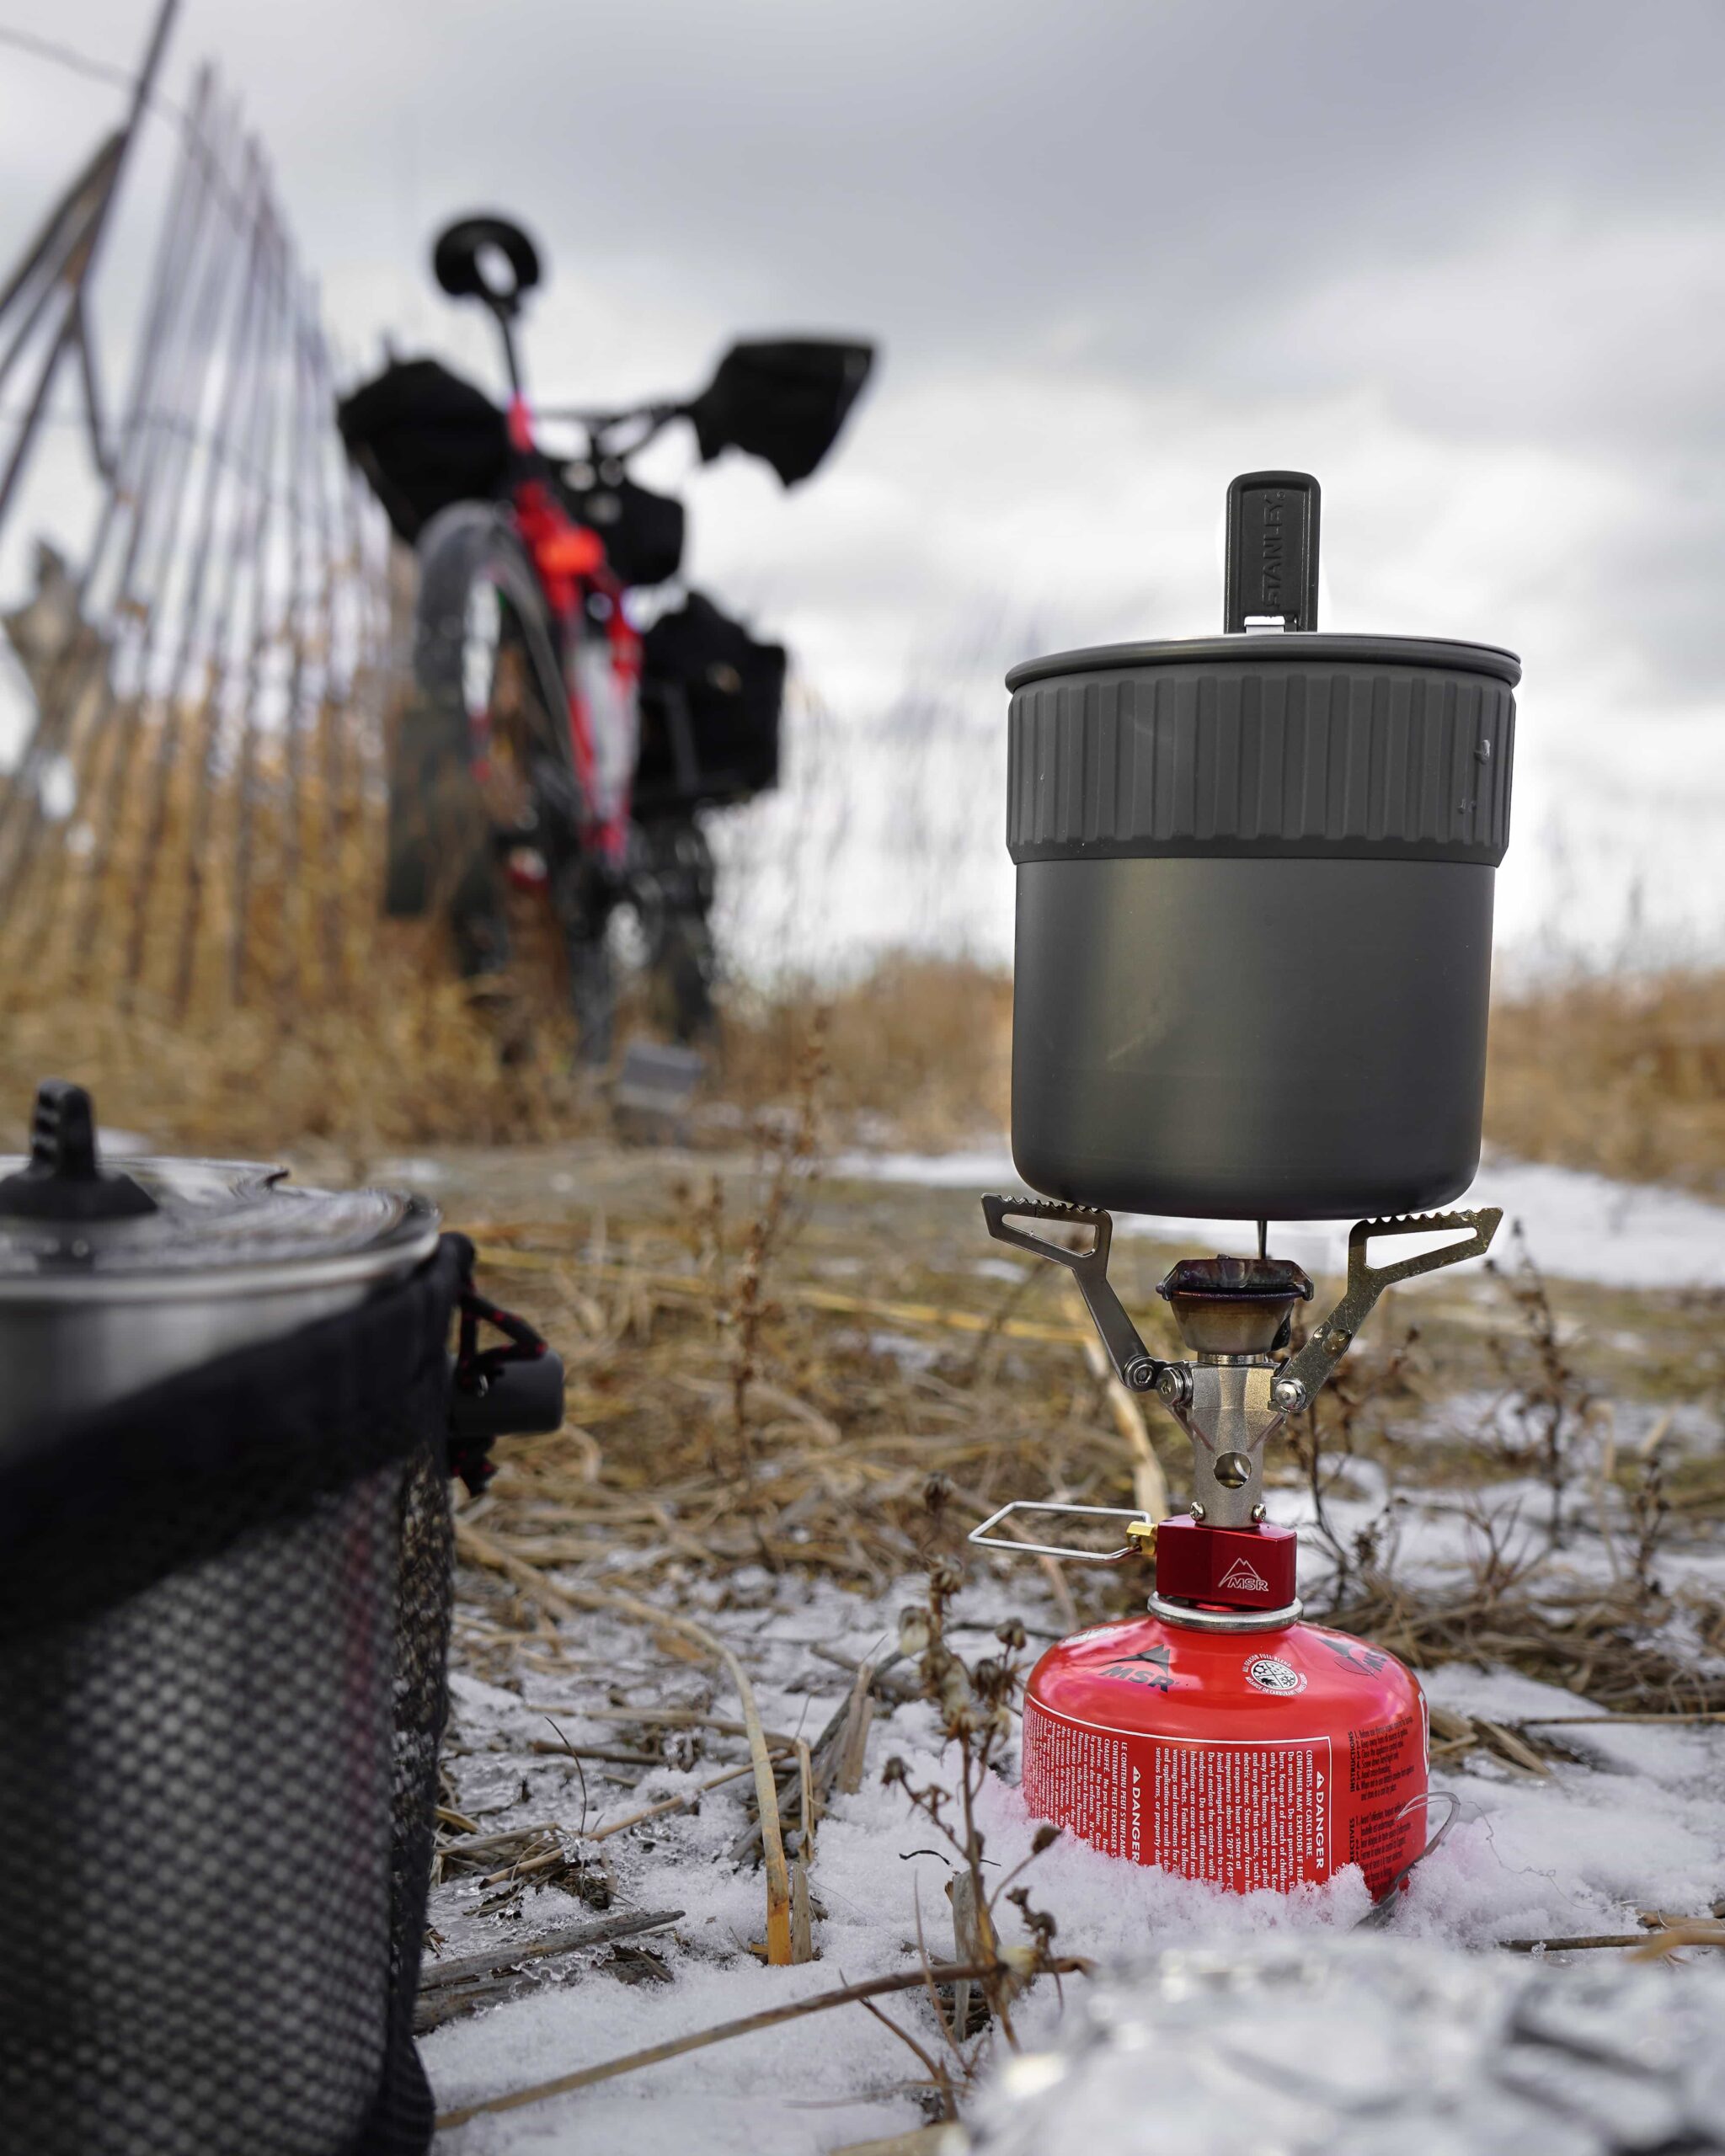
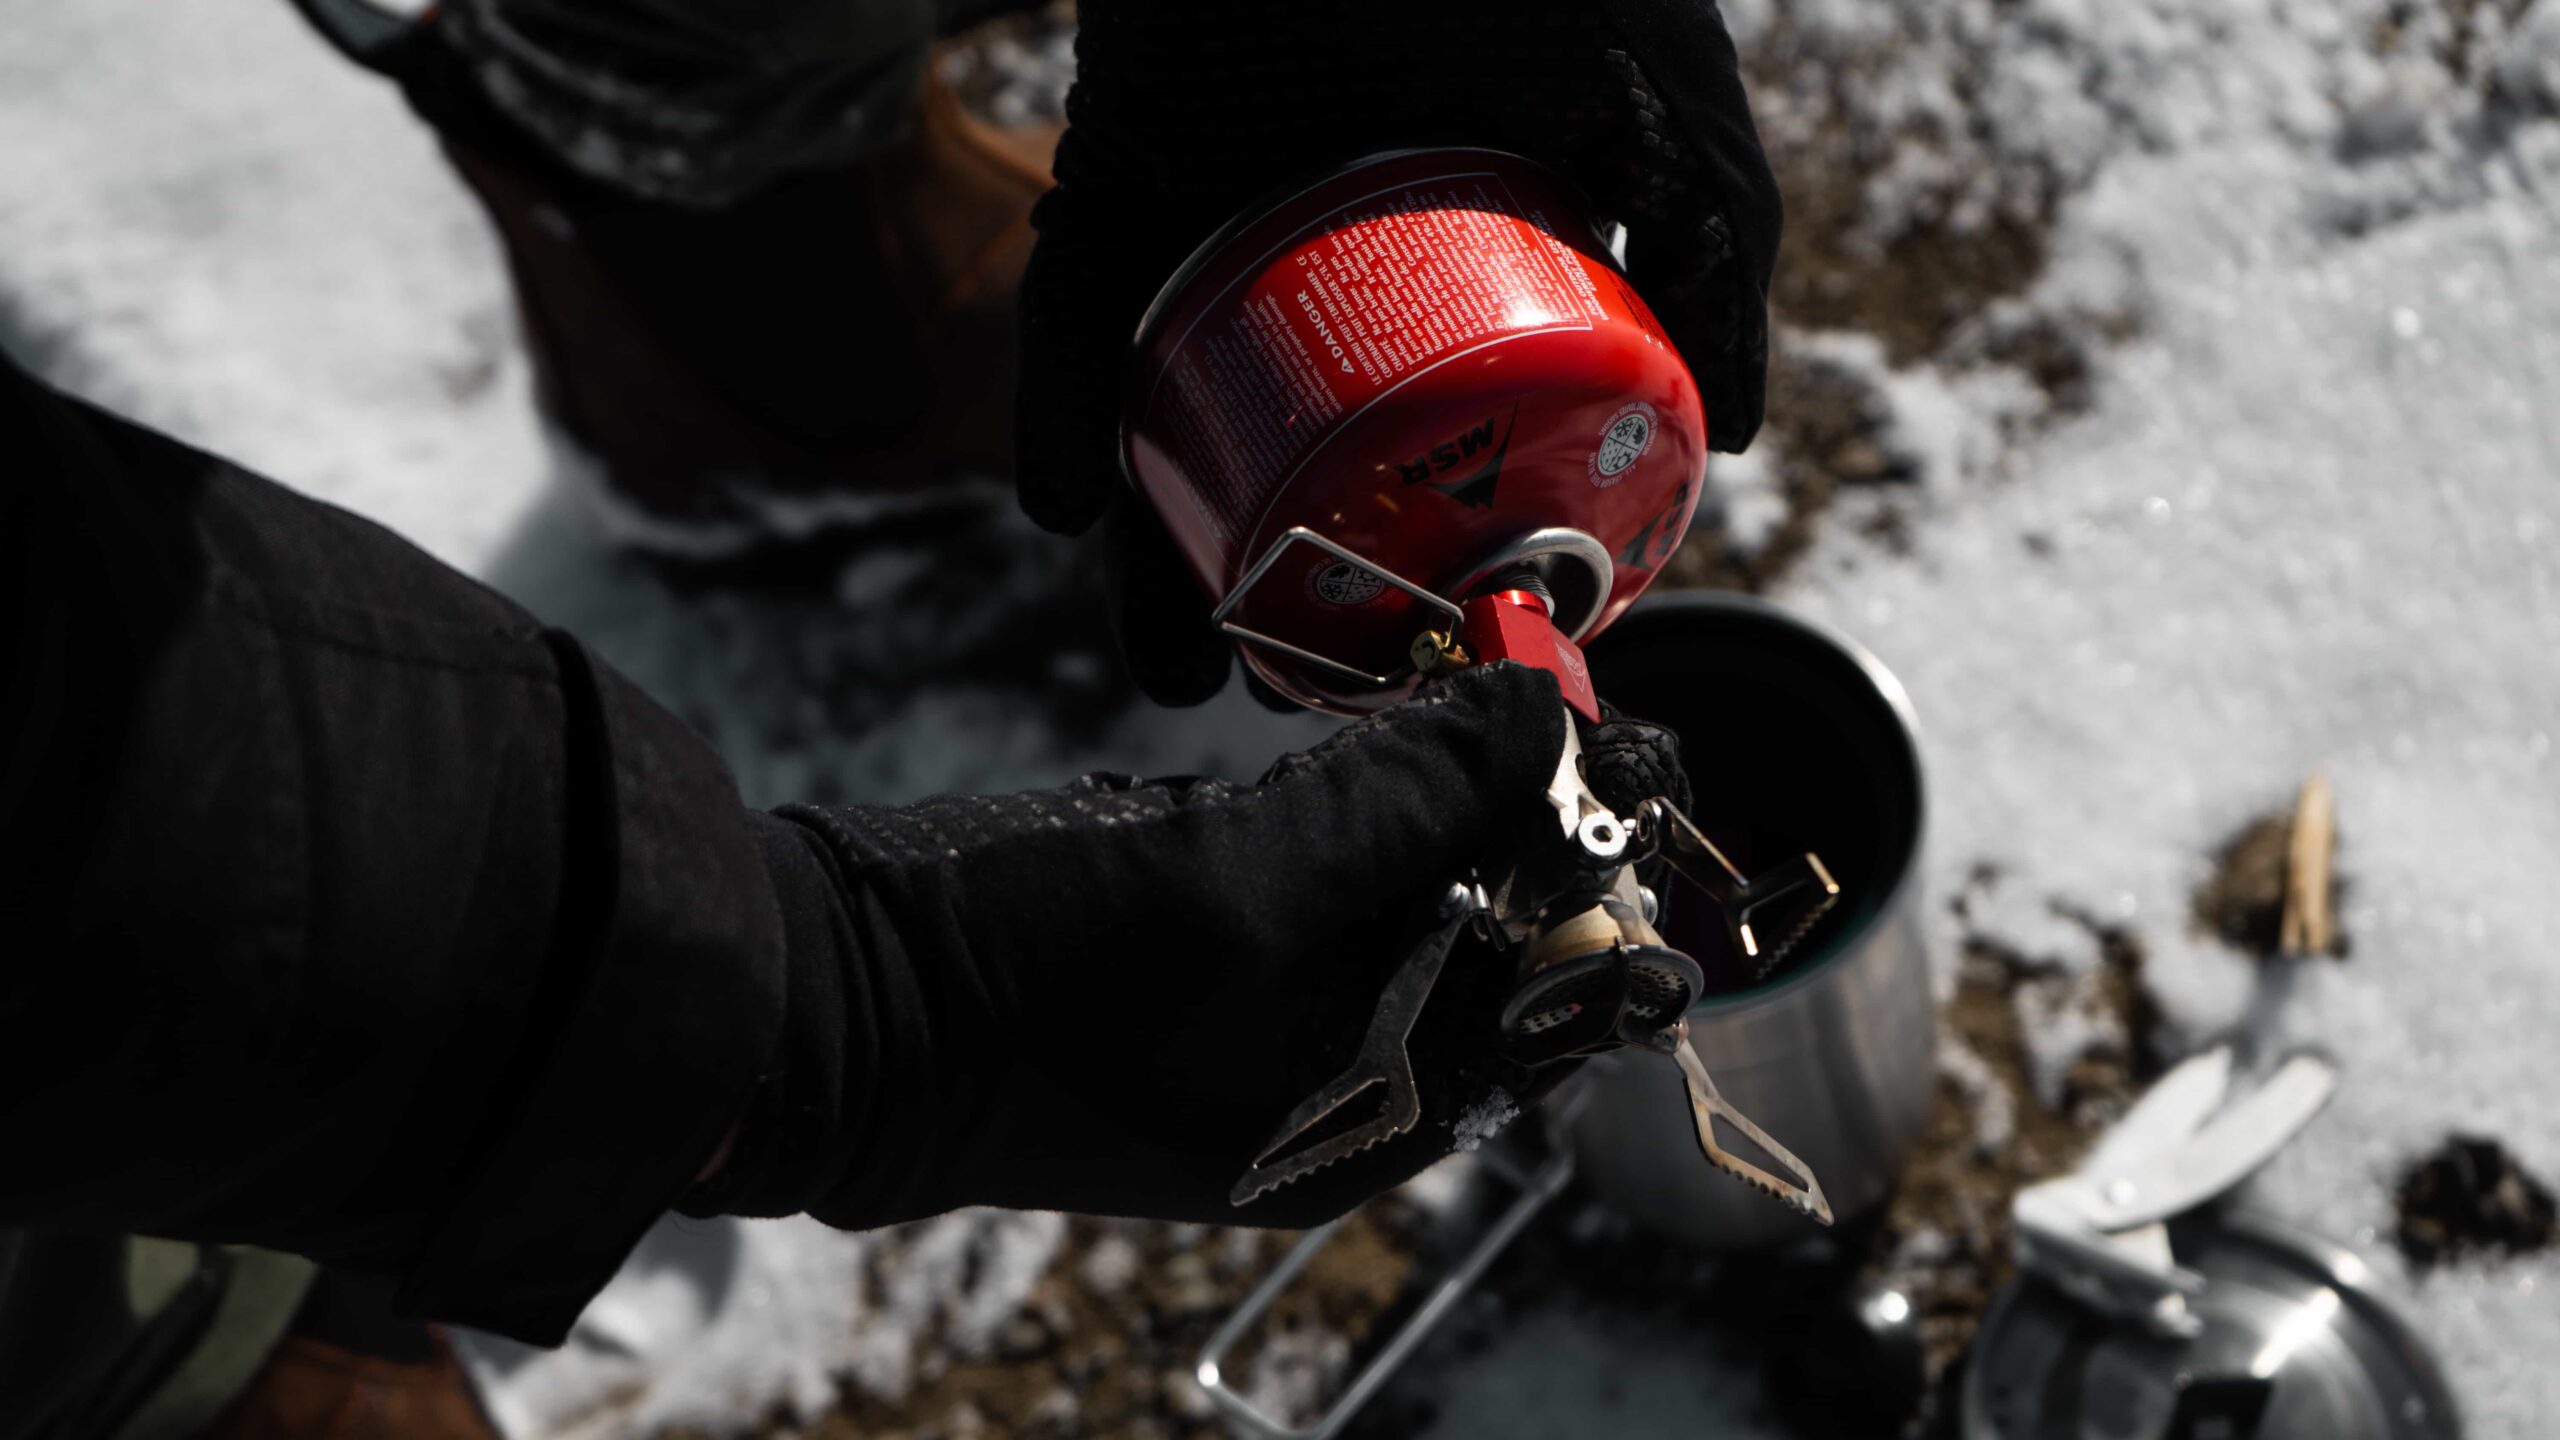
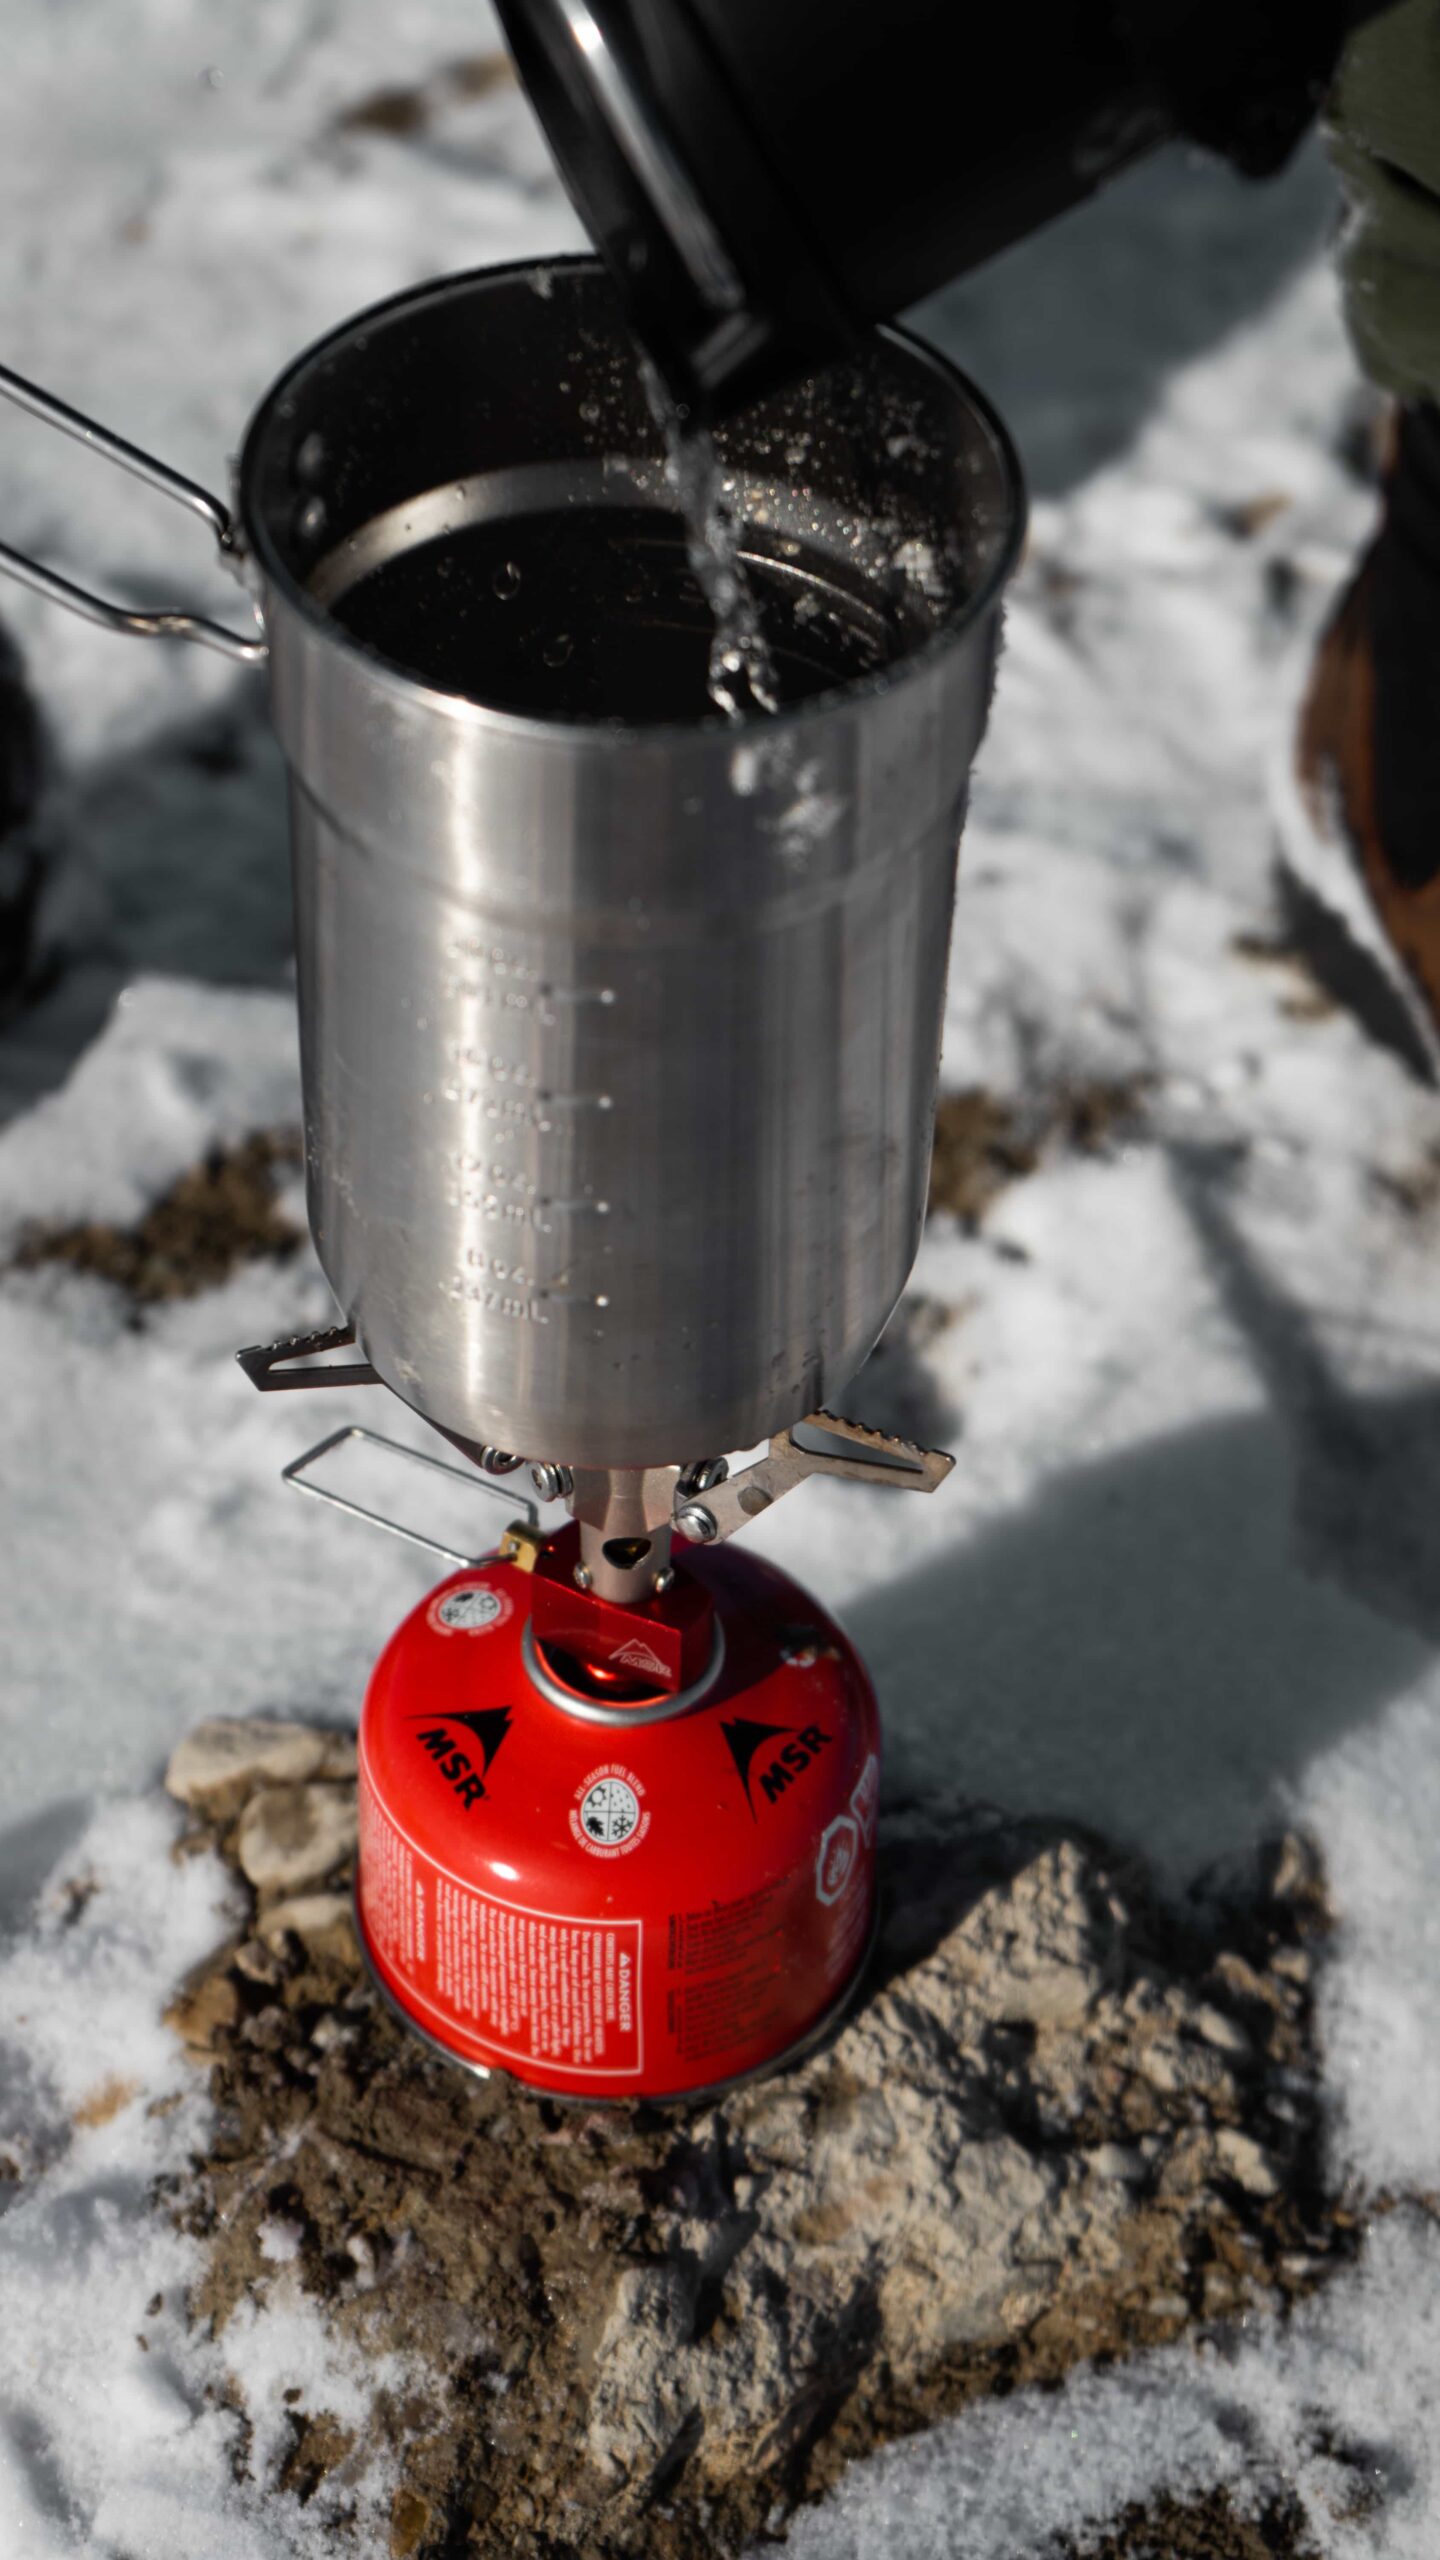
1. Camp stove (MSR pocket rocket) w/ isobutane canister
2. Water filtration pump (MSR Trailshot)
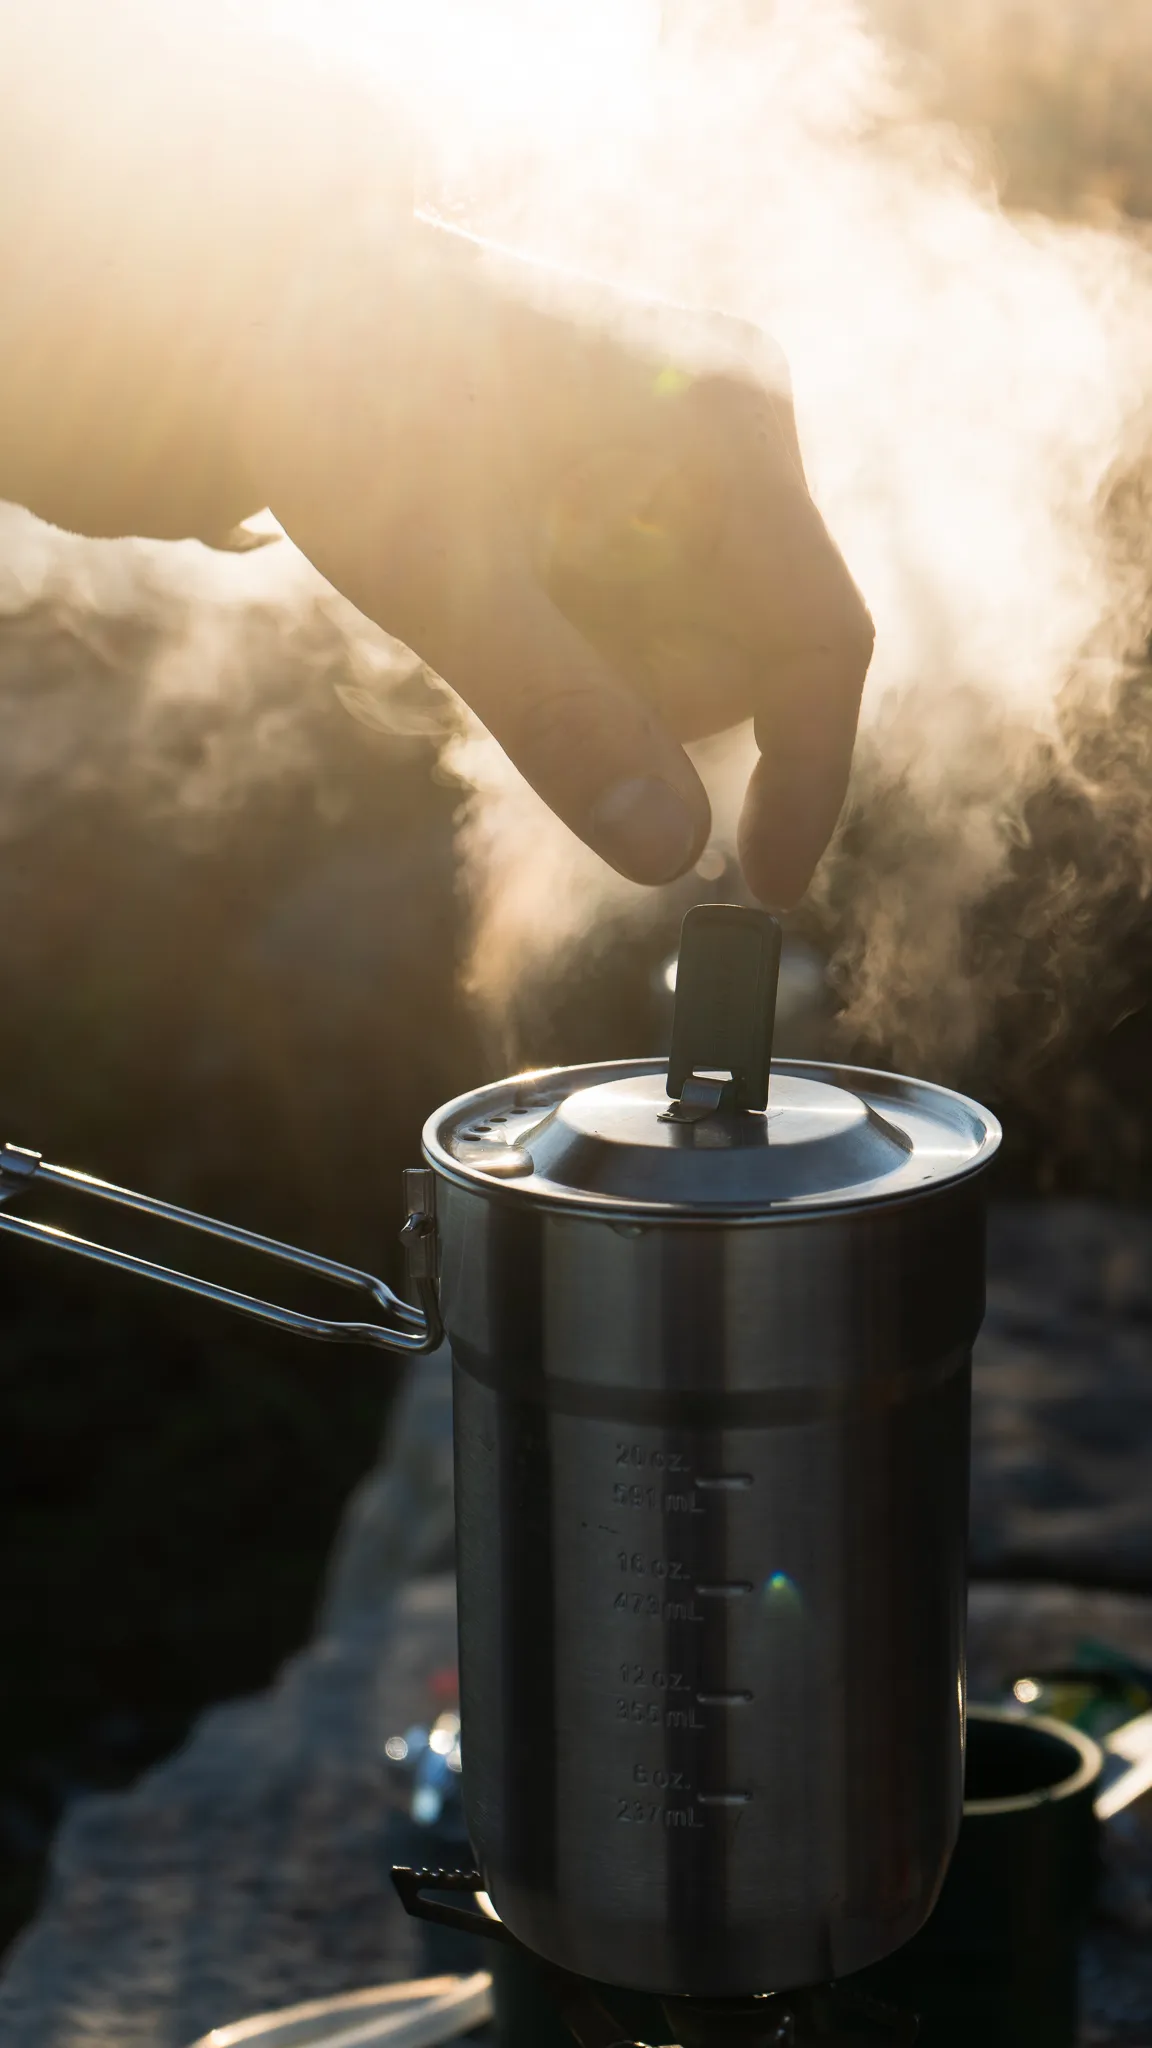
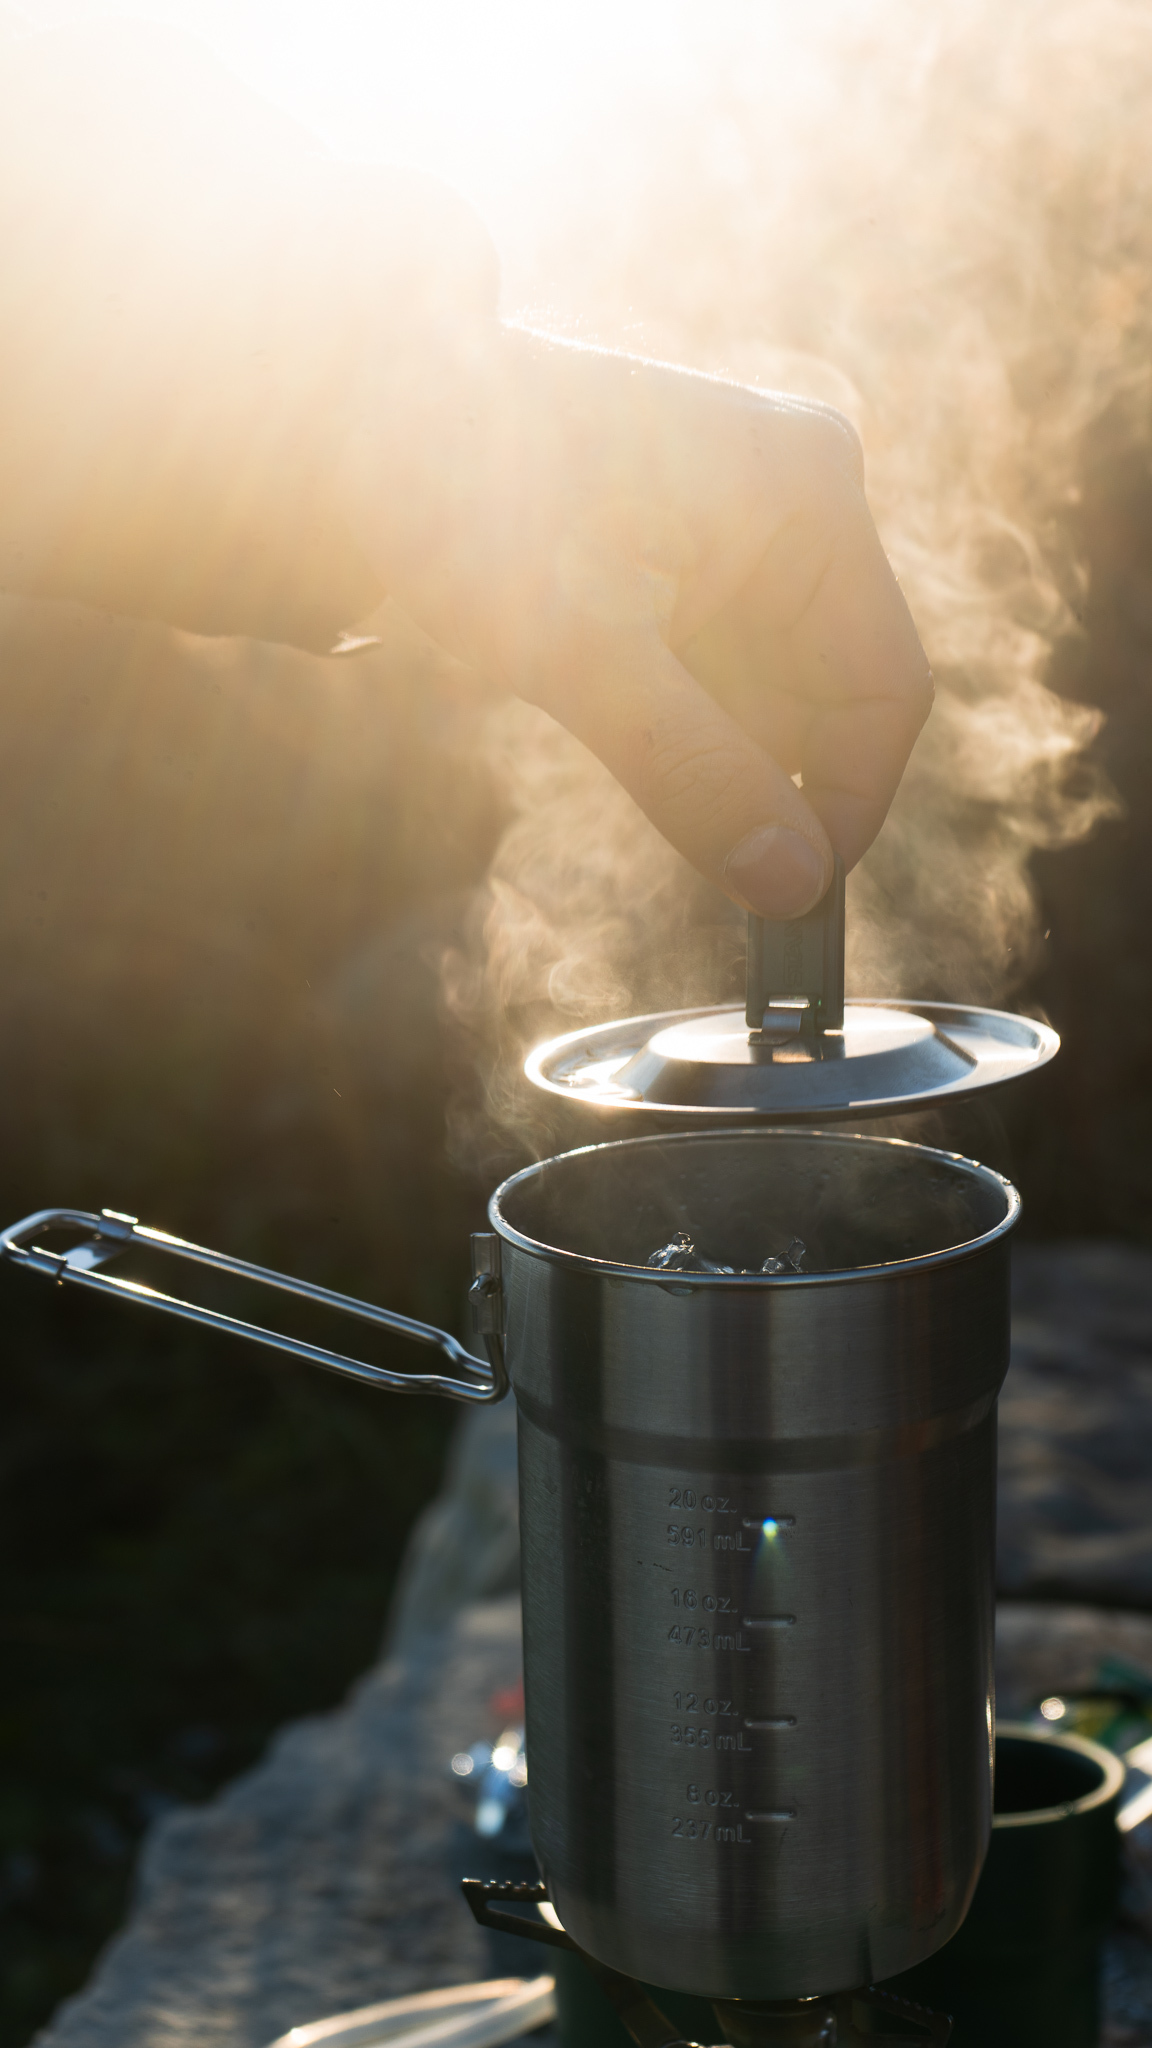
3. Pot, stainless steel (Stanley)
4. Cup(s), plastic BPA free (w/ Stanley kit)
5. Lighter (small butane is good)
6. Coffee, Tea, oatmeal or whatever you want!
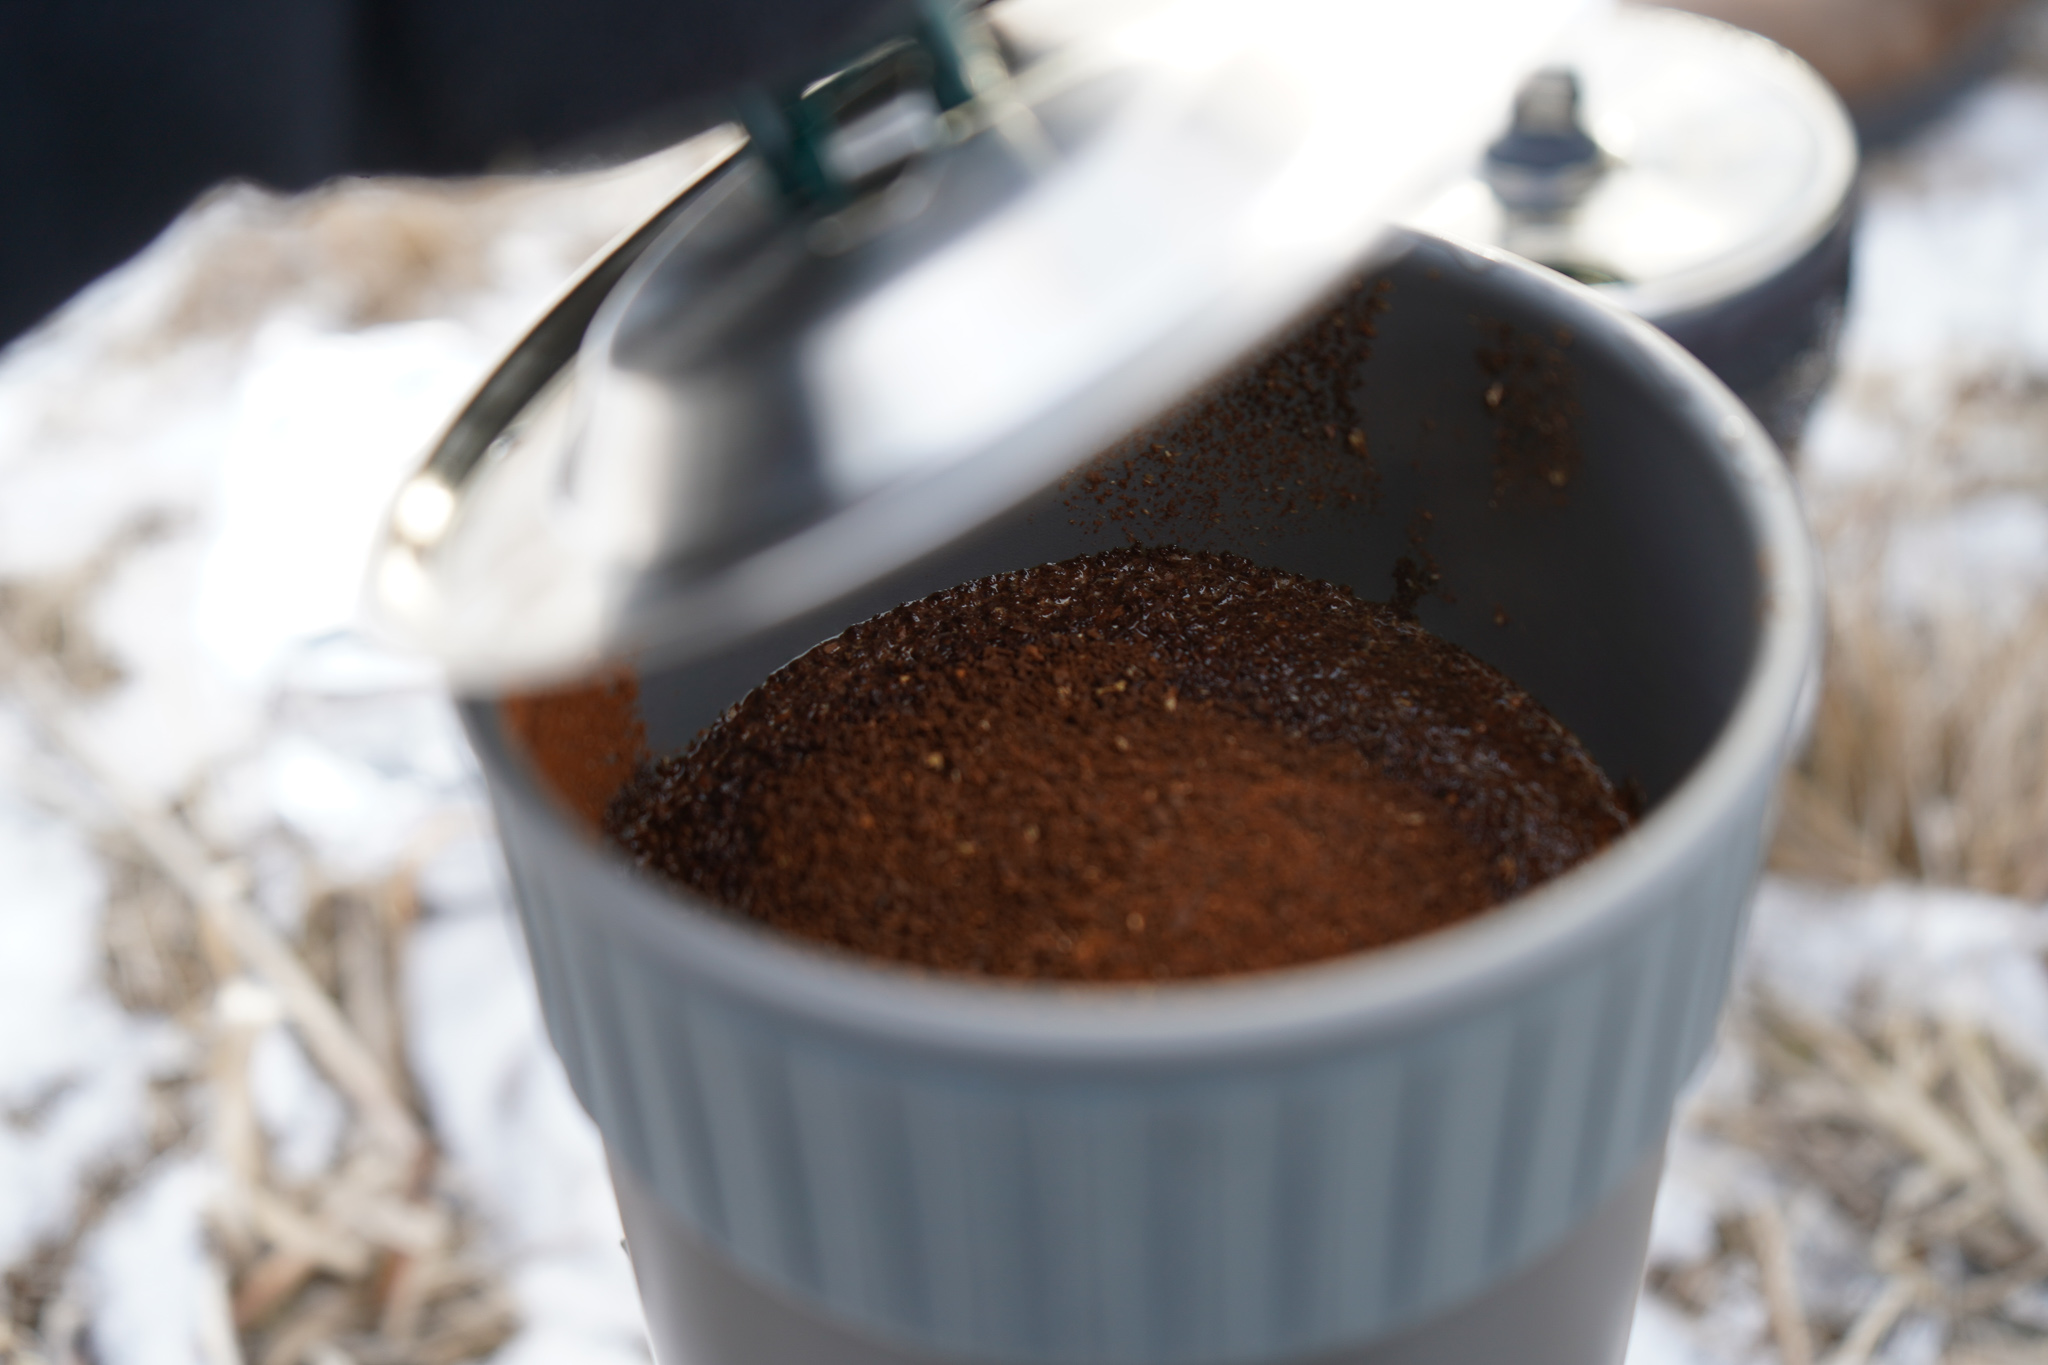
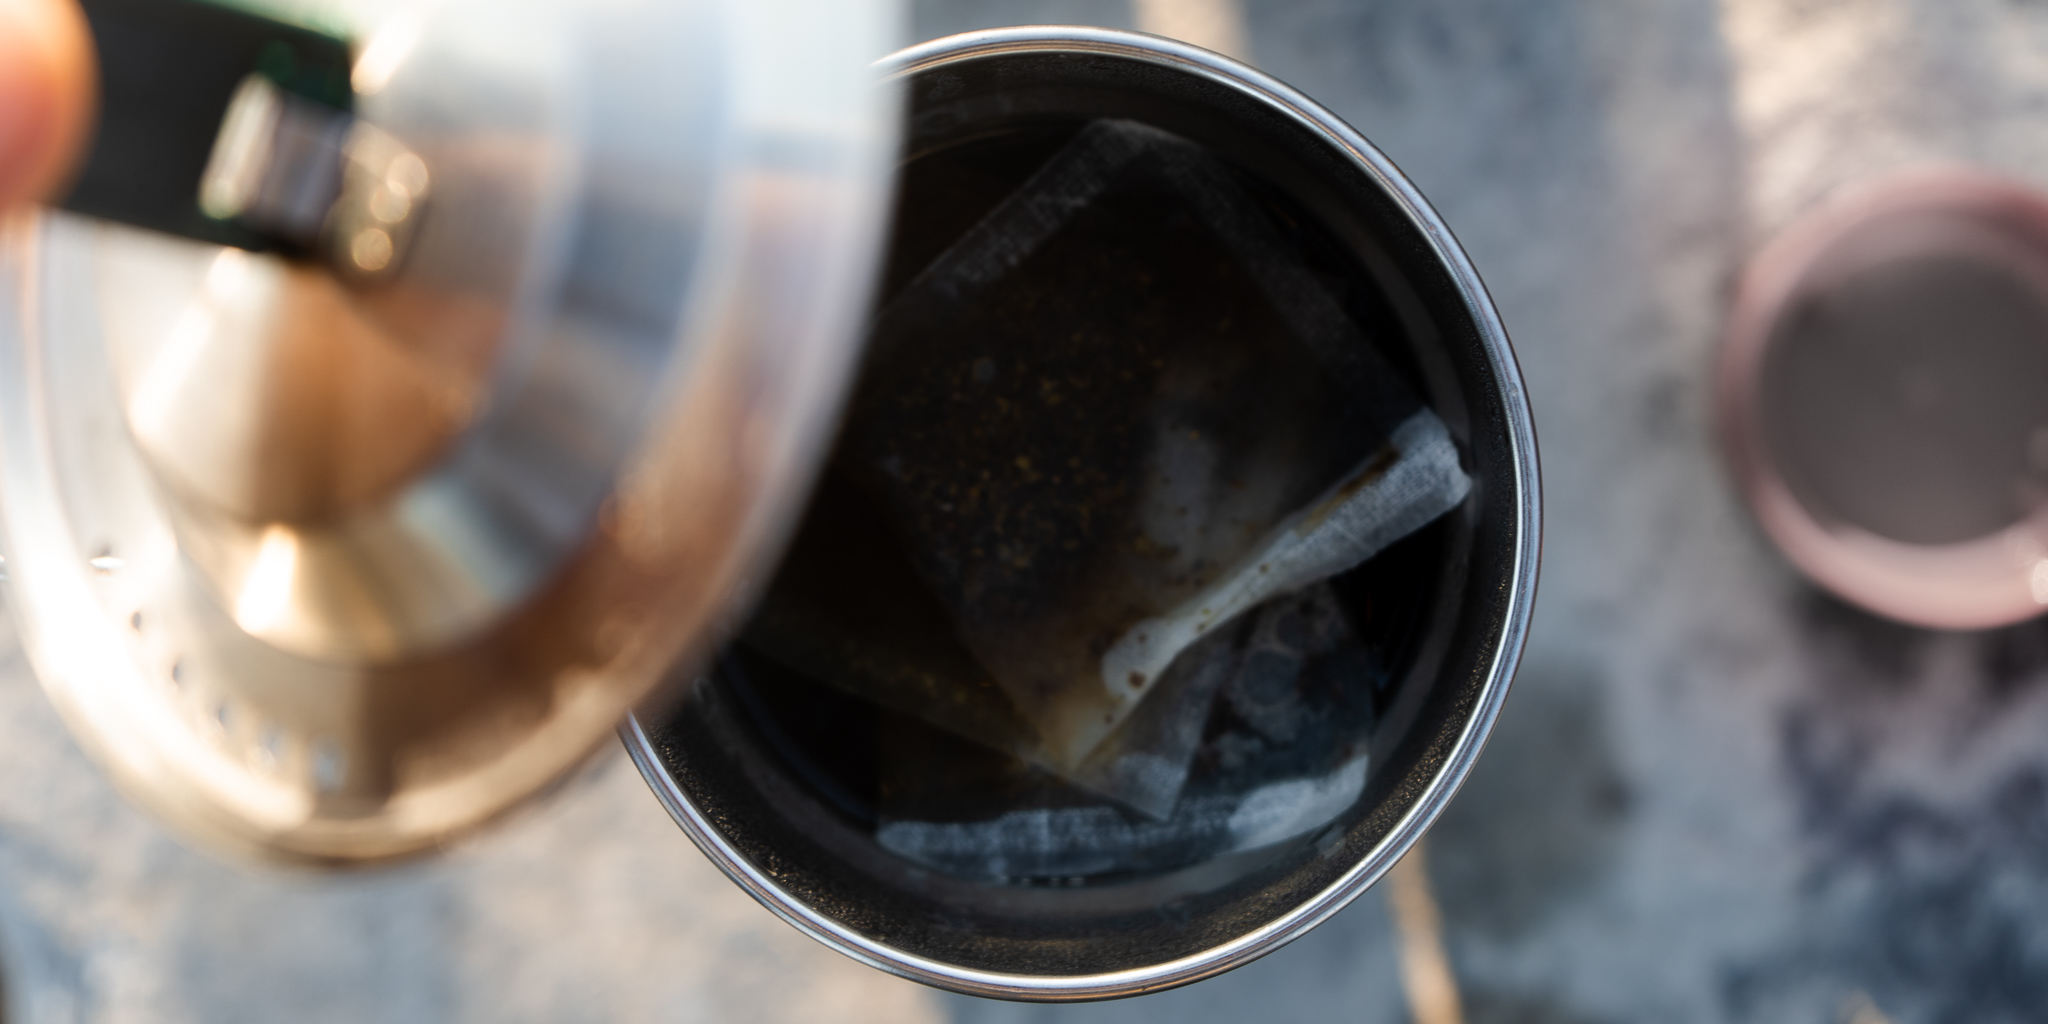
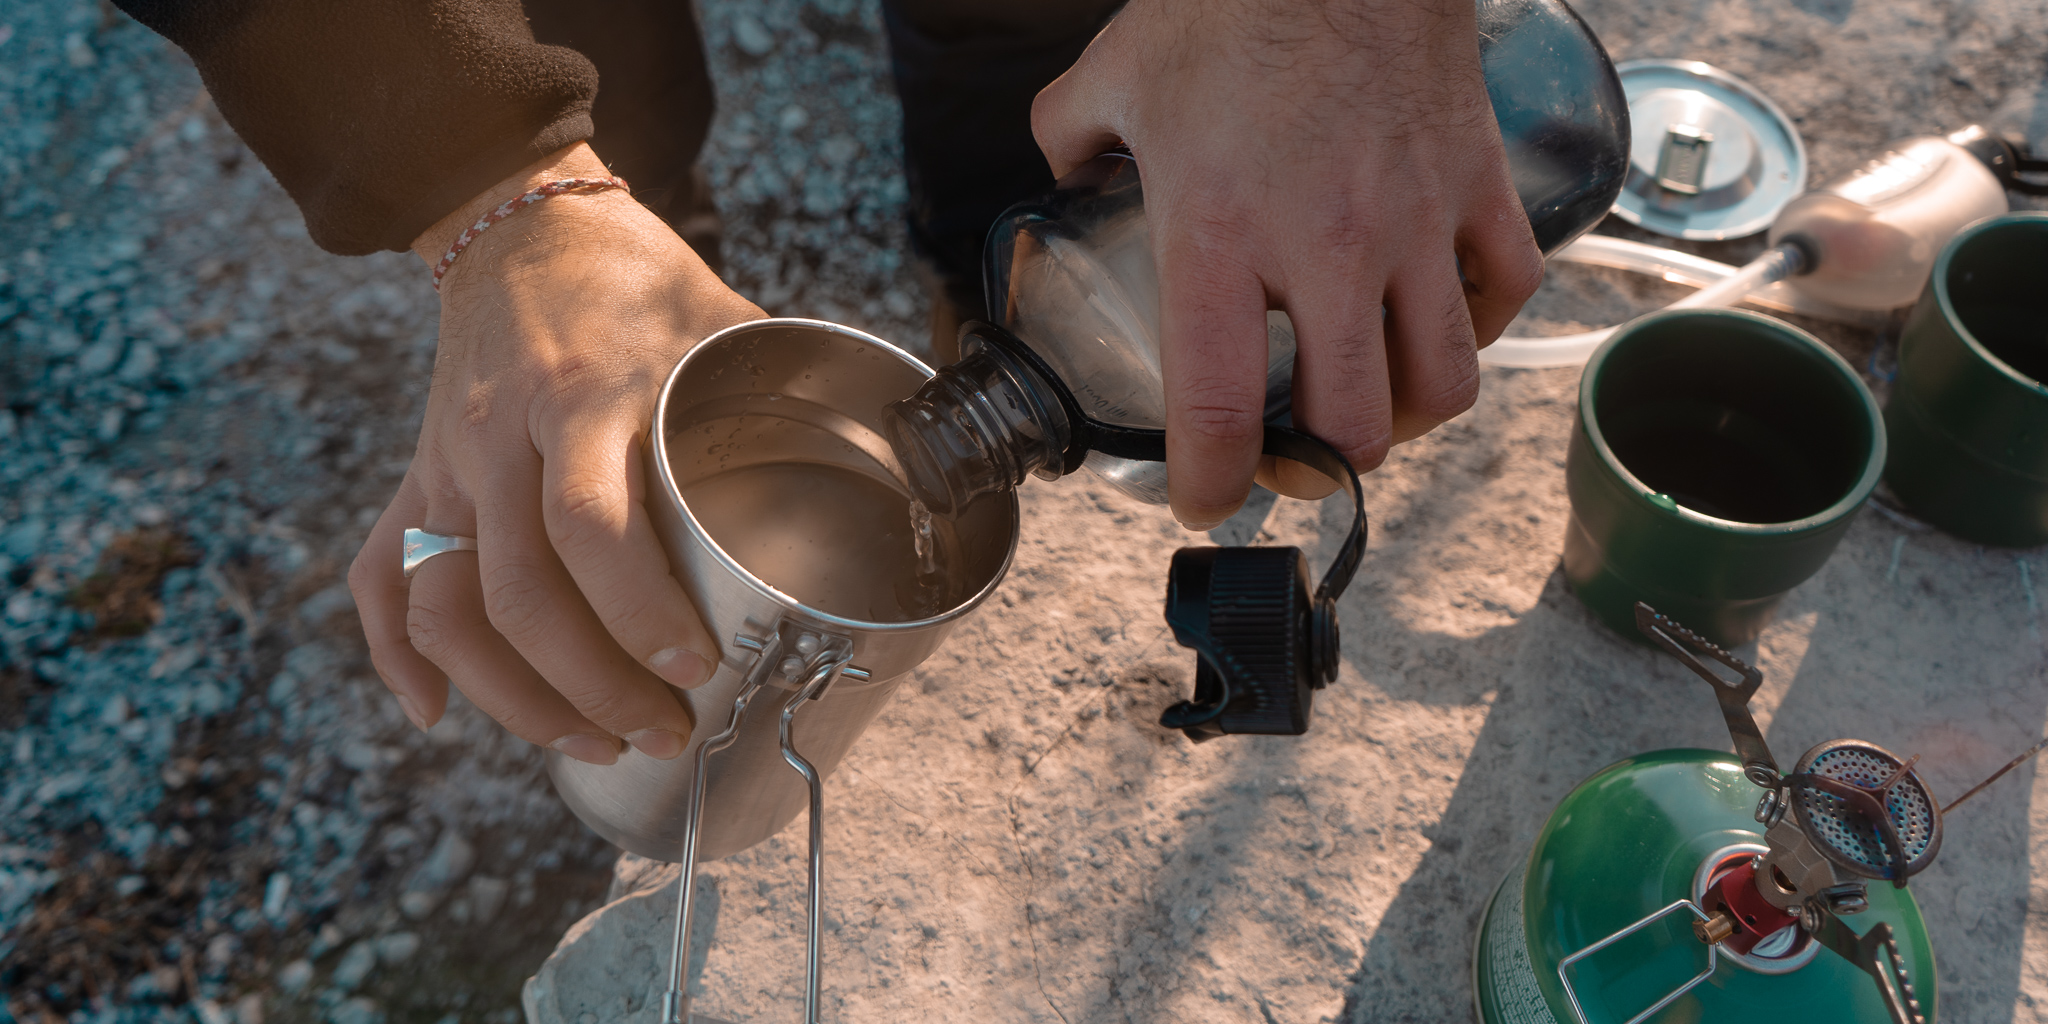
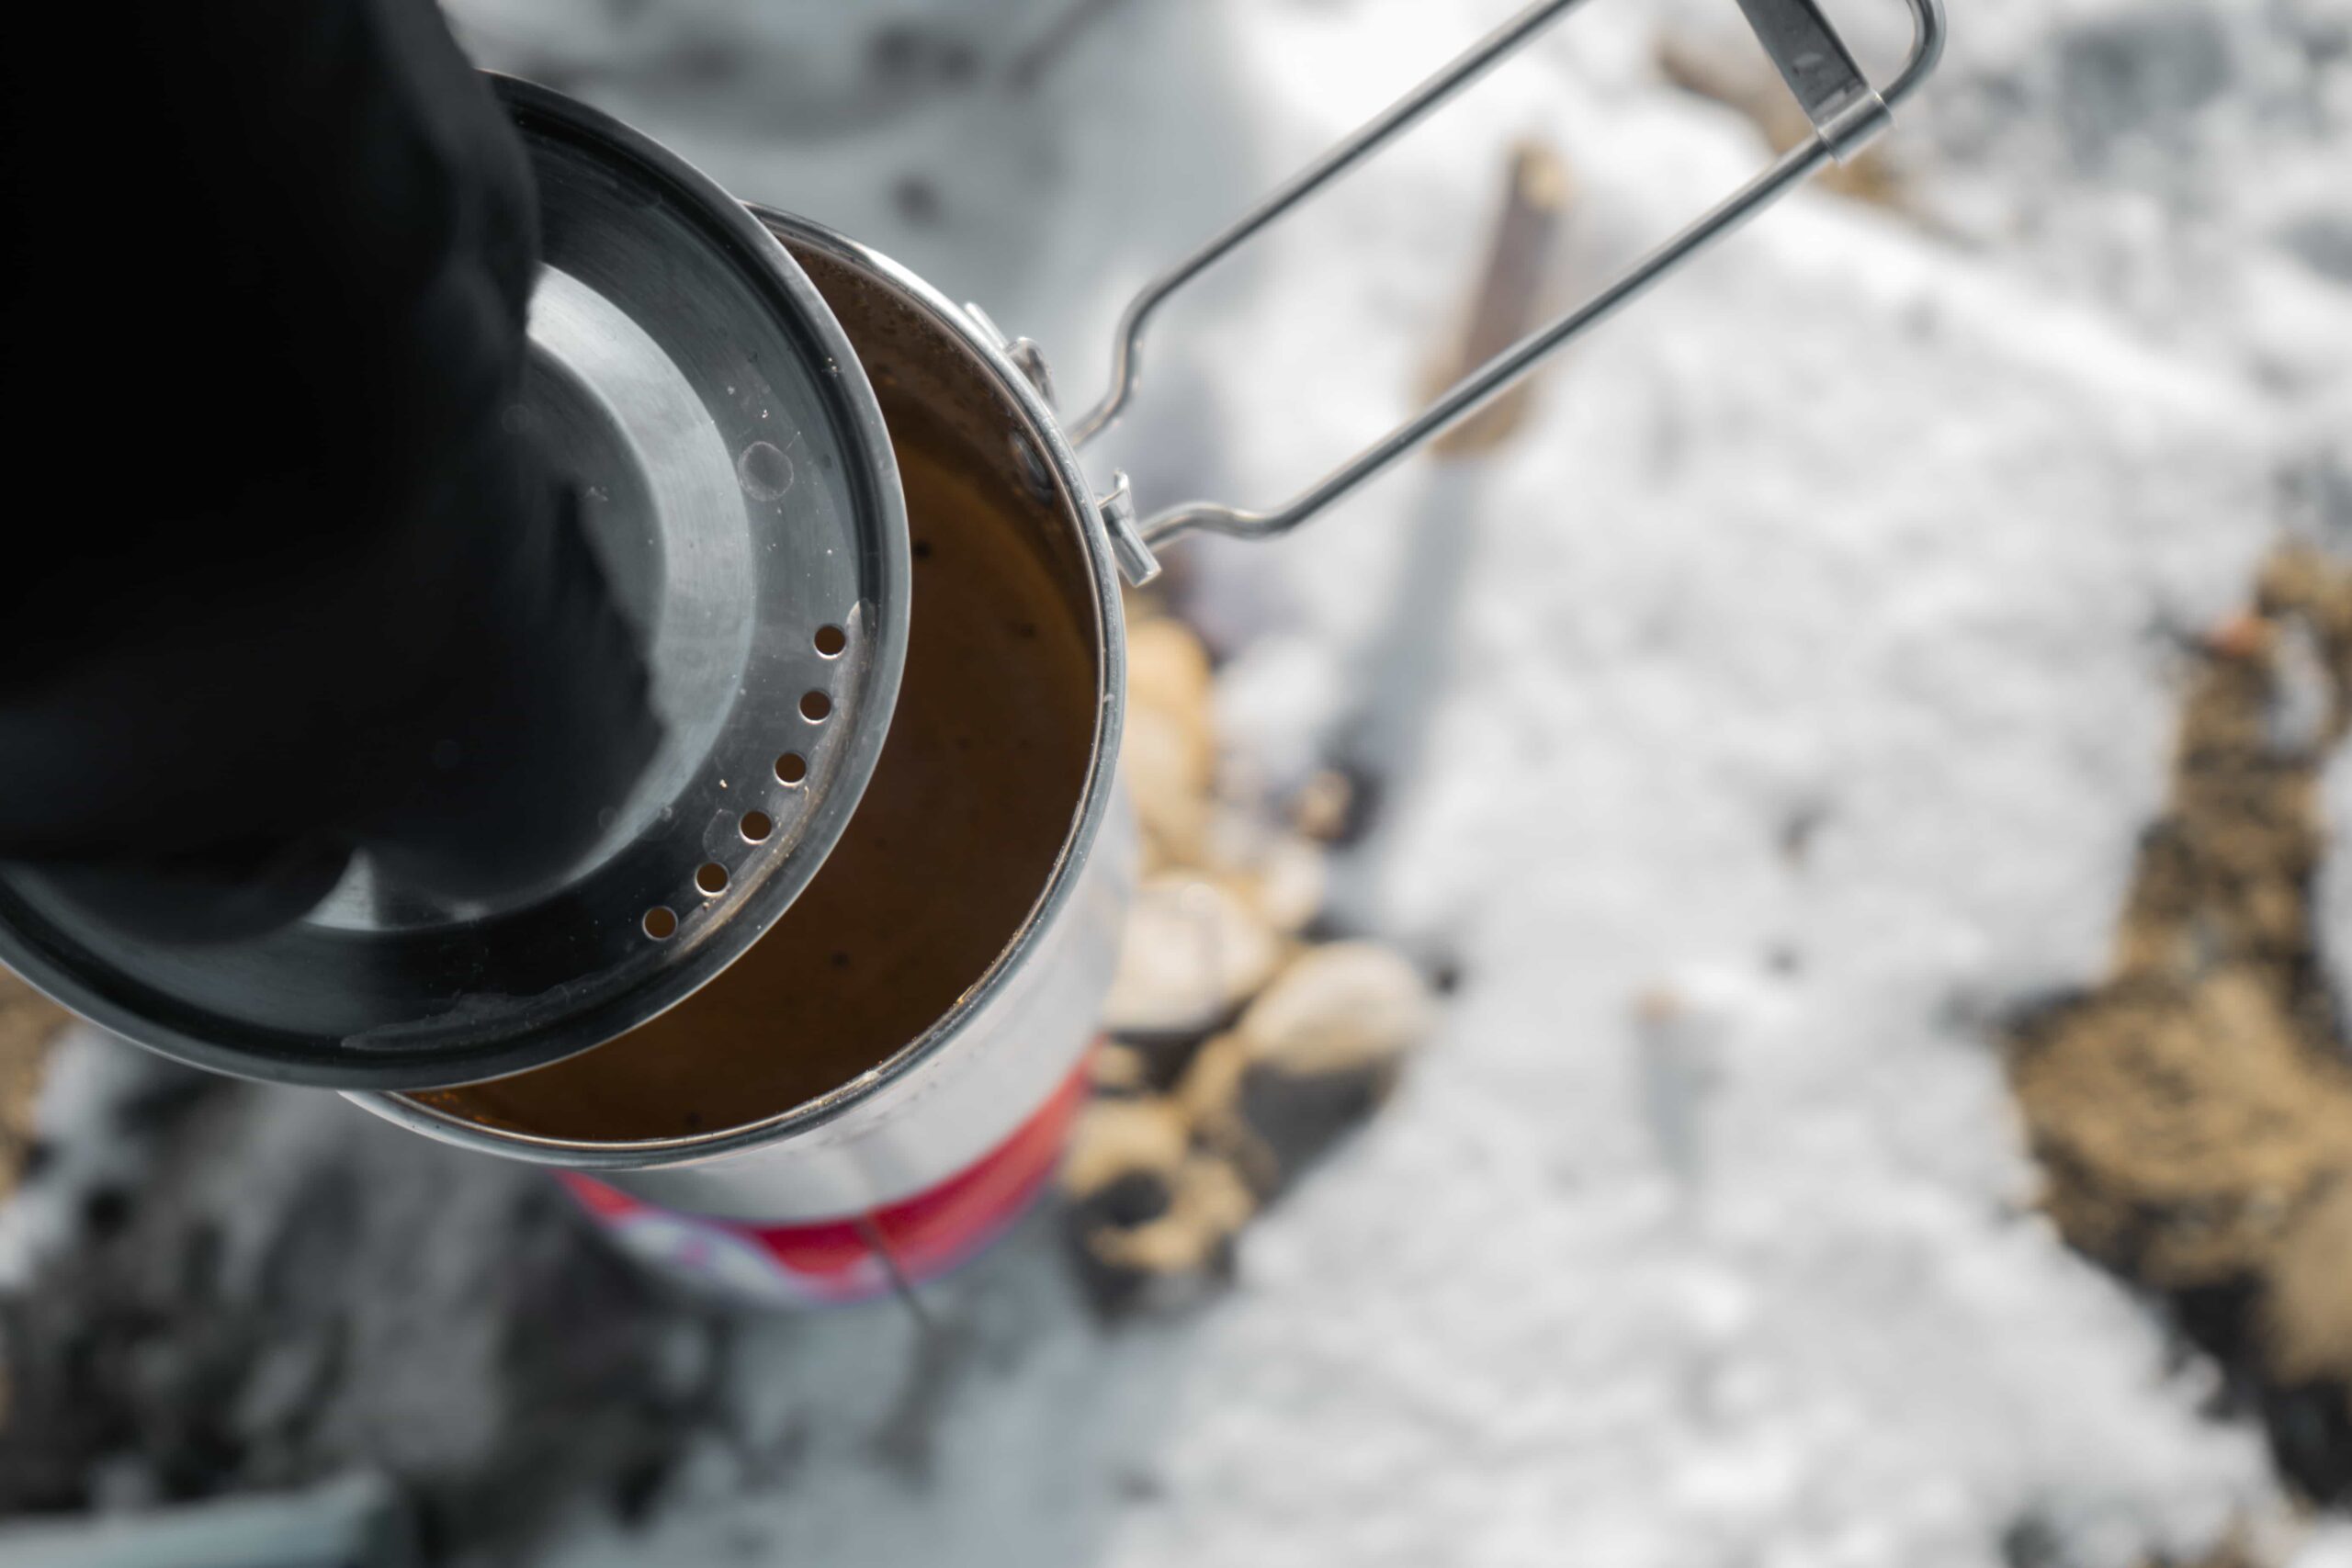
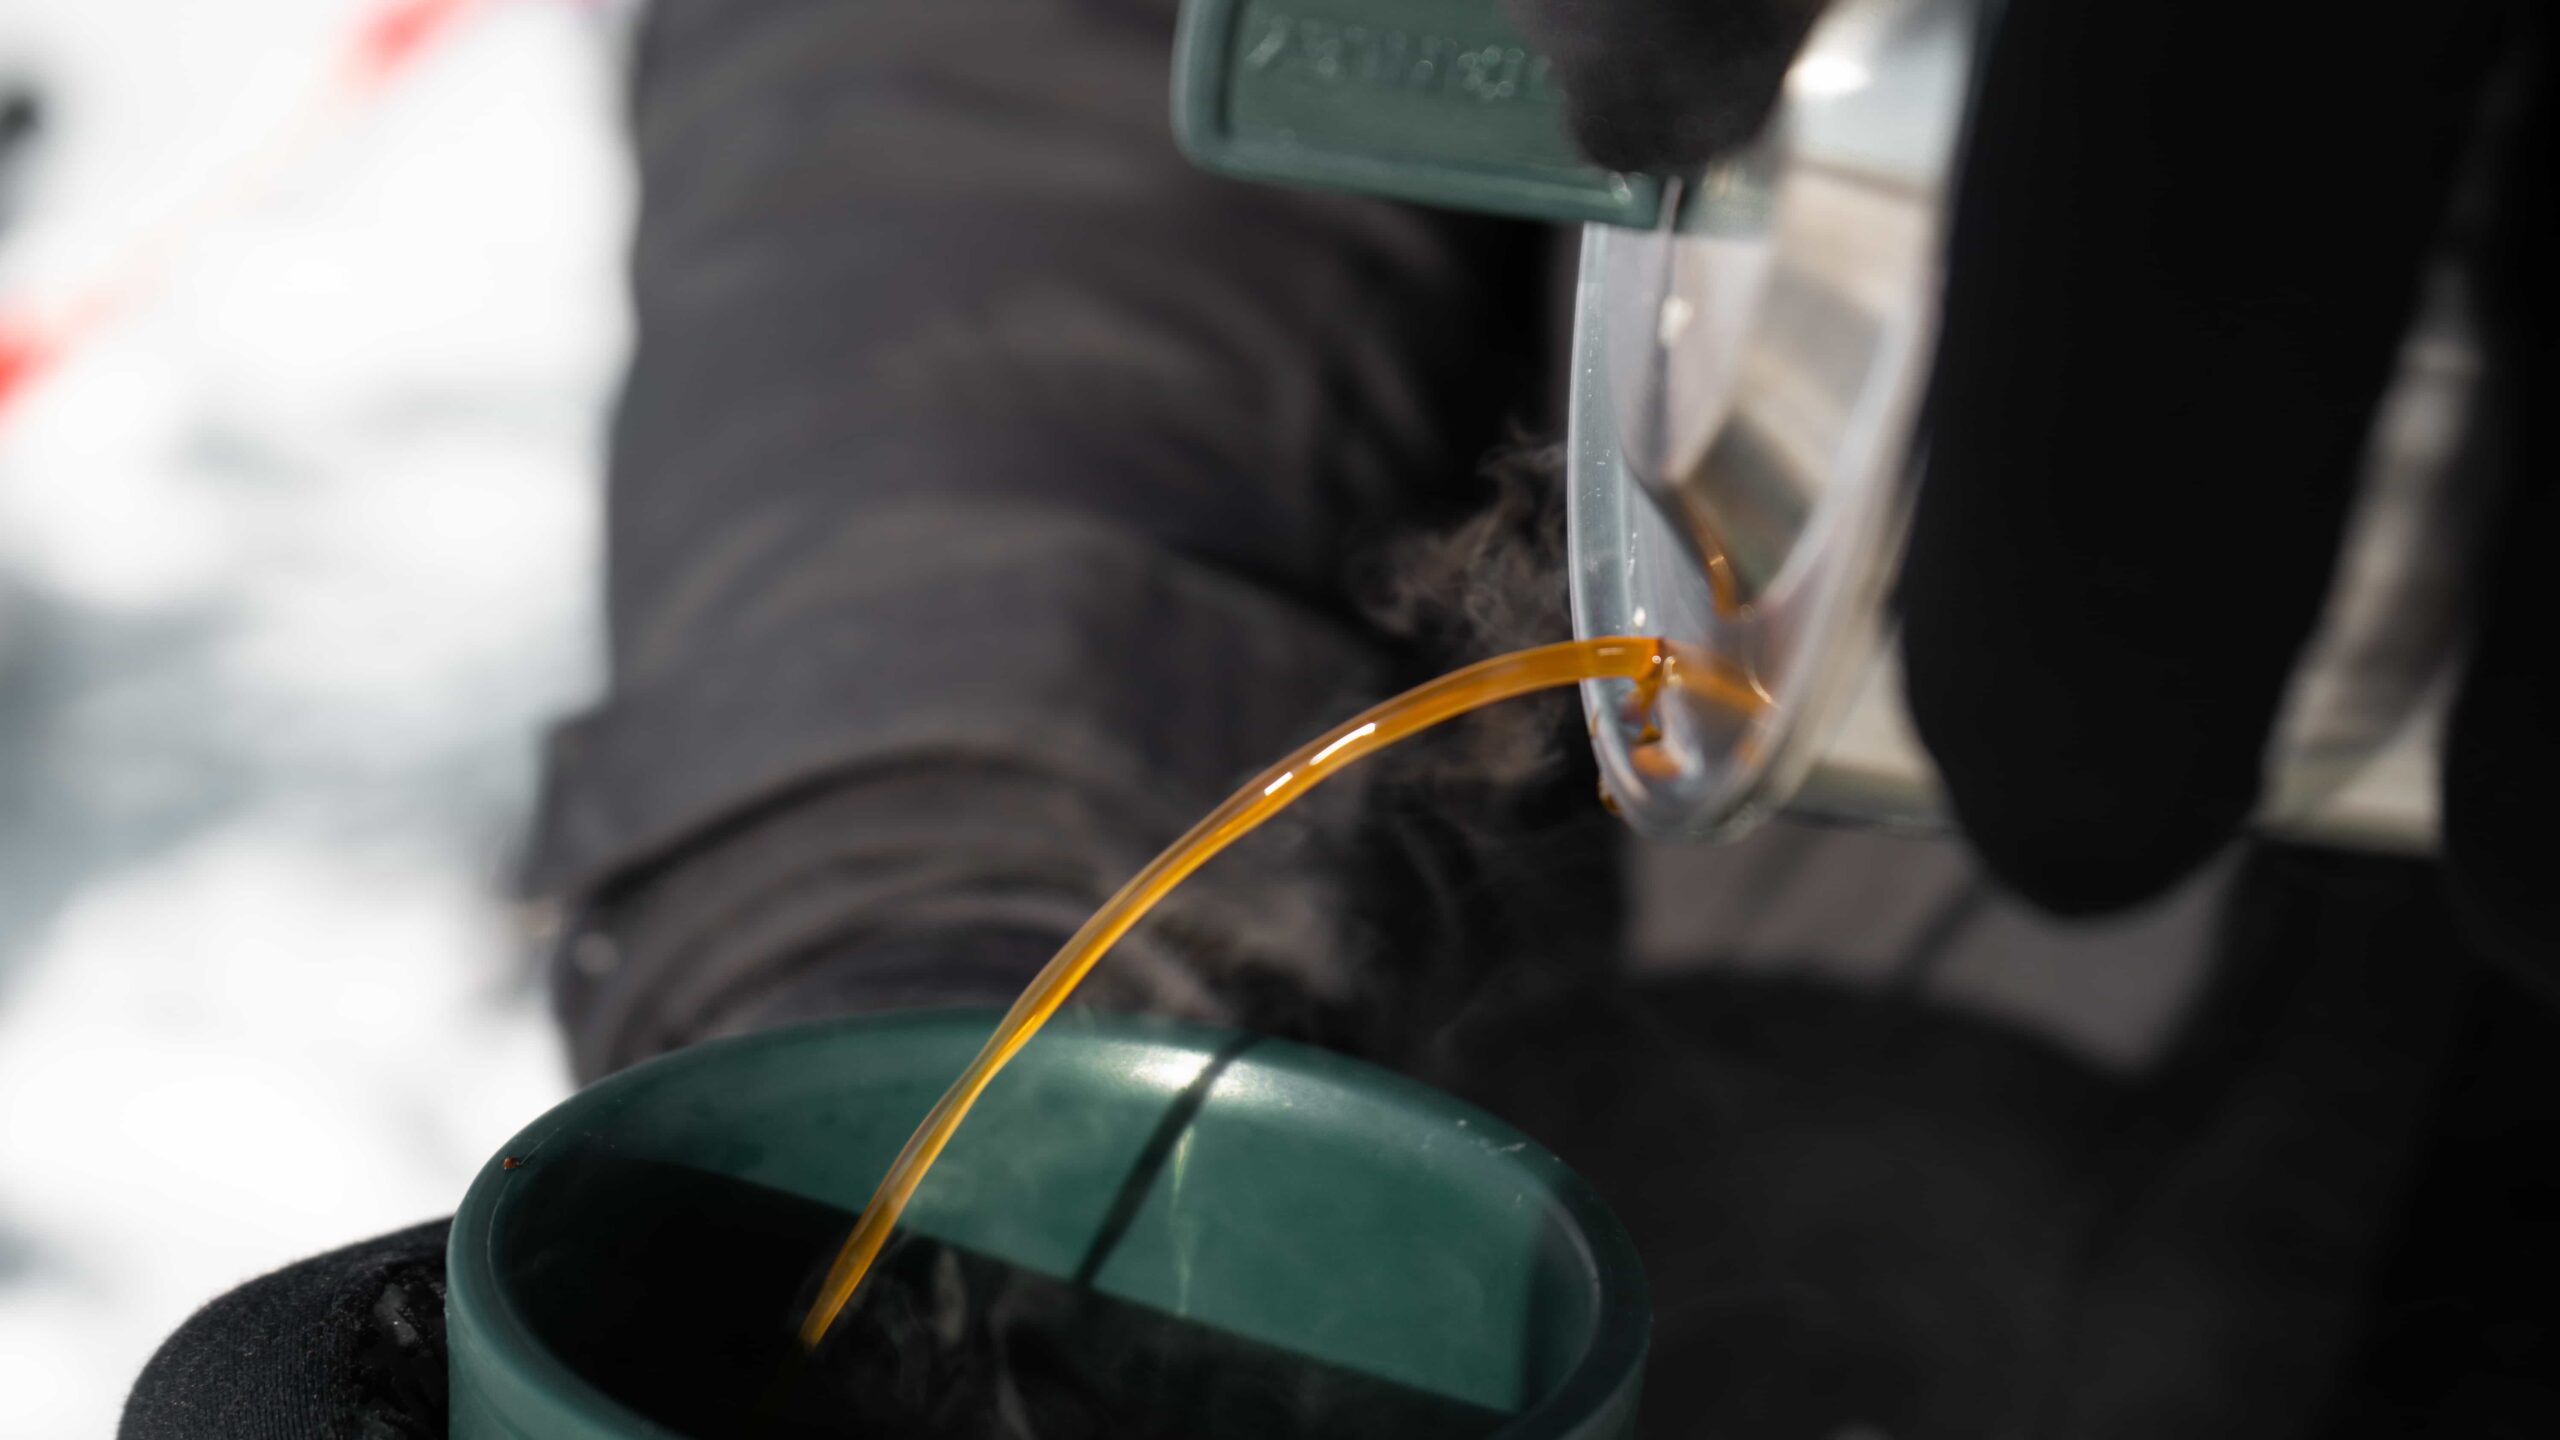
Those are the essentials, and what we use. No product plugs though, so feel free to seek out alternatives. We will say that we often roll with our Aeropress for some fresh espressos but we’d be happy without it. What we appreciate about our pot is that it has a strainer built into the lid, super clutch when it comes to not getting those grains/tea leaves in your cup. We’re using this Stanley pot that has a handle and comes with two plastic cups, which stow away into the pot – it’s super handy and space friendly.
We’re using a simple and cheap $3 butane lighter, it’s a bit easier to get the fire started versus a traditional lighter – the torch style flame makes getting the fire started nice and quick. To weather proof your kit, consider waterproof matches.
Of course, there’s the good stuff! Whether it’s instant coffee, fresh grounds with your japanese burred Porlex, your finest organic chai blend or some instant oats – bring your favourites!
Water
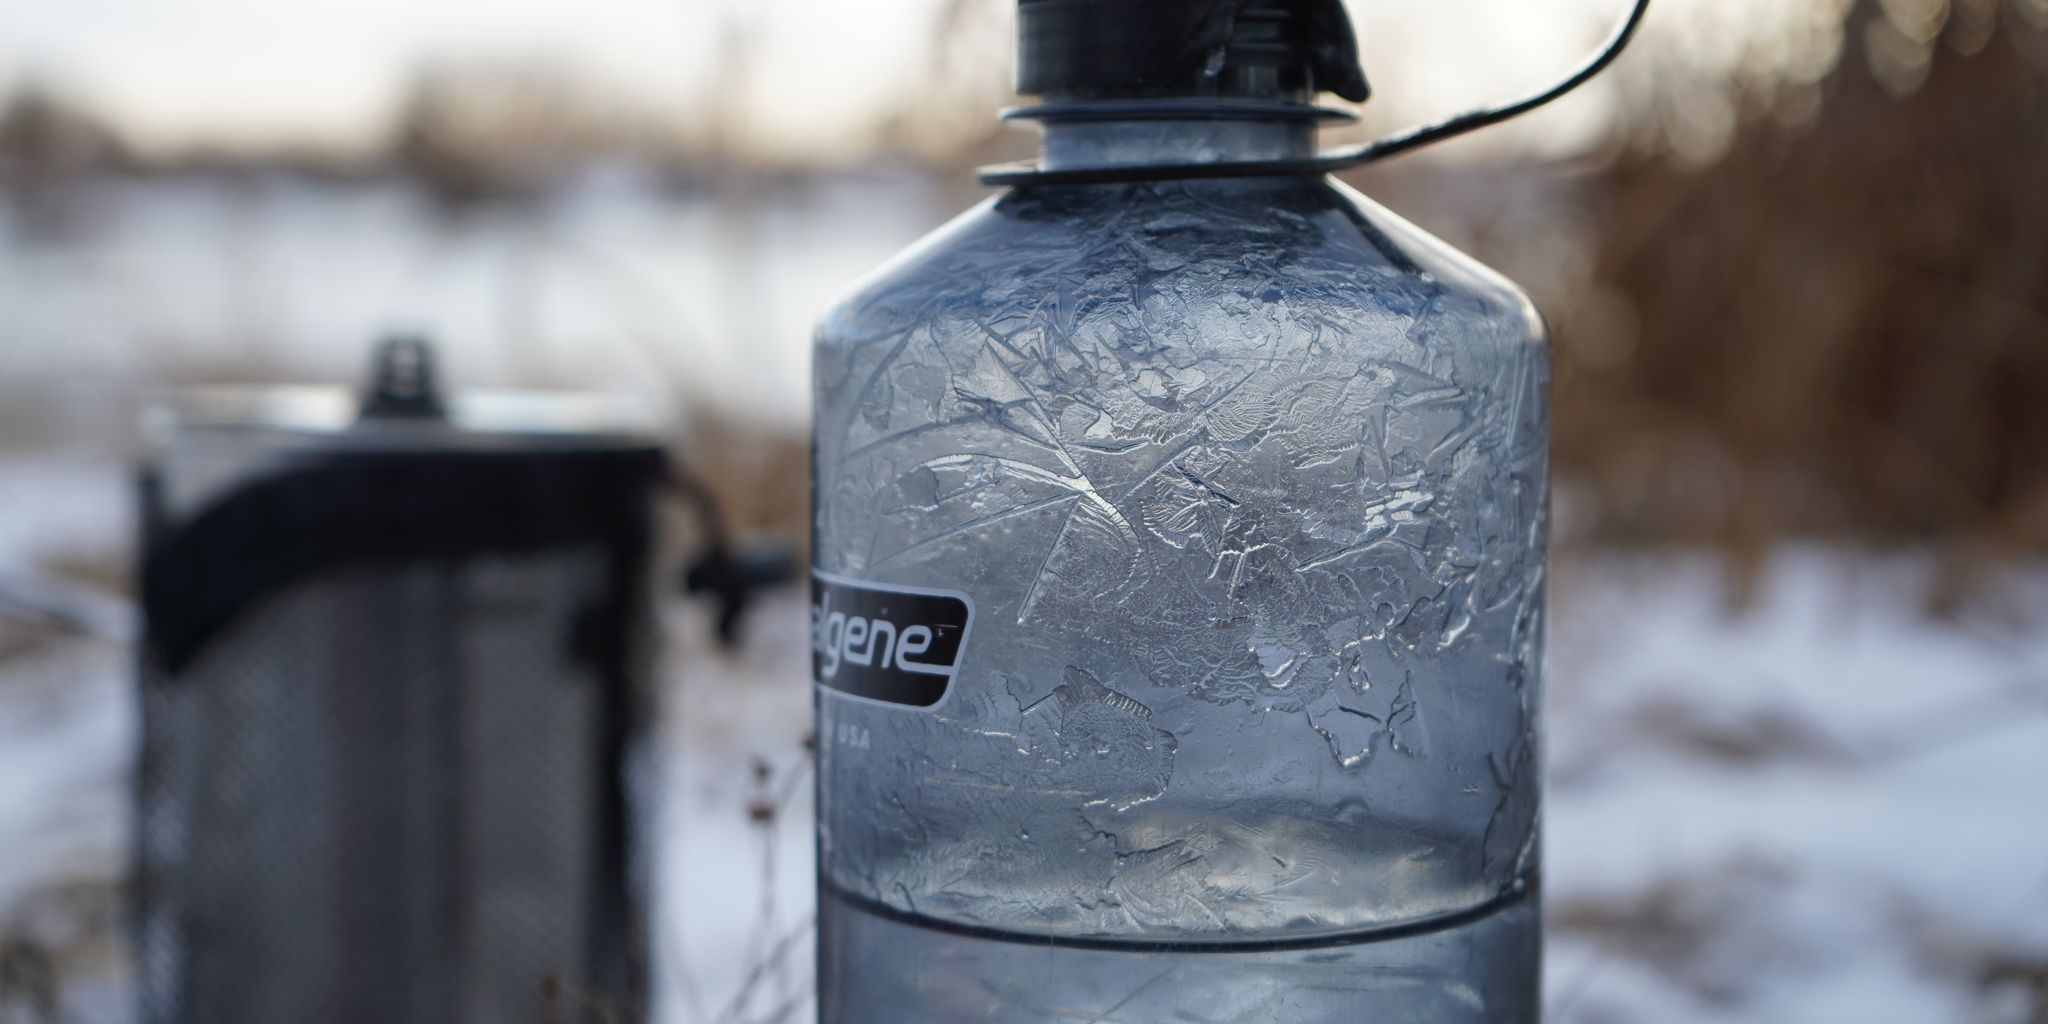
Stating the obvious here, but can’t forget the water. Water can actually get a bit tricky, and requires some intentional thought and planning – you don’t want to run out of water! We often roll with a Nalgene 32oz bottle and an extra water bottle but sometimes that’s just not enough.
You can plan around water refill stations or carry more water. We love our MSR Trailshot and it has saved our tails and extended our adventures more times than we can count. It helps us re-up and filter water making it safe to drink, most of the time. *Most of the time is the key, but there are some situations where, even the trailshot, won’t make the water safe enough to drink. The trailshot has a filter size of 0.2 microns, it’ll catch a lot but it won’t save you from viruses such as Giardiasis, toxins from bacteria such as E. Coli or run off from agricultural farmland. We keep a few water filtration tabs just in case we’re in a pinch…
We suggest researching the areas you’re travelling to review the safety of the water and then planning accordingly. Water y’all.
Setting Up
Try to find stable and level ground, it makes a big difference when you’re stacking a pot filled with water on to a pretty small camp stove. Depending on weather conditions, keeping the stove out the wind will help you get the water boiling faster, and help with set up time. On the note of getting water up to boiling, pot your lid for efficiency.
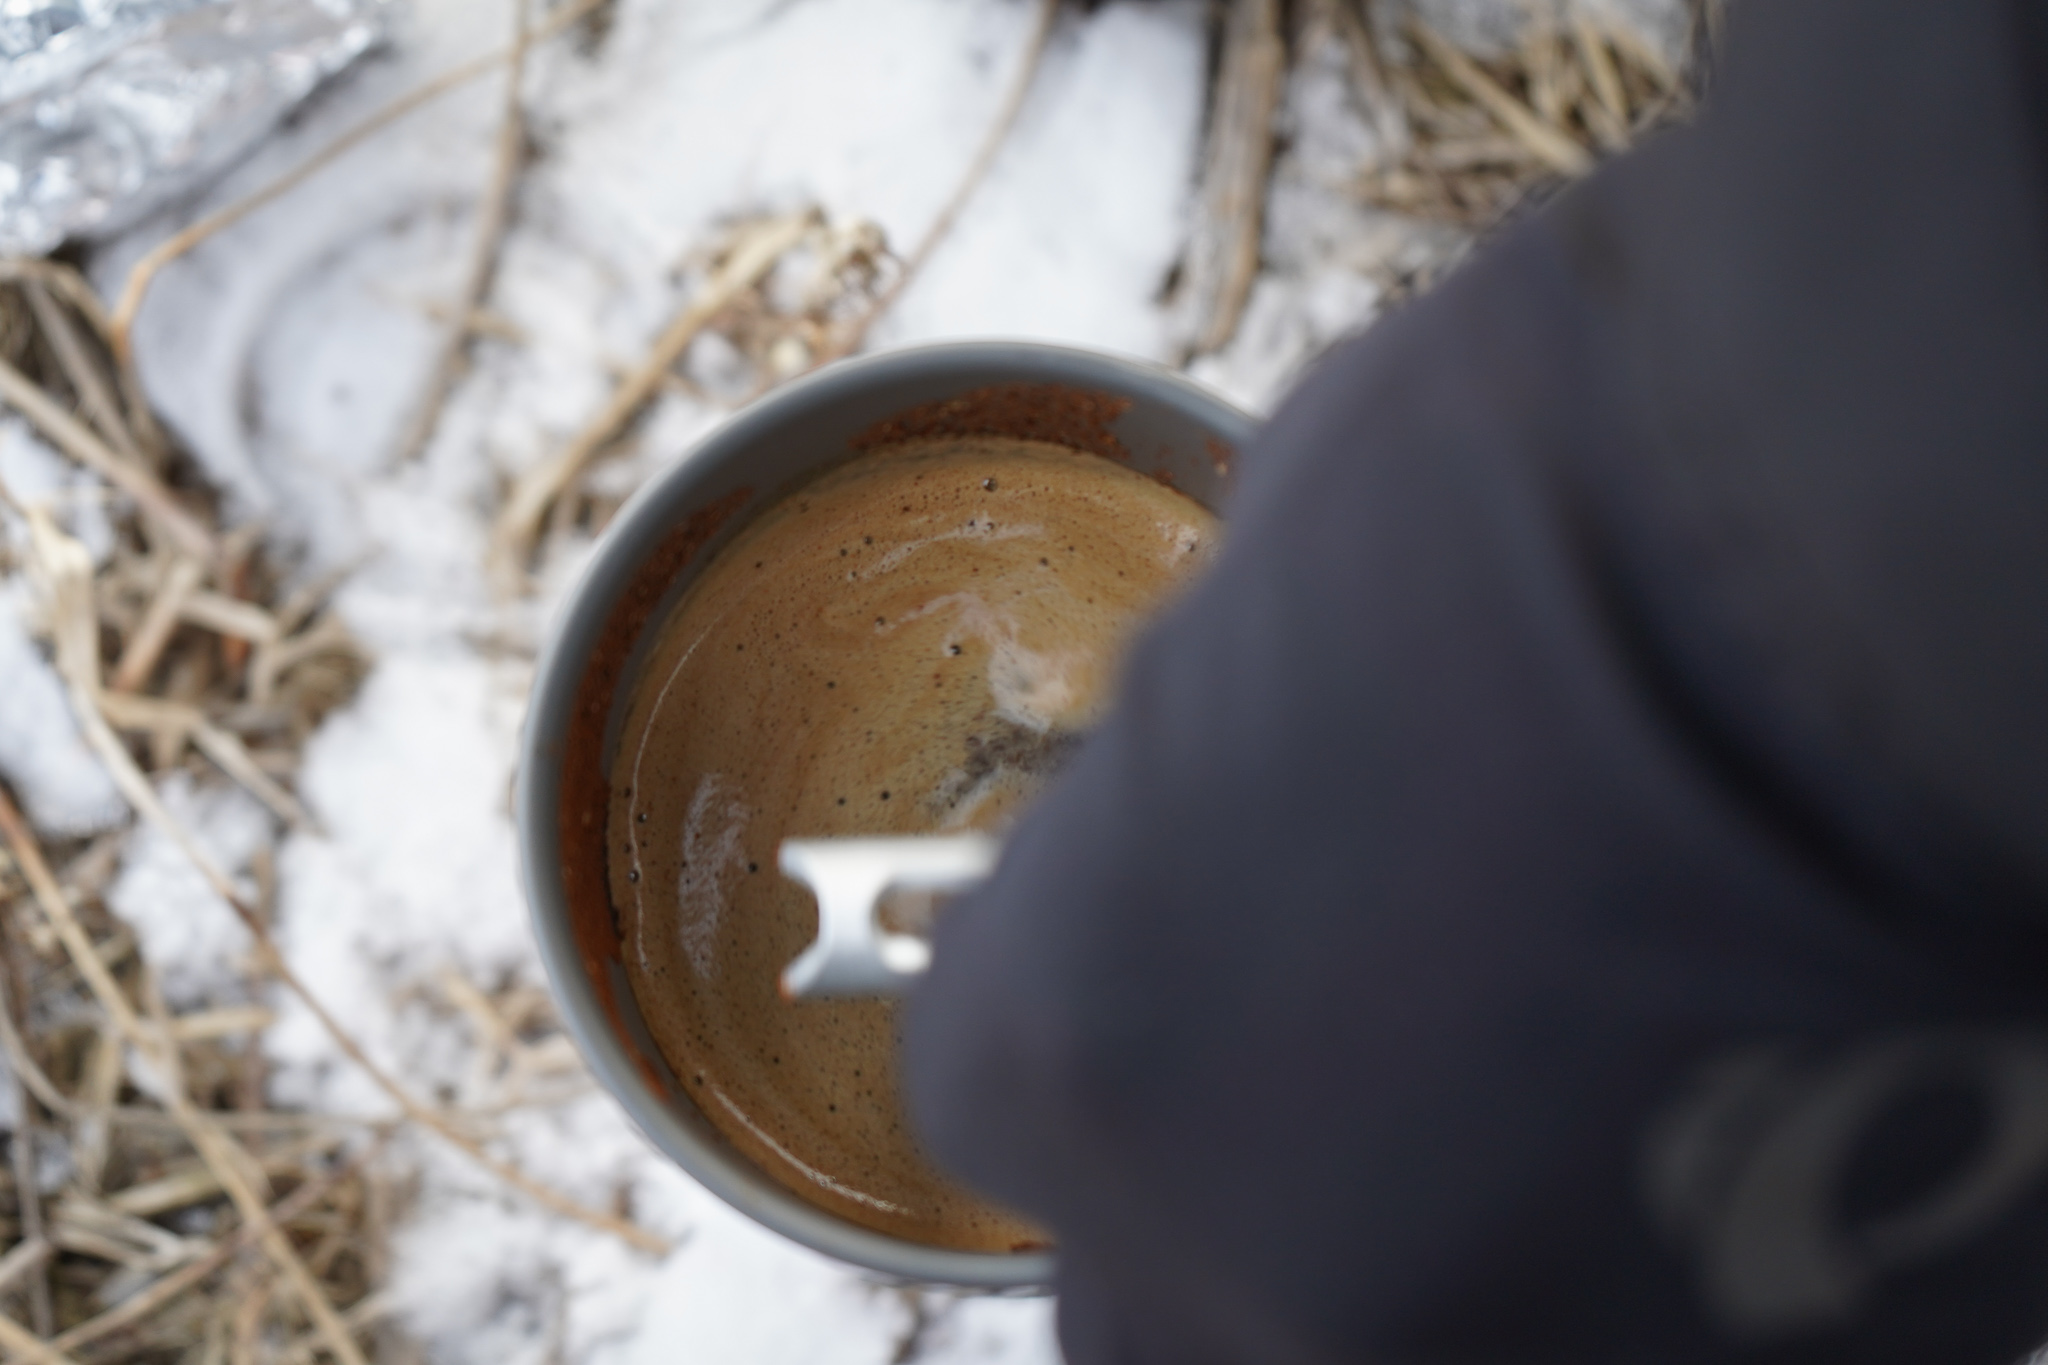
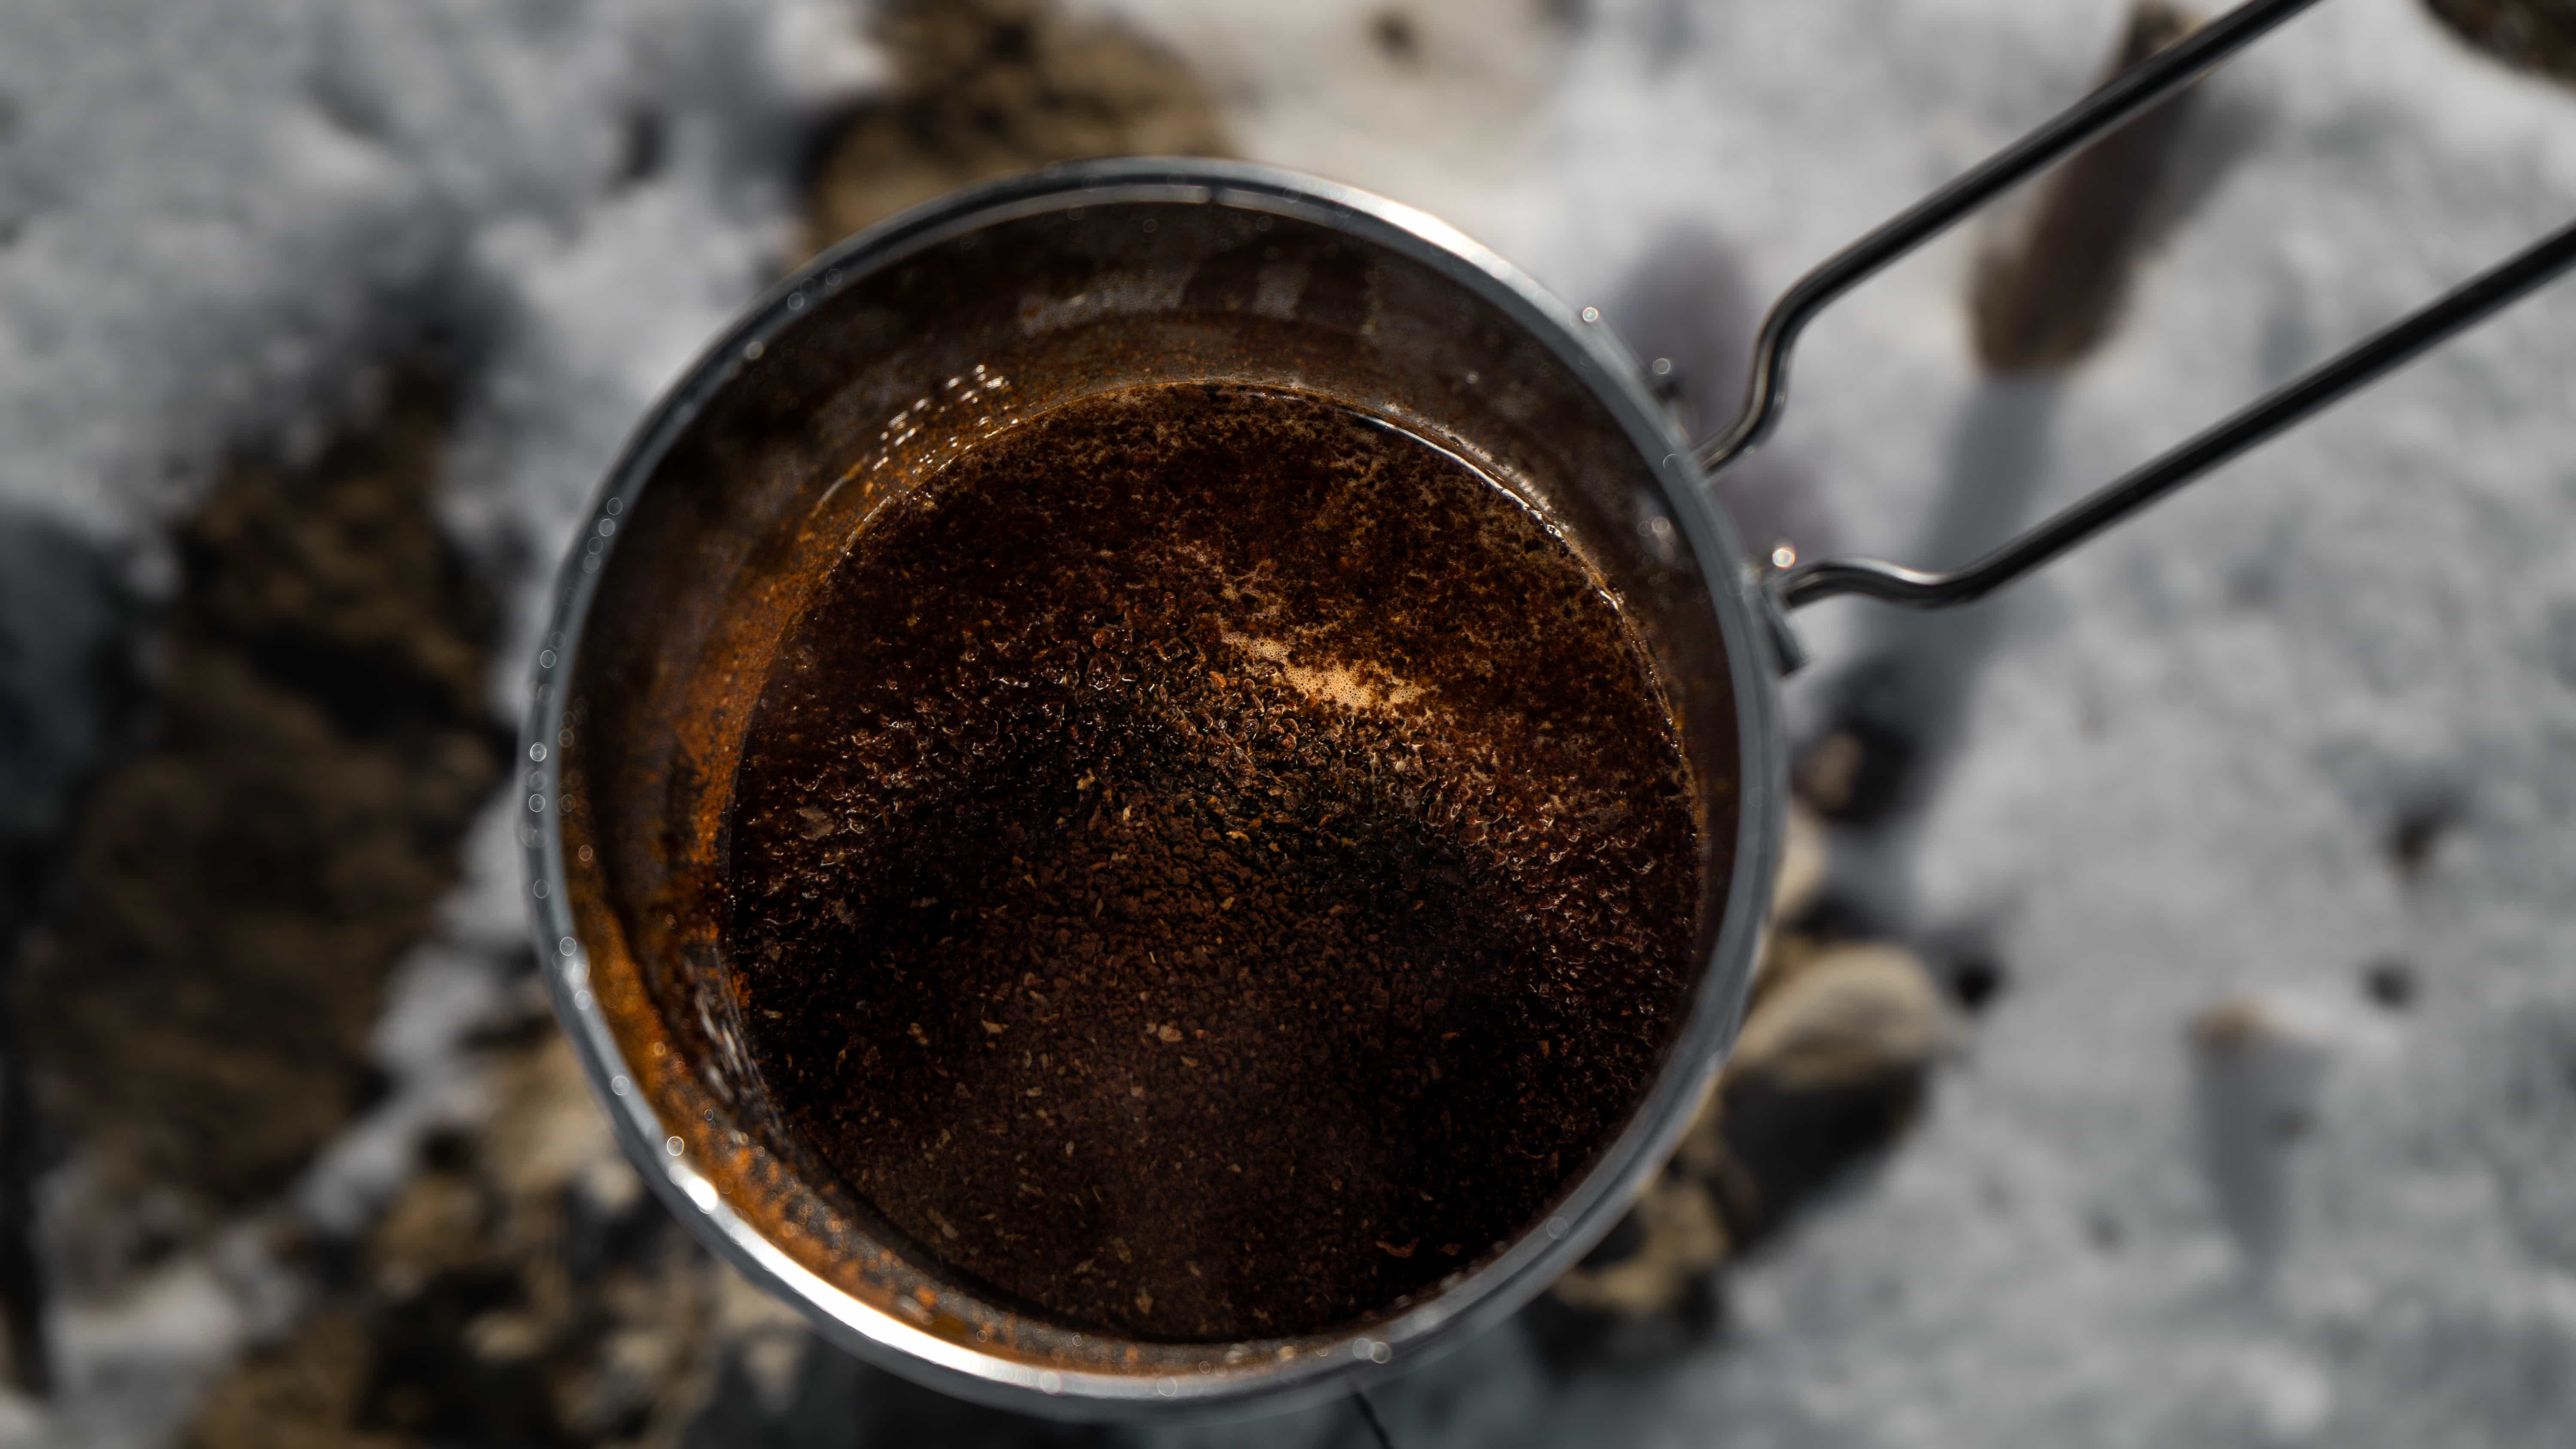
Keep an eye on the water, boil and steep/pour/press/strain as you need.
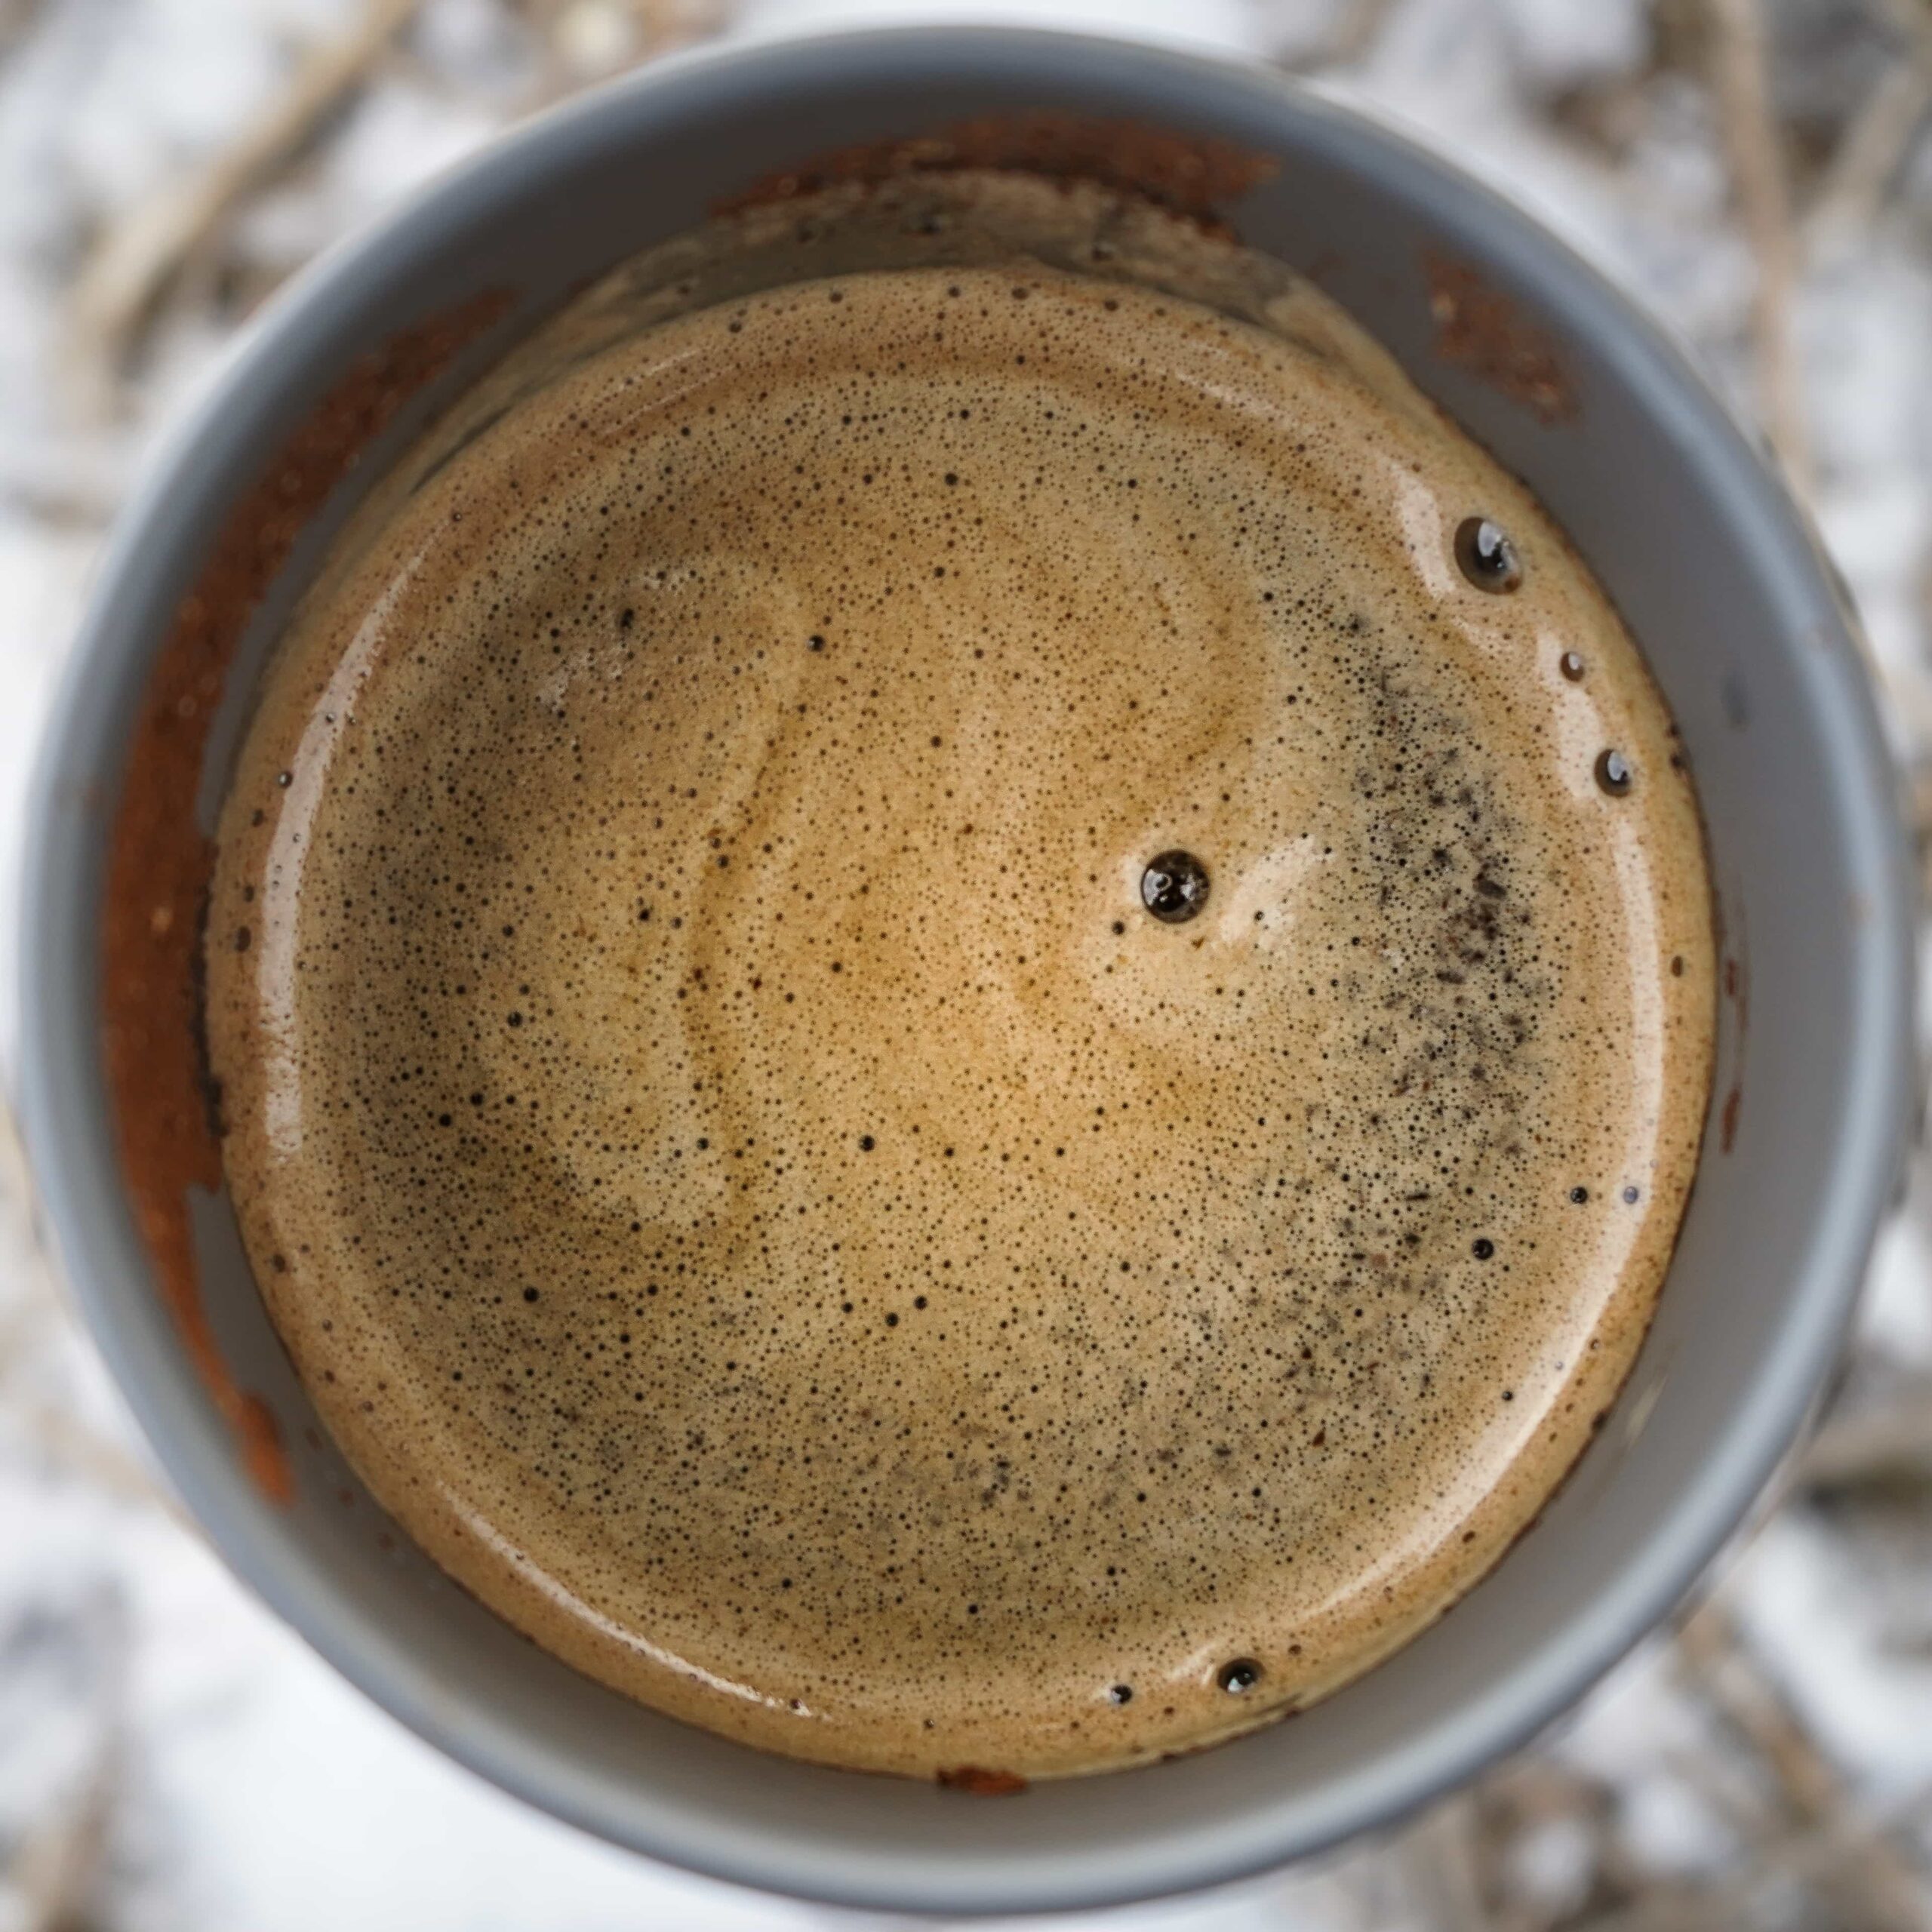
Pour up, drink.
No Trace Left Behind
After you’re done enjoying the process and the product, remember: don’t be an ass, leave it better than ya found it.

