Disclaimer: We’re no scouts, but we definitely like to be prepared. That being said, this resource shouldn’t be used as a substitute for medical advice and if you need to see a doctor, please do!
Outline:
Whether it ends your ride or is just annoying, injuries suck. This resource includes a list of all the items you’ll need to start your own everyday carry medical kit. For those looking for a more extensive resource, we’ve also included a few extras that’ll extend your range and buy you more time in case of a serious medical emergency.
We recognize that equipment is just one half of the solution so we’ve also included educational resources to equip you with the skills you need to be an effective first responder.
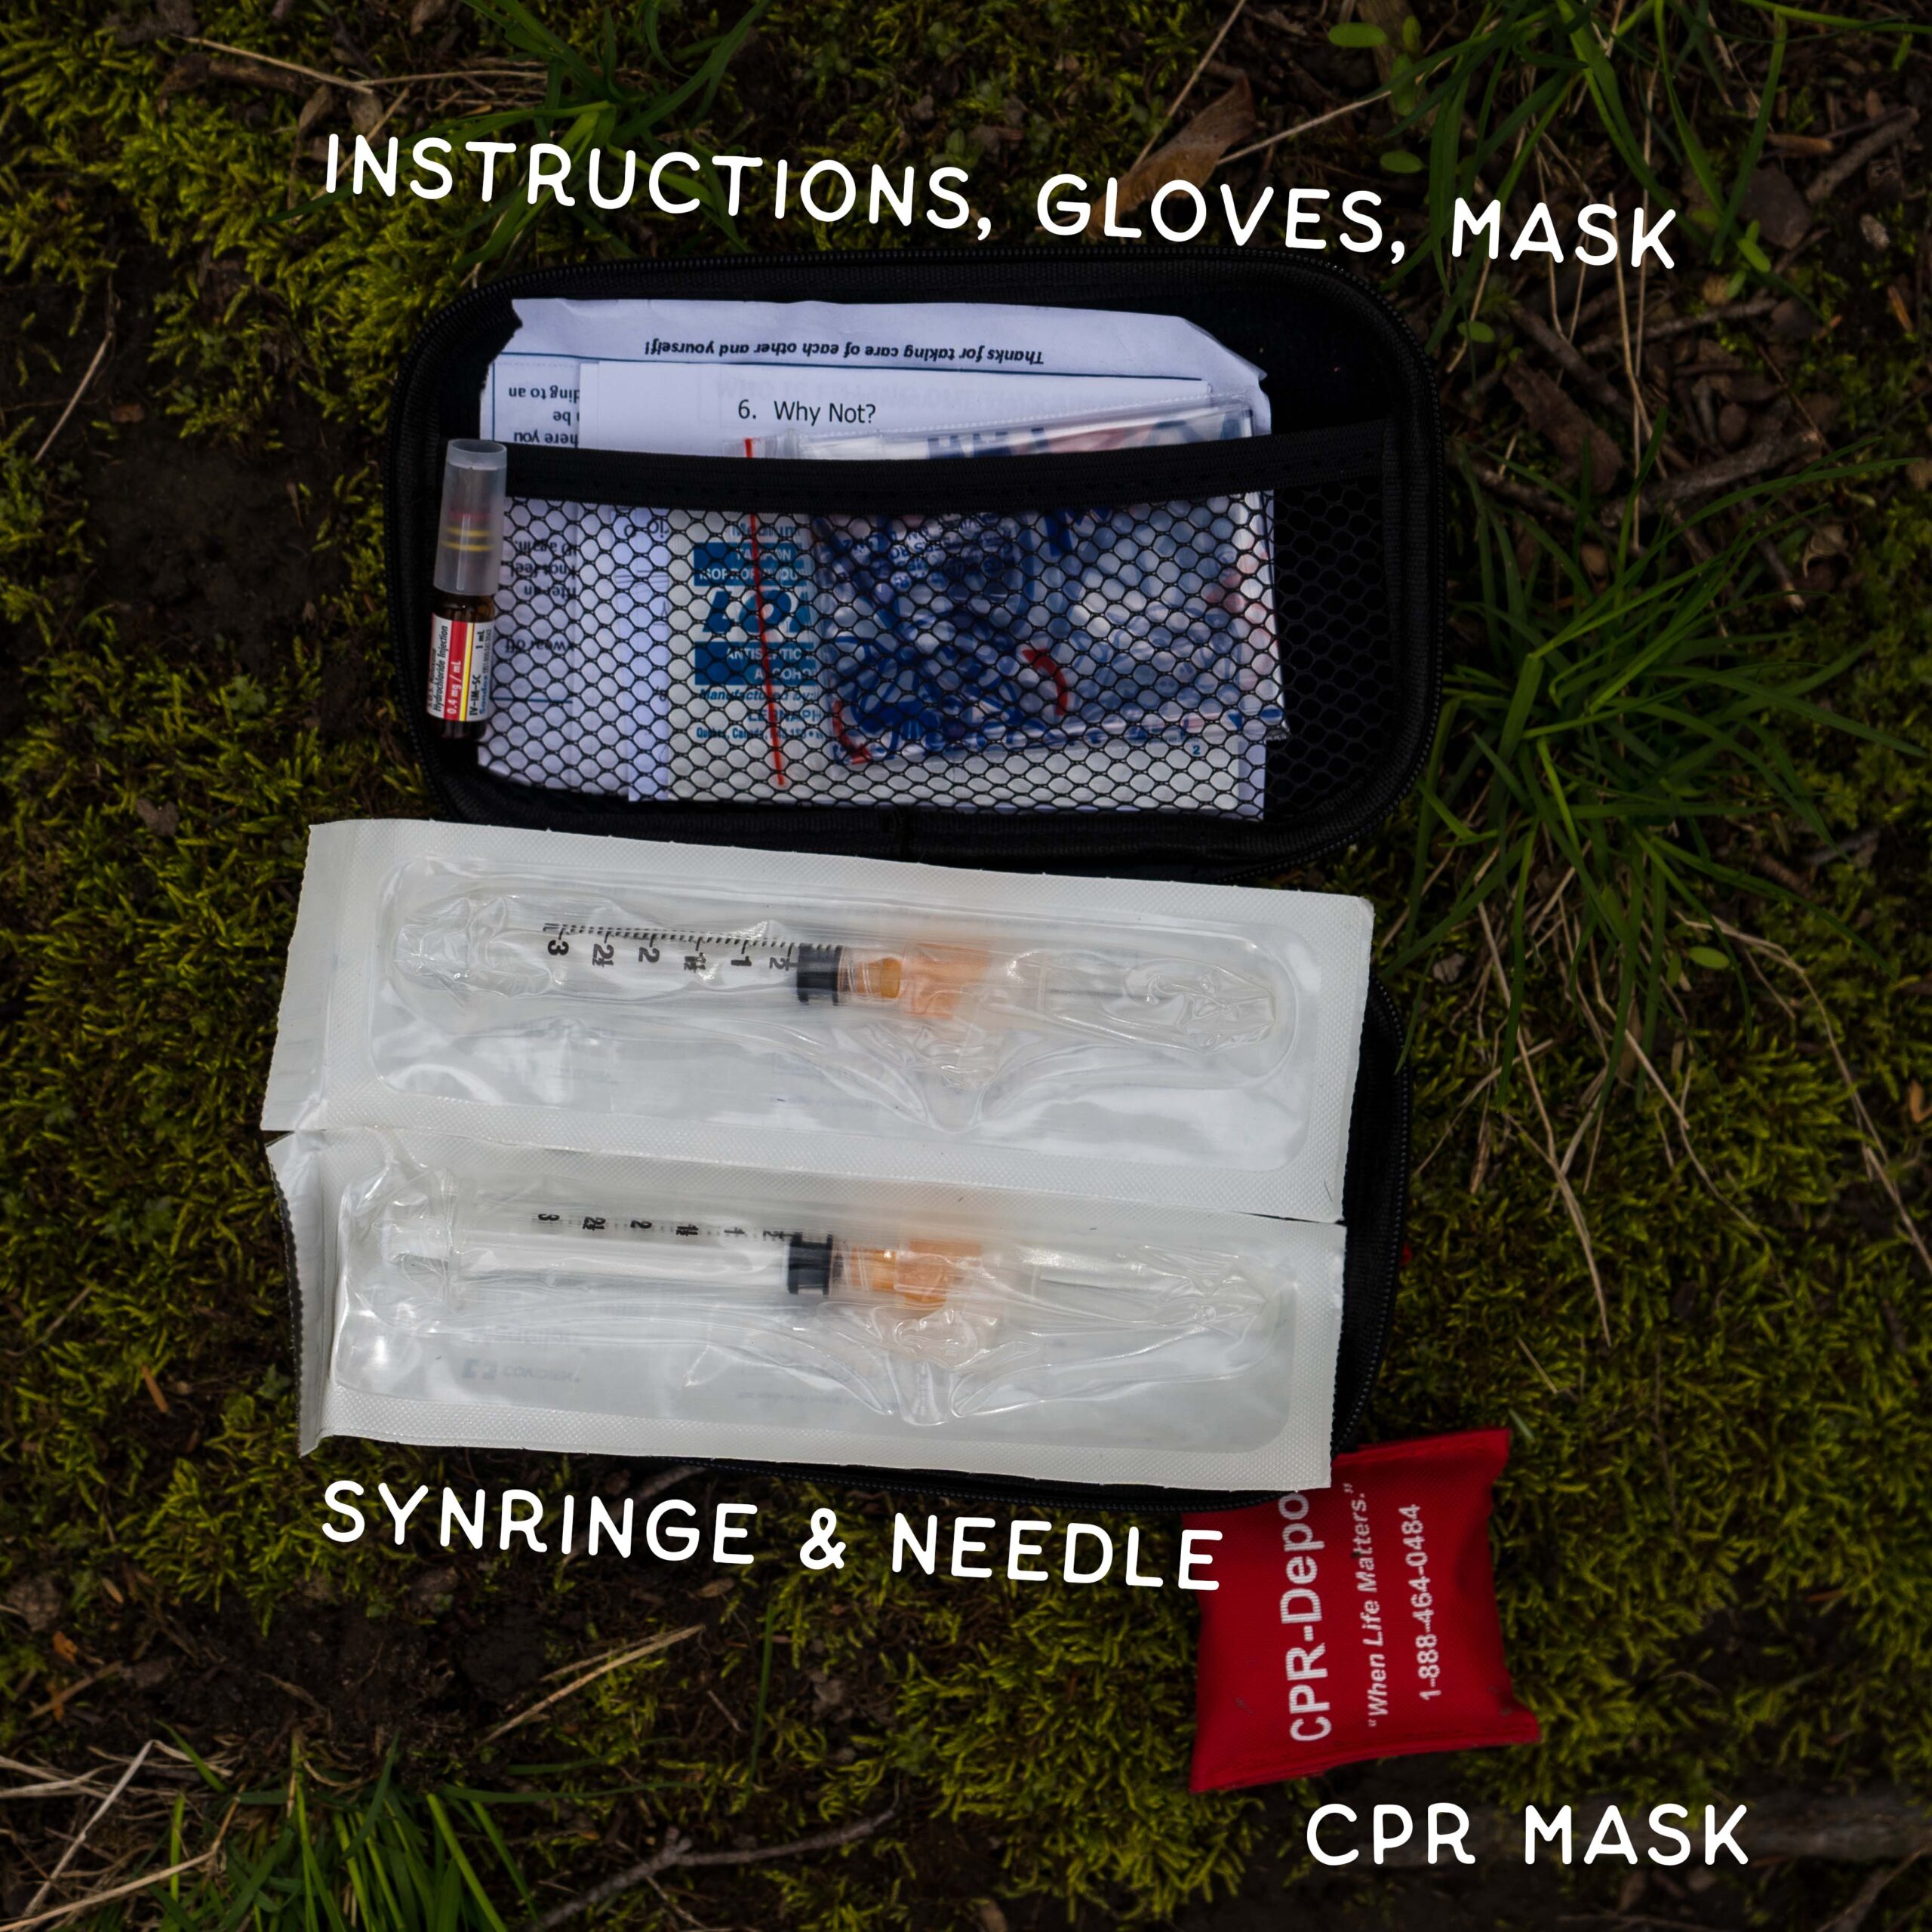
Finally, you’ll notice we’ve included a section on adding Naloxone to your kit. We’ve outlined it in more detail below, but Naloxone is a life-saving medication to treat opioid overdoses. As community members, we believe we all have the responsibility to care for one another and the addition of Naloxone in our kit is no different.
The Medical Kit
The Be Nice Kit – Everyday Carry (EDC) is our base kit. We’ll outline 2 add-ons that you may or may not want/need:
1. Overnight Adventure Trip Add-on
2. Advanced Ouch Pouch Add-on
The Be Nice Kit: EDC
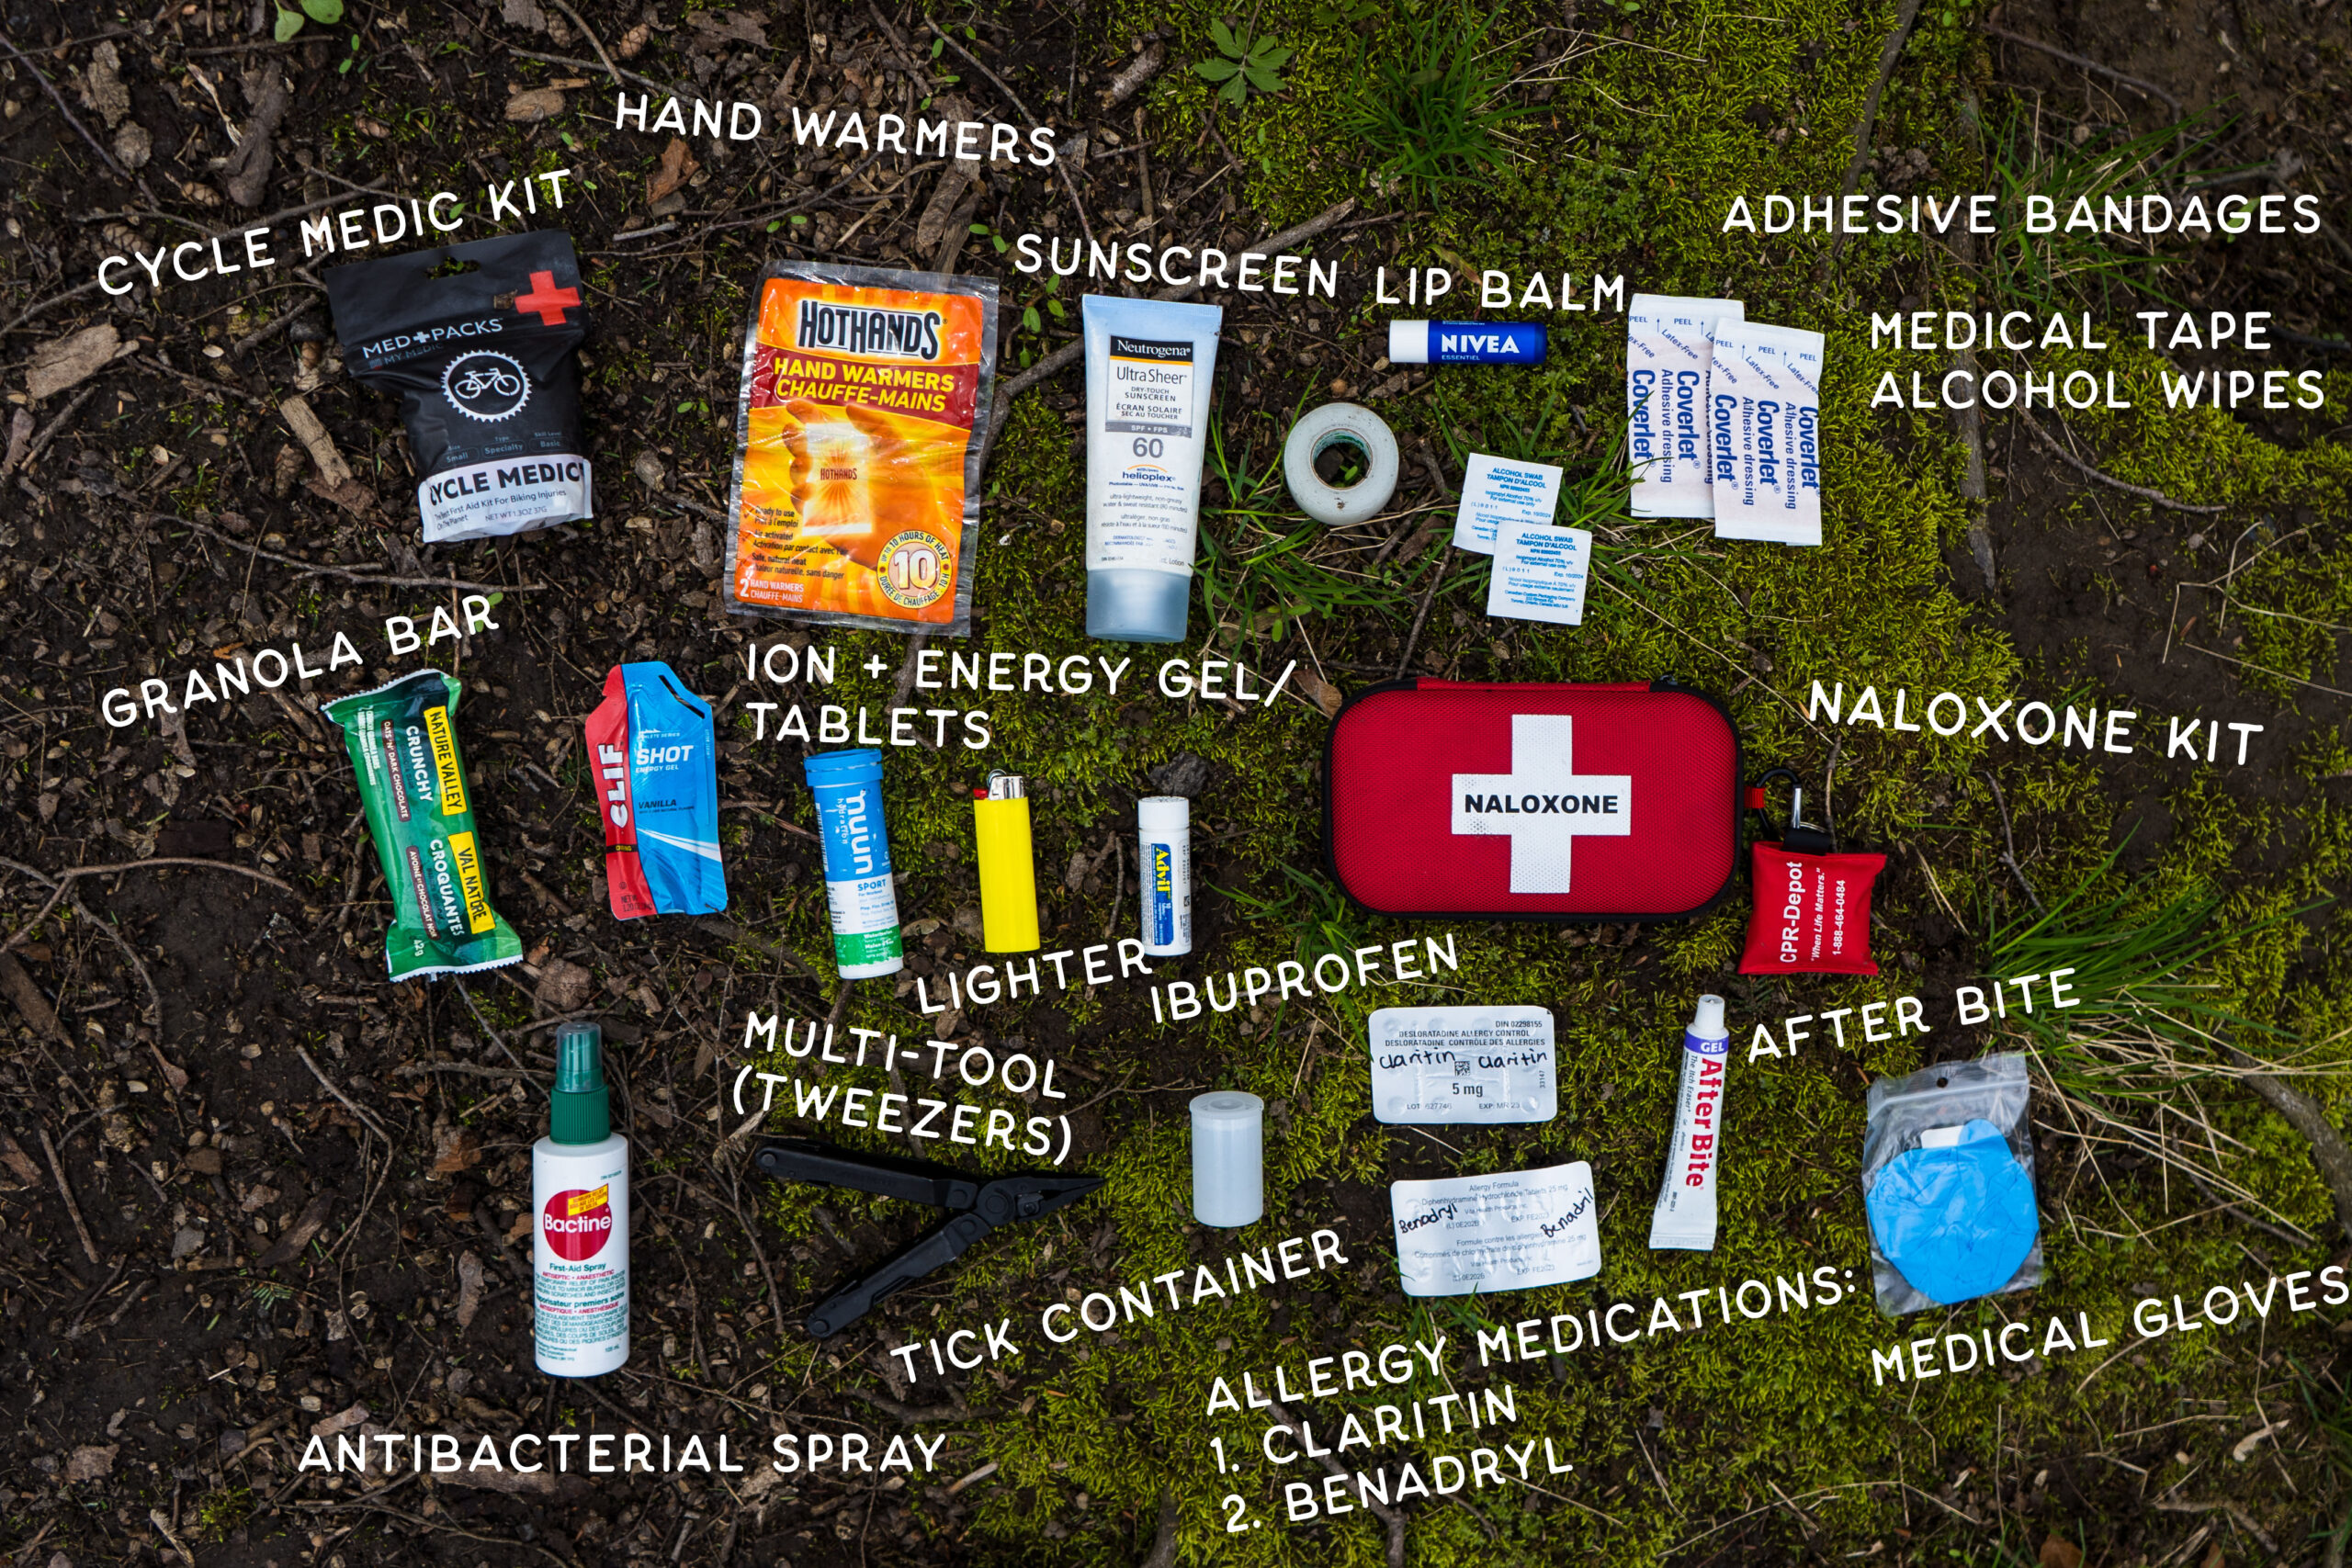
Our EDC medical kit includes an “Ouch Pouch ”, commonly used medications and a Narcan (Naloxone) kit.
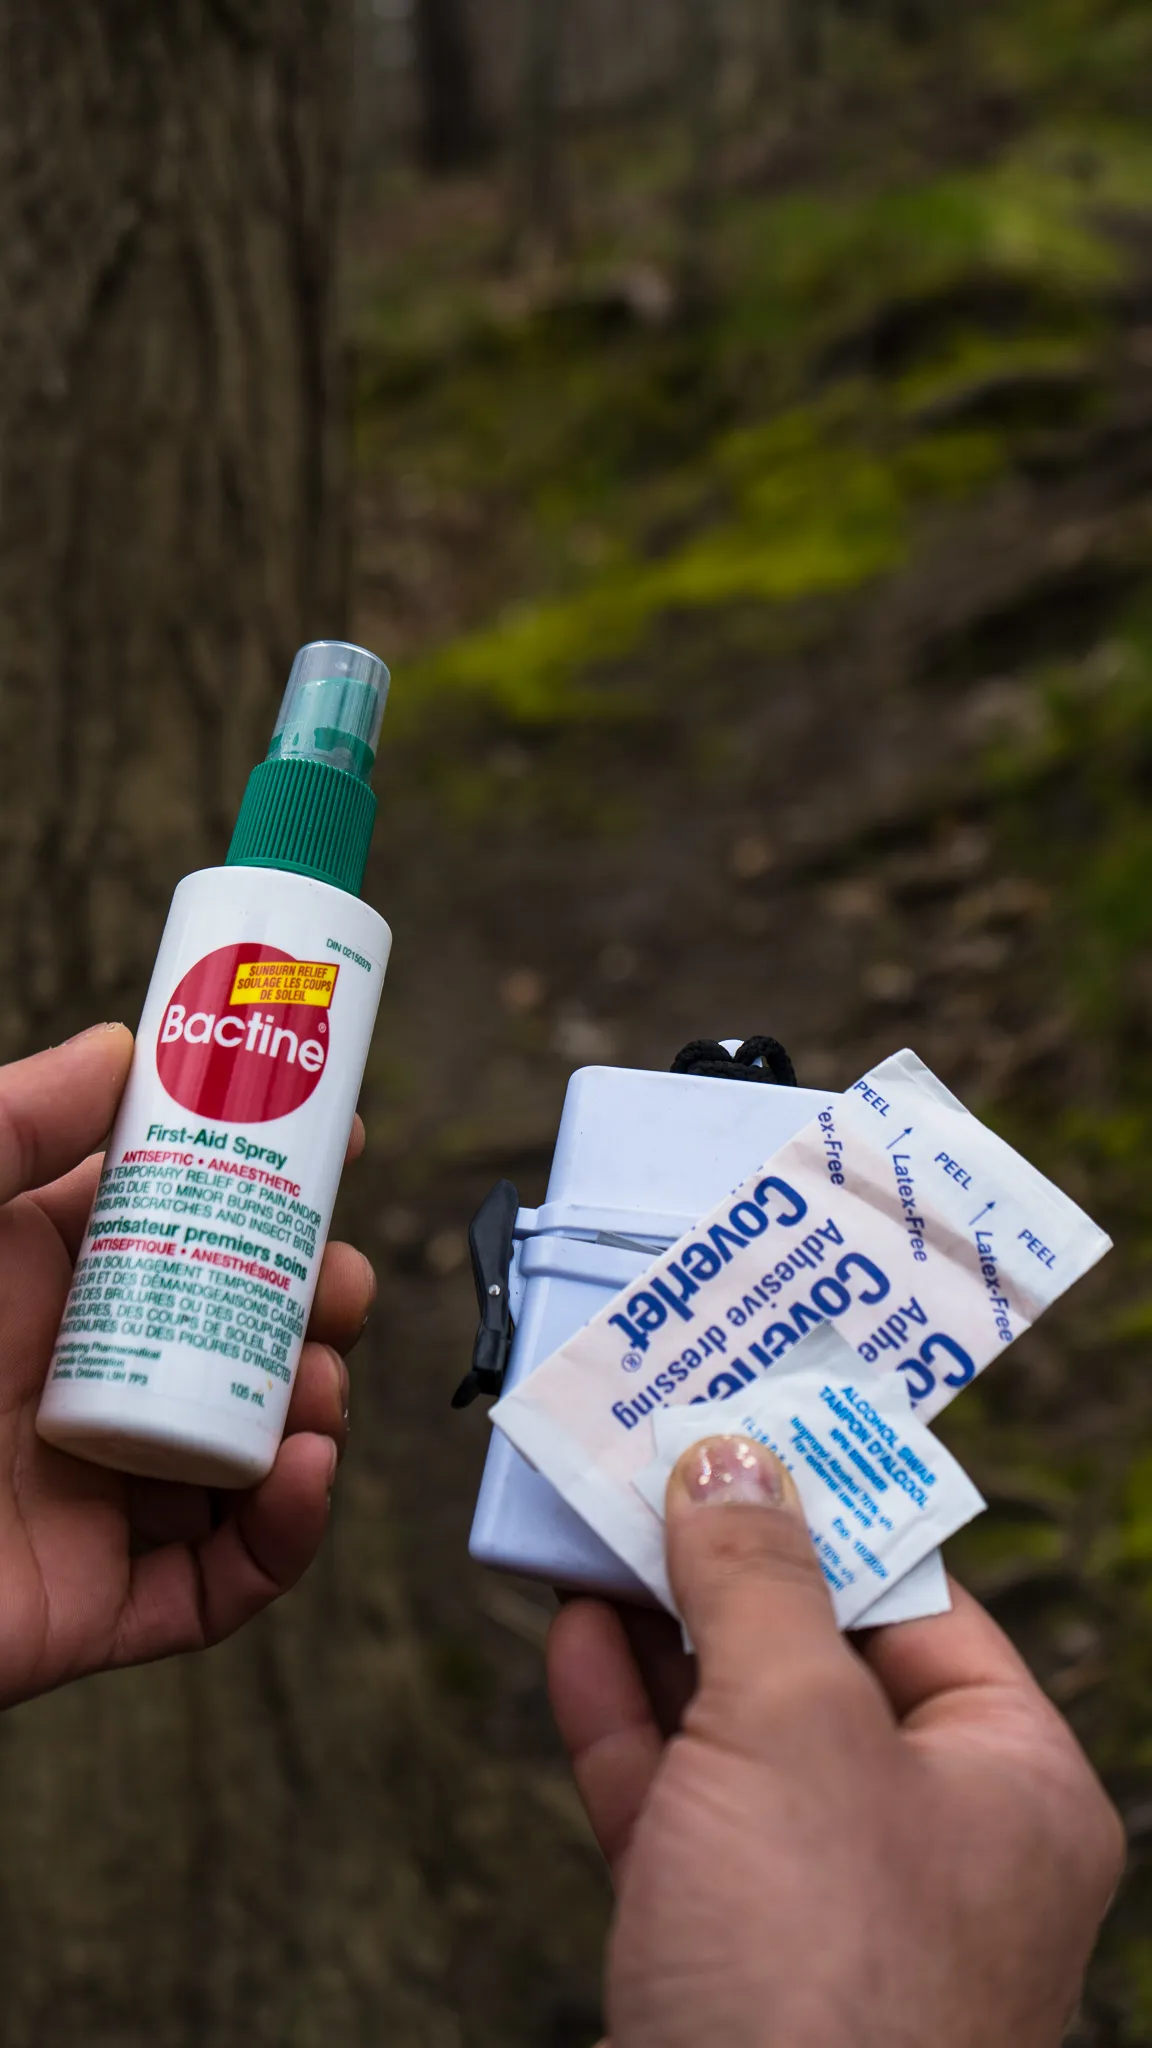
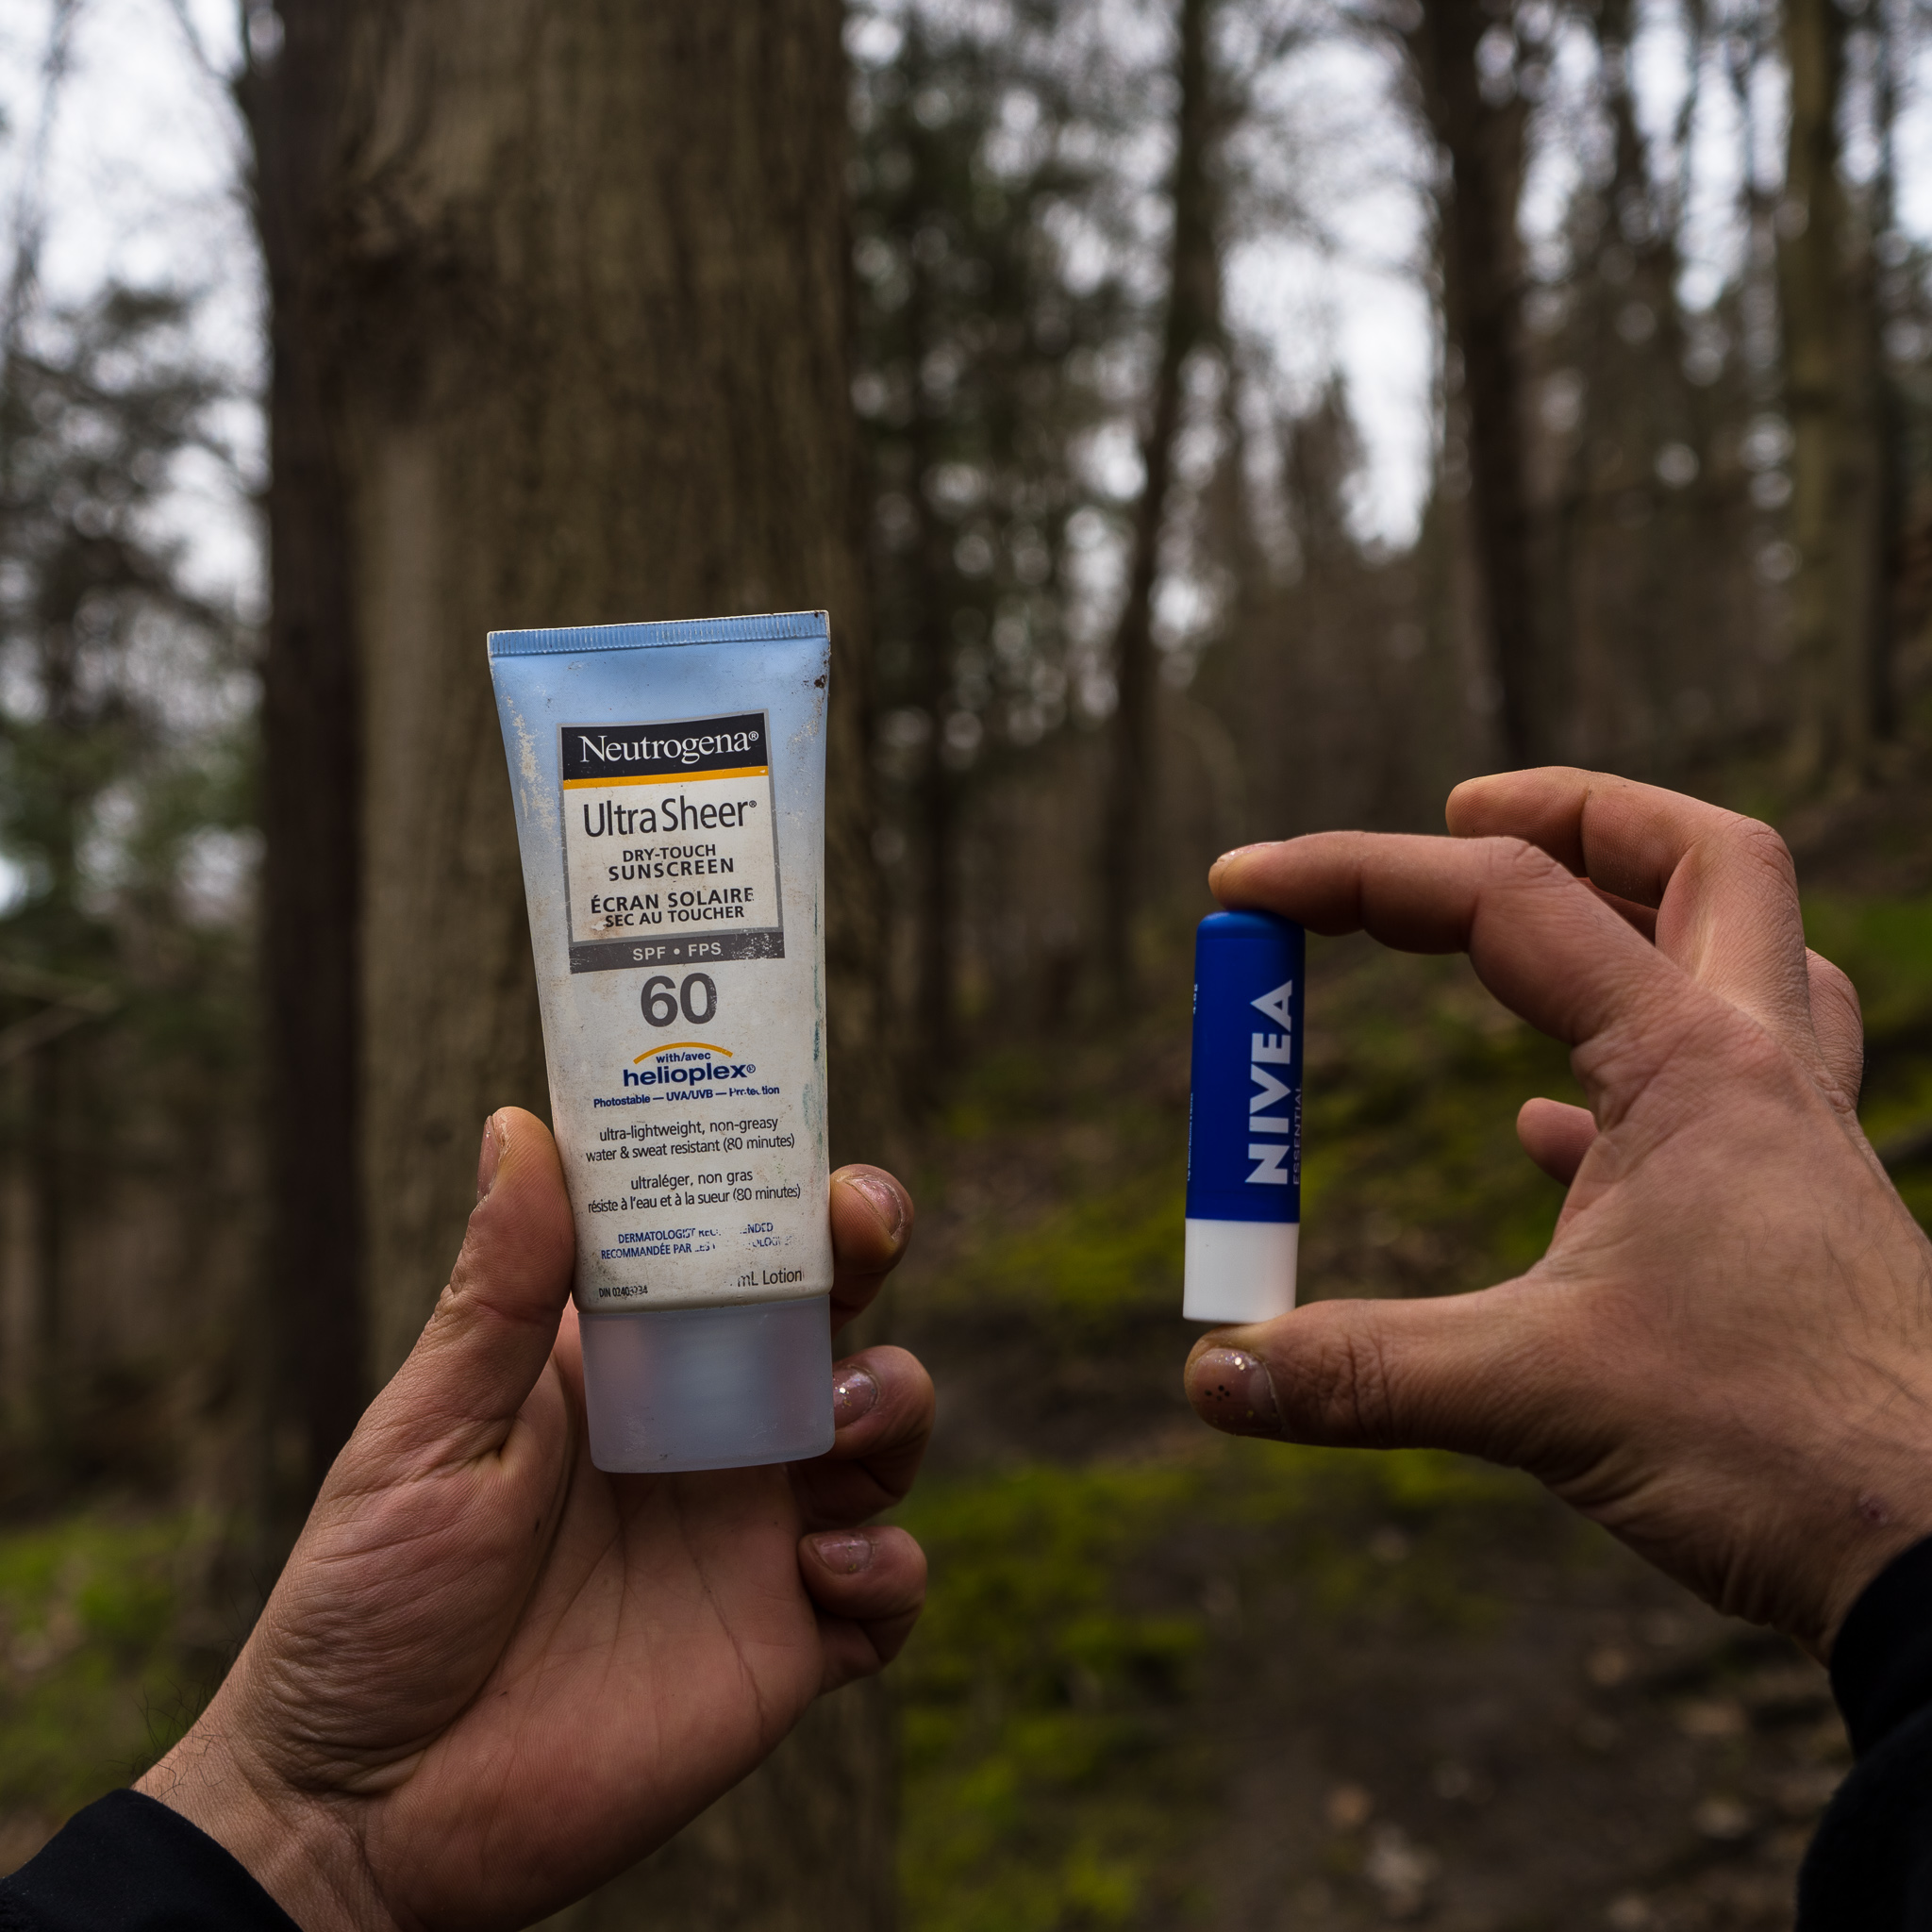
Every good medical kit has an Ouch Pouch and ours is no different. Here is everything you need to quickly patch a scrape, cut or gash and keep riding. Remember, this kit is meant to buy you time, so if you think you need to see a doctor, you probably do and should. We like to keep our Ouch Pouch in its own small waterproof package so everything stays together. We also like to include sunscreen and electrolyte tablets in this section. Especially on hotter days (which are happening more frequently), your body can run out of the salts and water it needs to keep pedalling. If you’ve ever been in the situation where you’re cramping on a ride, then you know exactly how painful and ride-limiting this experience can be. The electrolyte tablets dissolve into water and quickly give you the salts you so direly need.
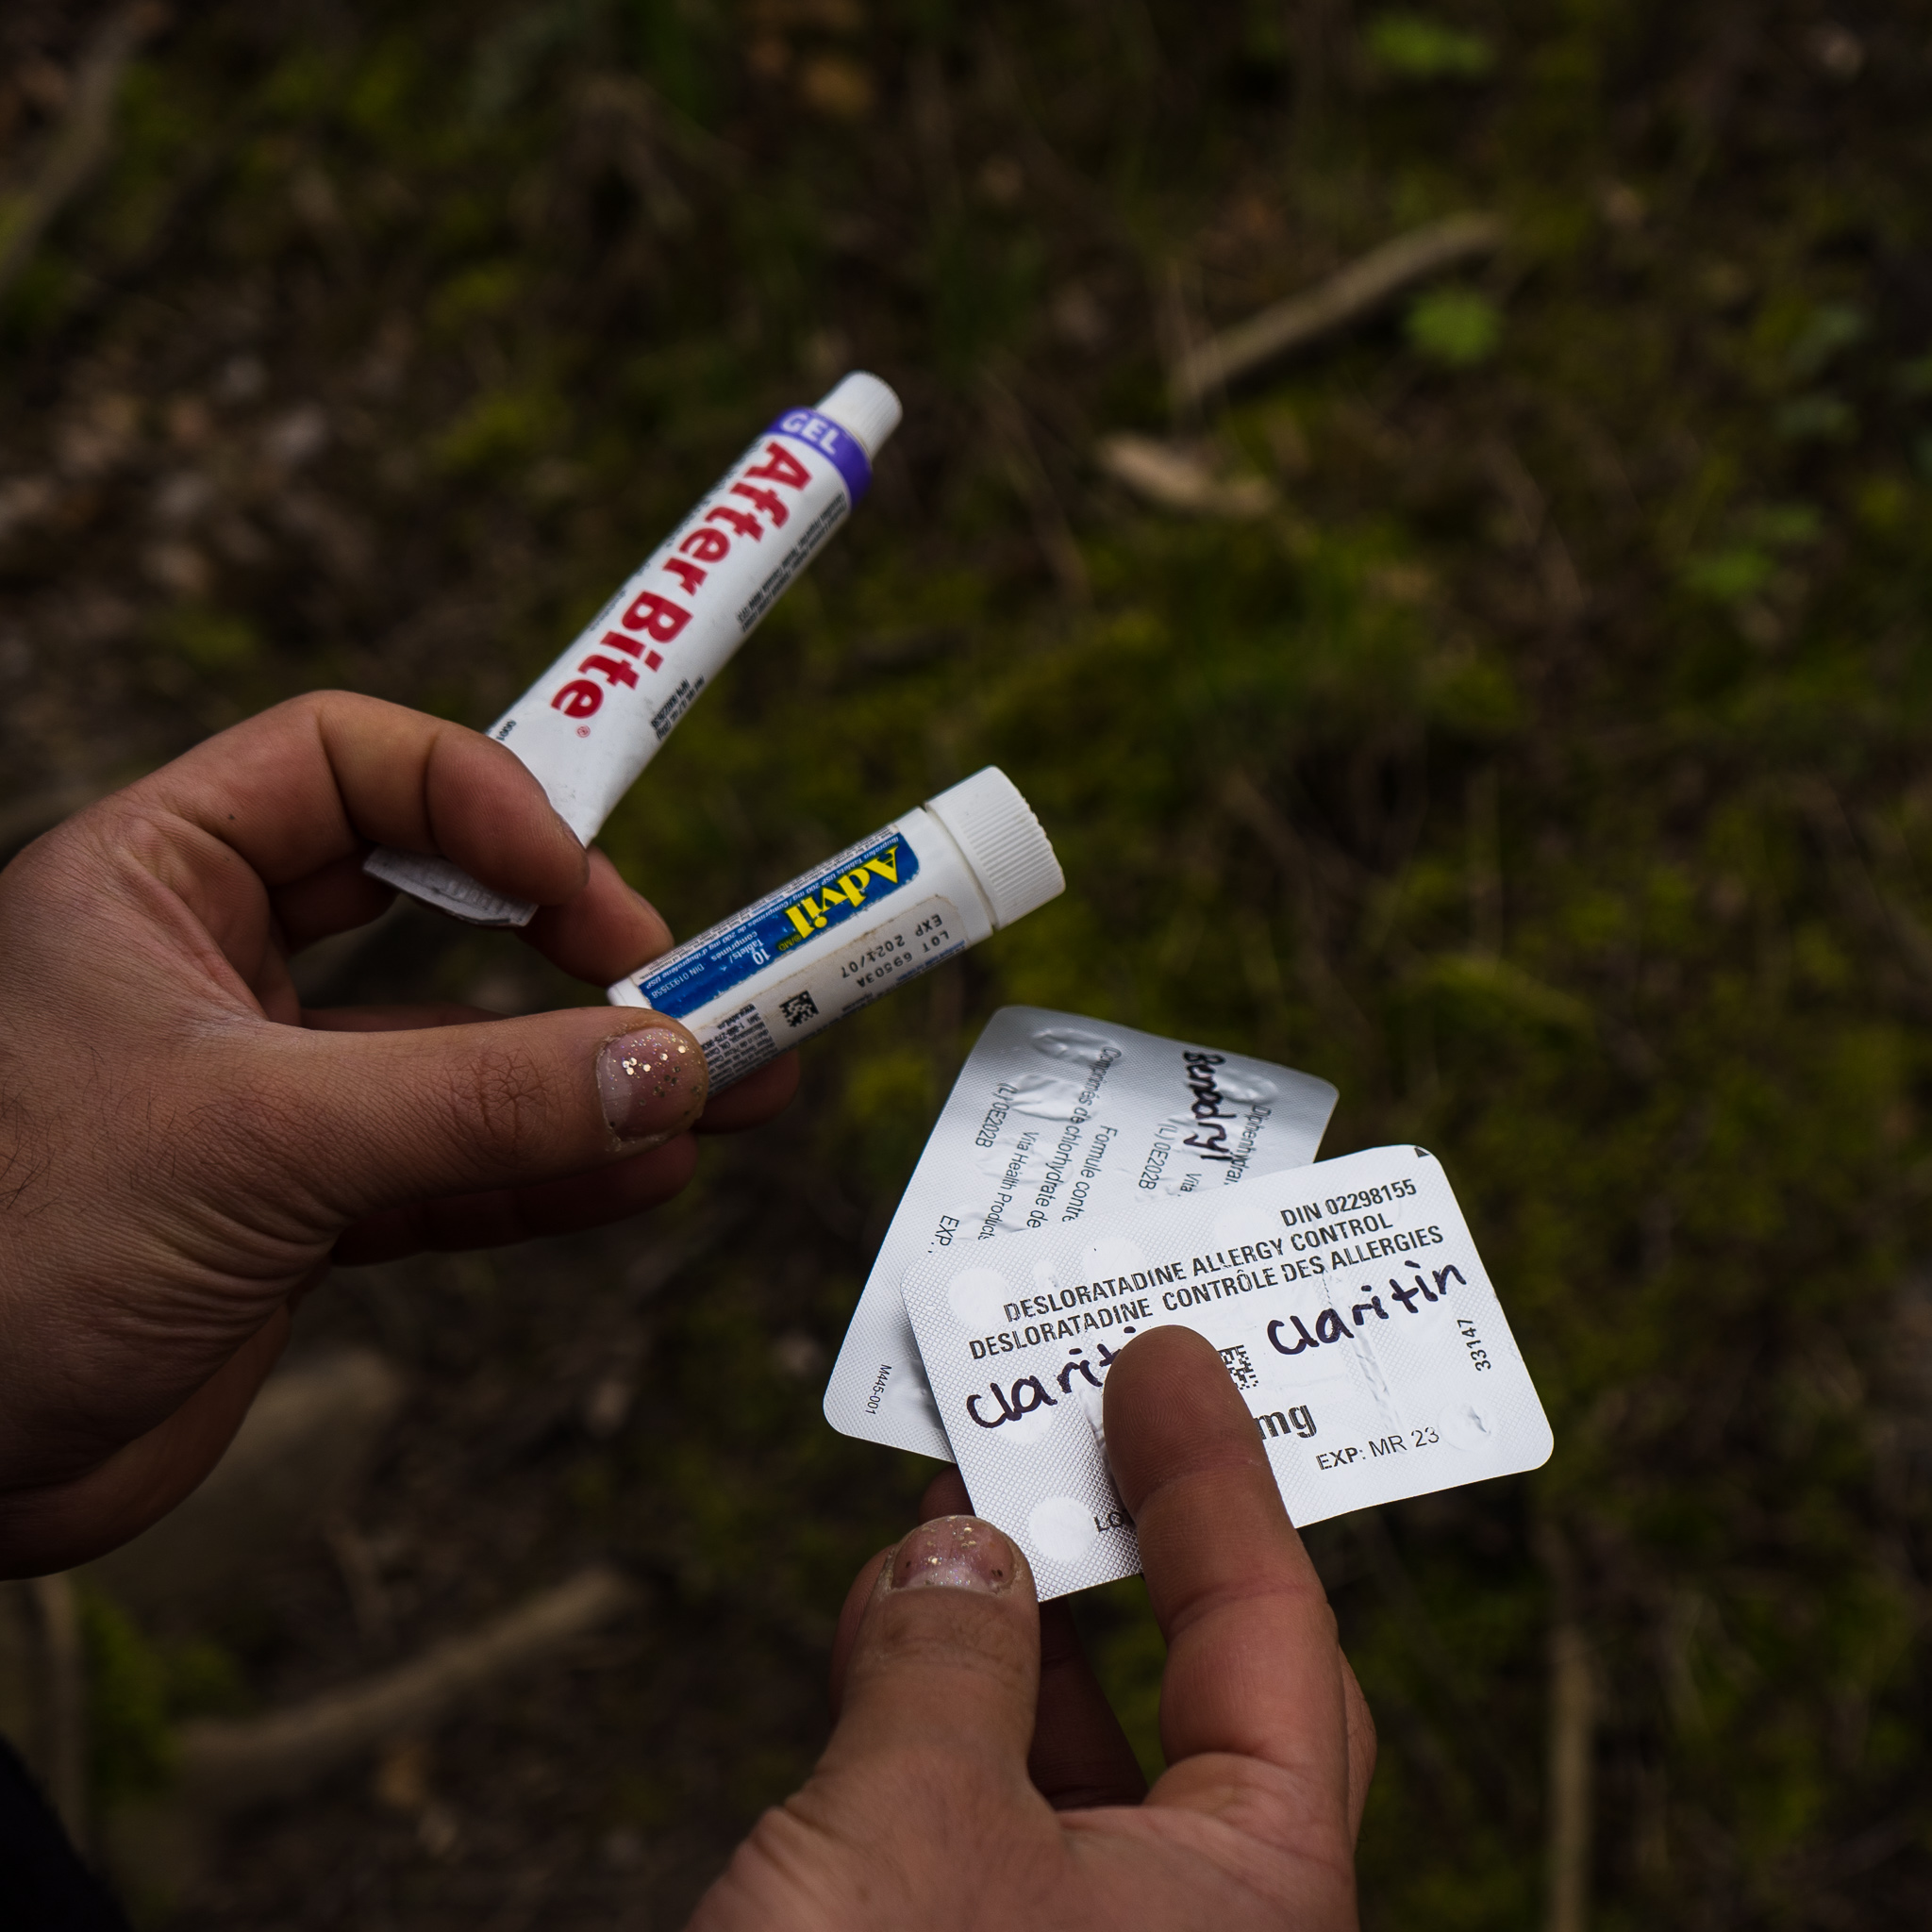
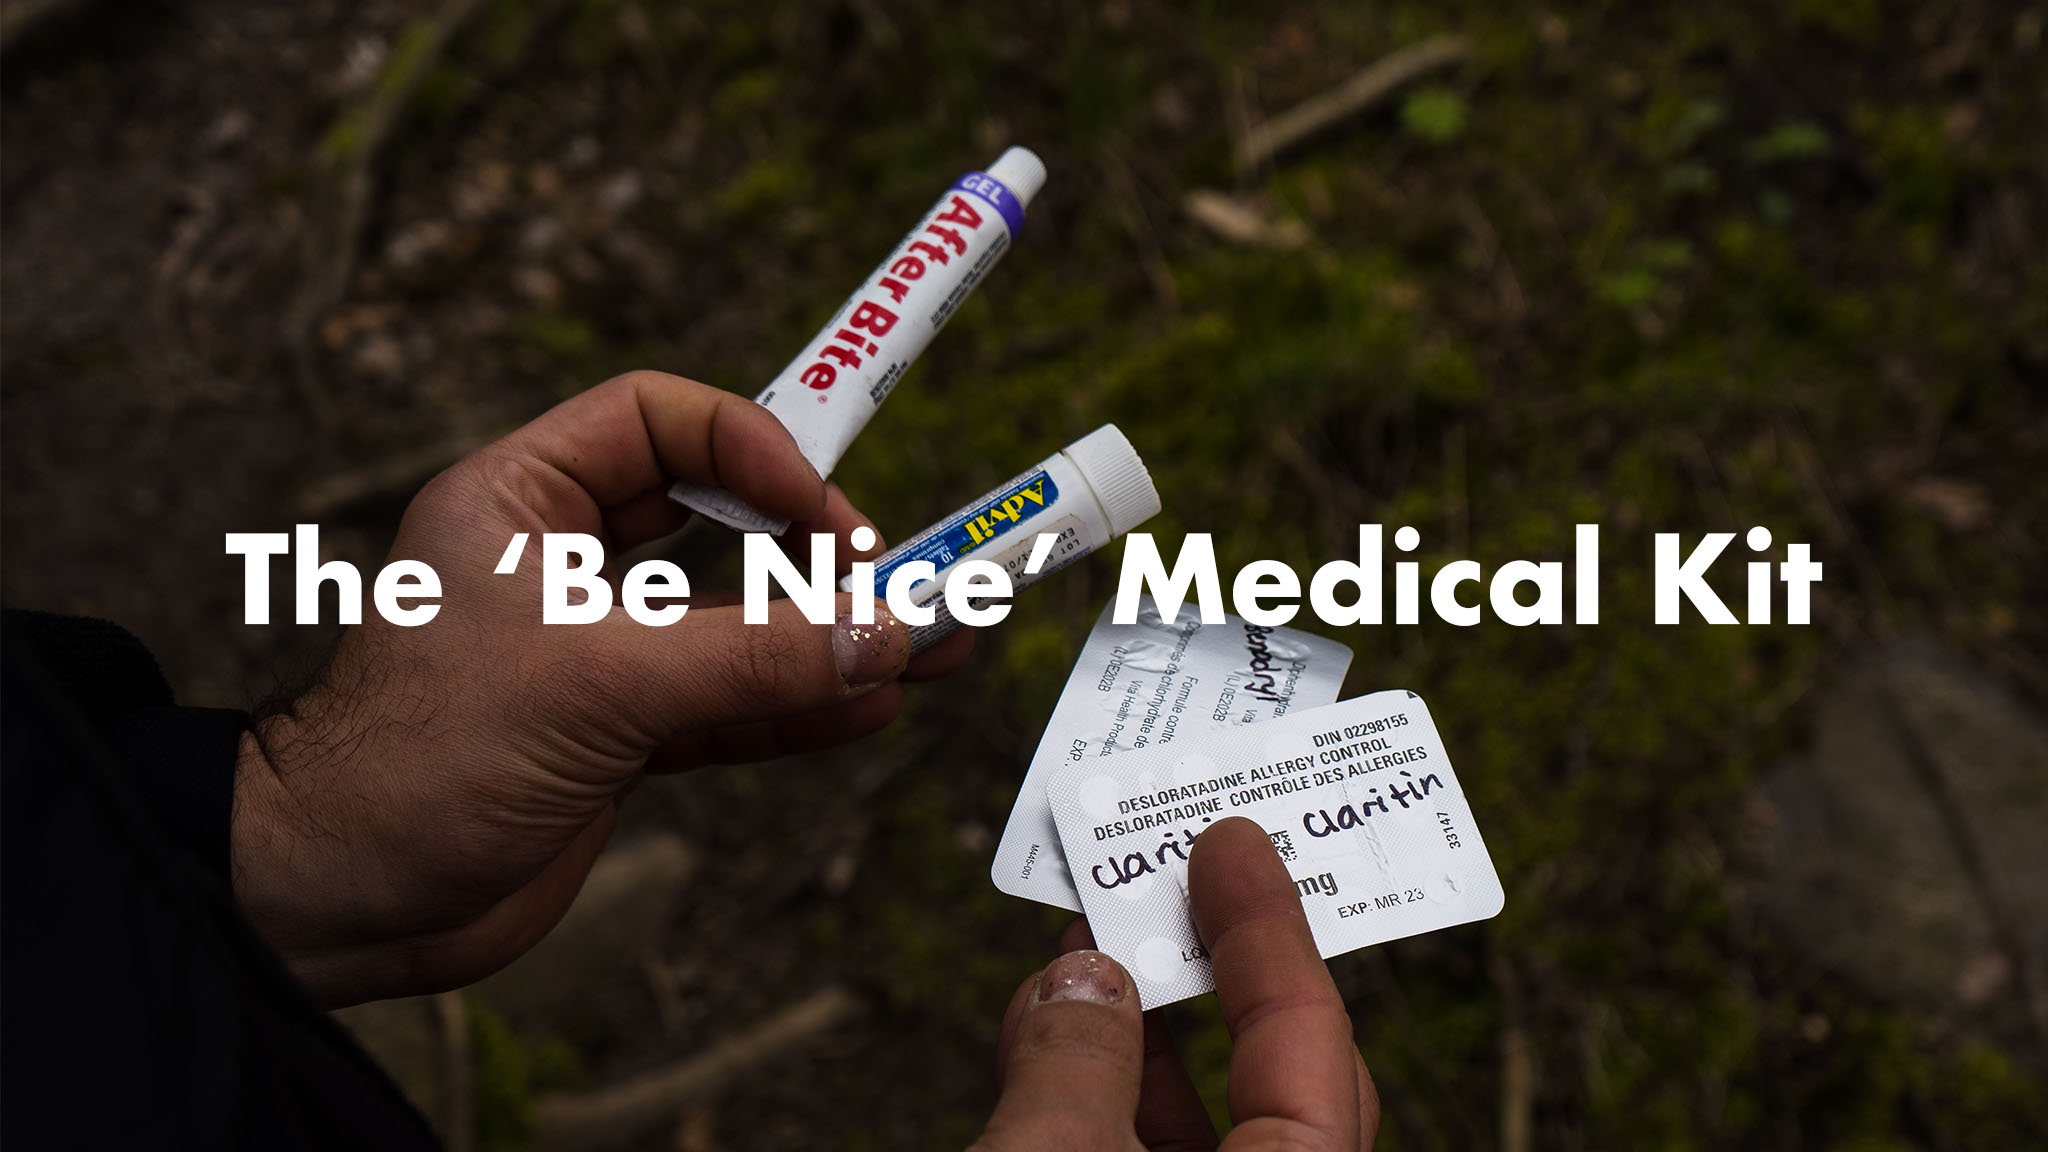
If you’re anything like us, allergies can come fast and hit hard. We’ve learned from experience and added seasonal allergy medications to the kit to compensate. We’ve also included benadryl for stronger allergic reactions. Remember, if you’re having trouble breathing, it’s a medical emergency and you should be calling for immediate help.
The commonly used medications we stock include:
1. after bite for insect bites
2. seasonal allergy medication
3. EpiPen or benadryl for more severe allergic reactions (let’s hope you don’t need it).
Often there are generic medications available that have the same medical ingredients and are more affordable. Check the aisle and ask a pharmacist to save some money! These medications along with the ouch pouch contents should be stored in a water-resistant case. We dive deeper into it below, but we use our free Naloxone kit to store our supplies safely.
Ouch Pouch :
1. Gloves x2
2. Wound Cleaning Solution/Wipes x5
3. Gauze Pads x5
4. Bandaids x5
5. Nylon Adhesive Tape x1
6. Scissors
Medications:
1. After Bite
2. Allergy Medication – antihistamines & Benadryl
3. Electrolyte Tablets
4. Sunscreen & Lip Balm
Naloxone Kit
In Canada, ~20 people lose their lives to an opioid overdose every single day. 88% of those deaths occurred in Ontario, Alberta and British Columbia alone, provinces with lots of cyclists and the opportunity to make a real impact. As the drug supply becomes more and more toxic, overdoses are expected to continue to become more frequent. As community members, we see it as our responsibility to care for each other and the decision to include naloxone in our kit is no different. Without being hyperbolic, including a naloxone kit on your commuter bicycle could save a life.
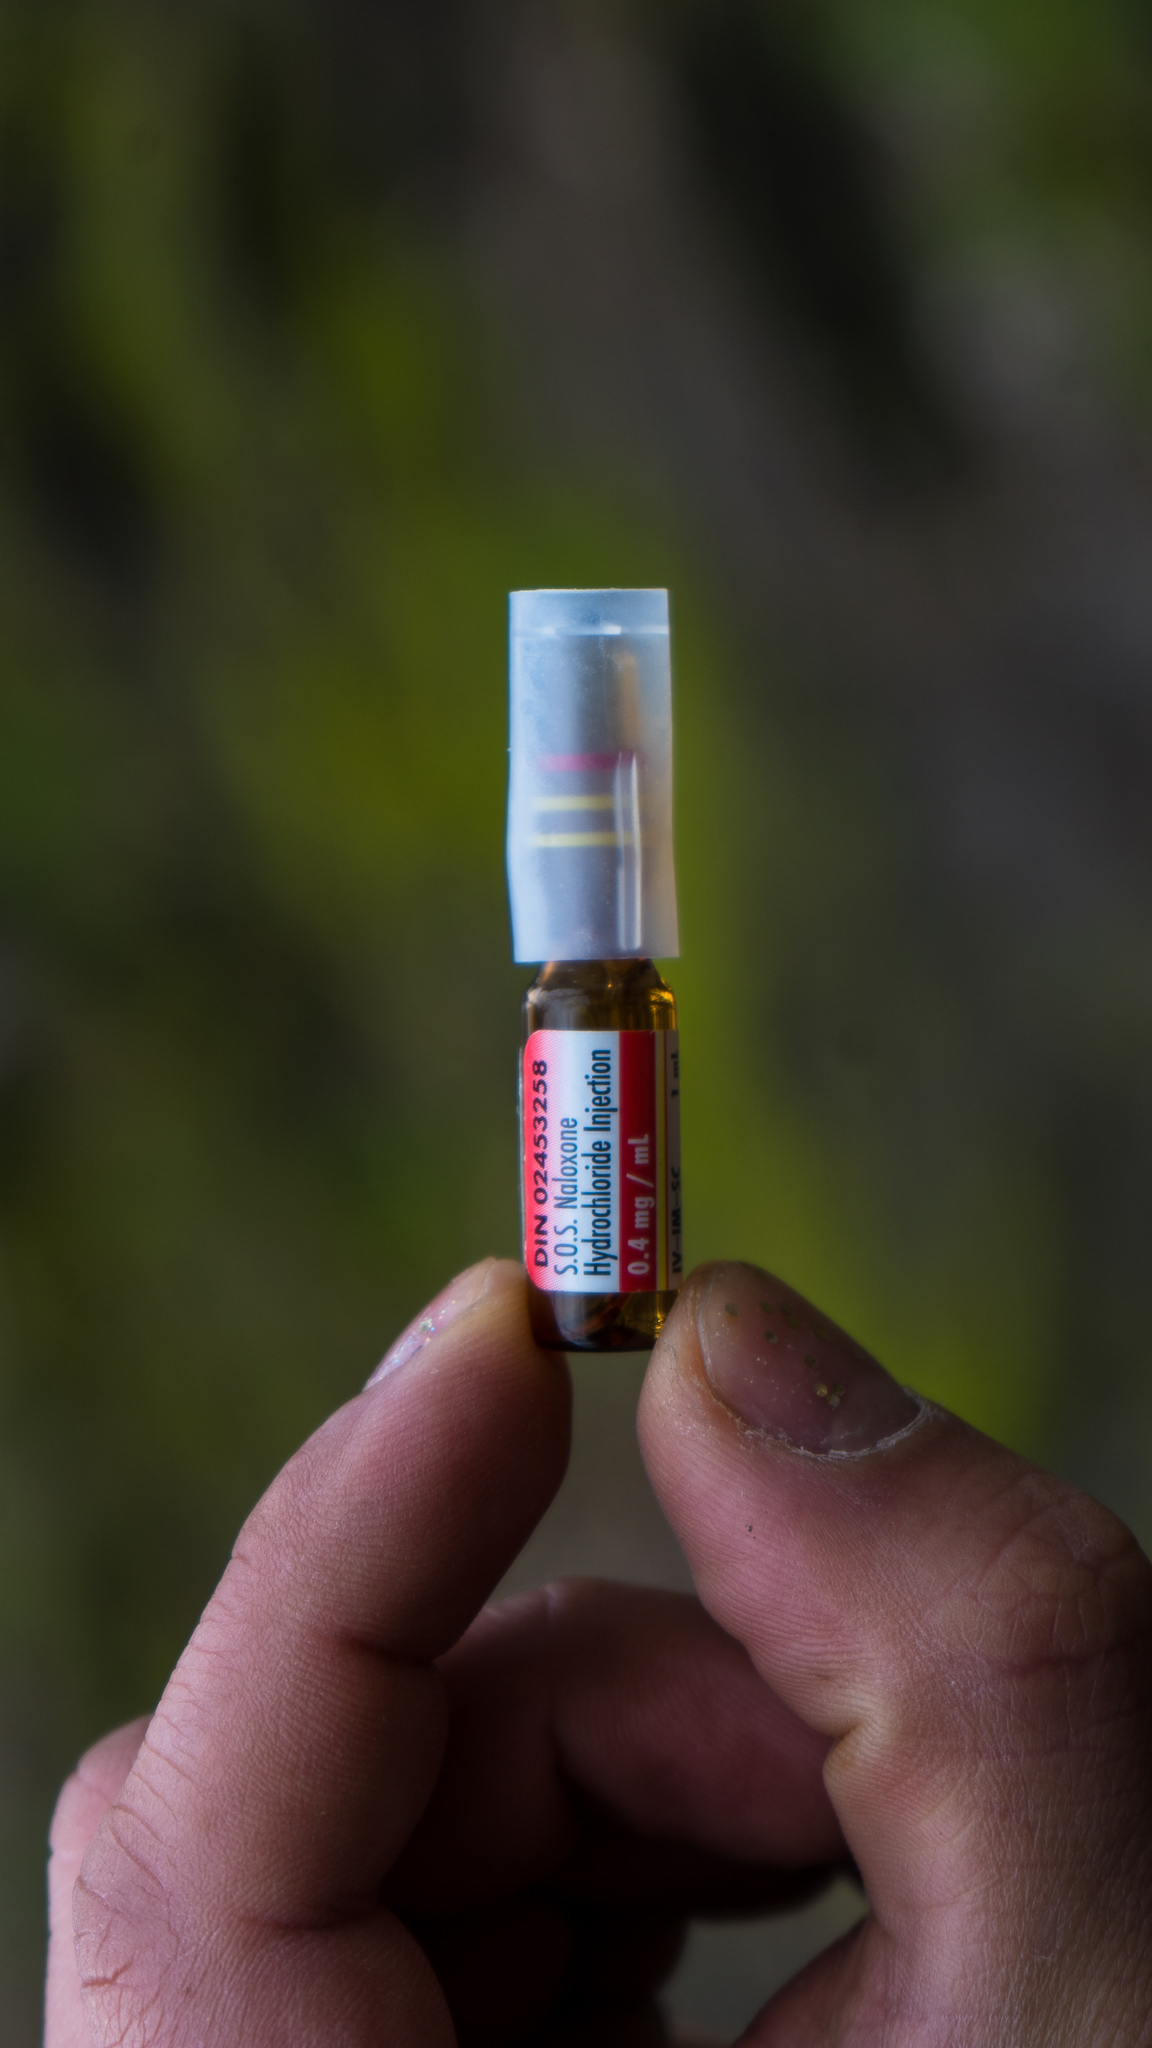
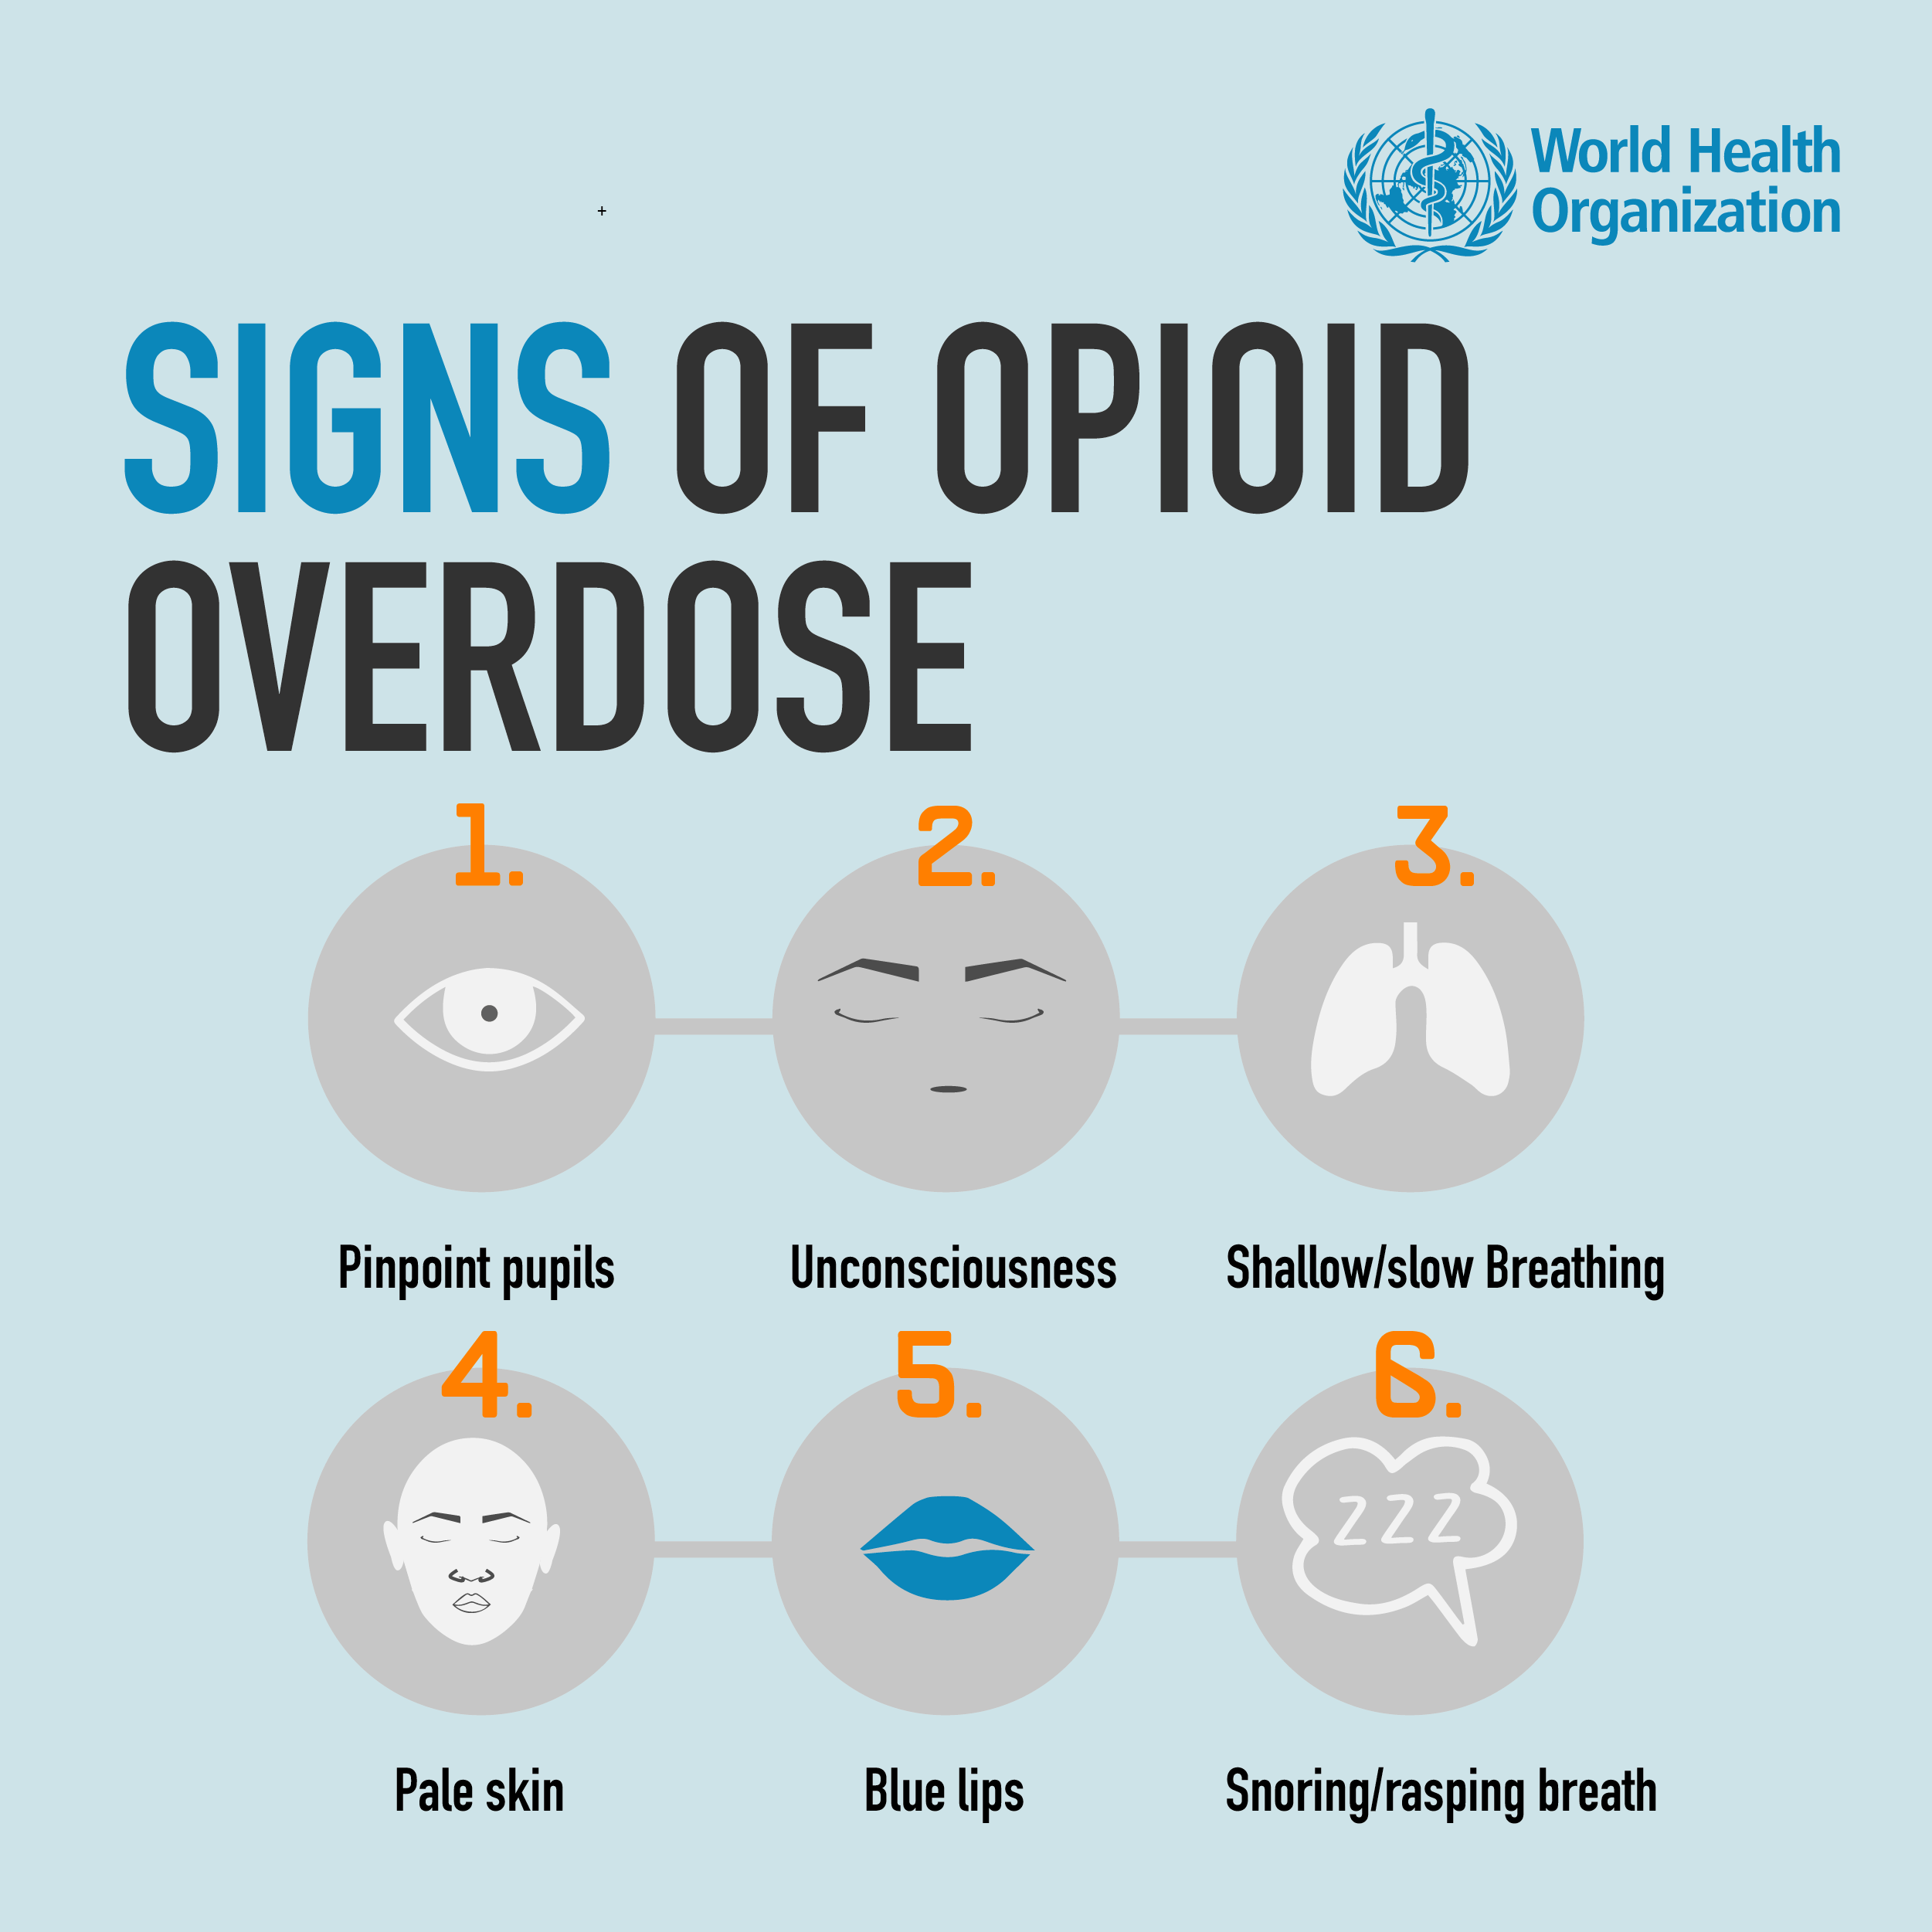
Narcan, or Naloxone, is a life-saving medication that temporarily reverses the effects of opioid medications, like fentanyl. Especially in urban and suburban areas, having a narcan kit can make the difference between life and death in a suspected overdose. Signs to look out for in someone who might be having an opioid overdose include: pinpoint pupils, unconsciousness, shallow or slow breathing, pale skin, blue lips and sounds of snoring or raspy breathing. We’ve included a graphic from the World Health Organization to help you remember. The City of Toronto offers training for home-use Narcan kits through the “Preventing Overdose in Toronto” or “POINT” for short. If a refresher is what you need, we’ve included a naloxone demonstration video below. We’ve also included an interactive map to find your nearest naloxone kit distribution location. There are hundreds of distribution locations across Southern Ontario, so with a little luck you should be able to find one within cycling distance of you.
Each Narcan kit comes with instructions on how and when to use, but briefly: Shake & shout (are they asleep?), check their airway for any obstructions (are they choking?), call 911, give breaths (use your pocket mask!), give the nasal or injectable Narcan, keep giving breaths, repeat Narcan dose if no response in 3-5 minutes, and finally put them in the recovery position. You should note, if someone is truly overdosing, they will react quickly and sometimes aggressively to Narcan. You are essentially causing them to go into a withdrawal immediately, so give them some space to protect them and yourself.
The Good Samaritan Drug Overdose Act in Canada protects anyone seeking emergency support during an overdose, including the 911 caller, bystanders and the person experiencing an overdose from the being charged for drug use. To get into the nitty gritty you can read more about it here.
So be nice and save a life!
Narcan should be stored out of direct light and between 15-30ºC, so it can hang out on your bike all riding season long. Hang it under your saddle and forget about it. If it’s stored outside that temperature range, it’s been shown to decrease in concentration to about 89%, so it should be swapped for a new kit when available. But…if it’s all you have on hand, it’s still safe to use. Remember, the best Narcan is the one that’s available!
Overnight Adventure Trip
The overnight adventure trip add-on builds on the EDC kit and is meant to extend your ride and temporarily address most medical emergencies that might arise while you’re out in the middle of nowhere. This kit includes more medications, supplies to help you brave the elements, and all the supplies you need to avoid getting lyme disease (we hope).
Overnight Adventure Trip Add-ons
1. Cycle Medic Kit – My Medic
2. Tweezers
3. Tick Container
4. Waterproof Matches / Jet Lighter
5. Portable Flashlight
6. Hand-warming Packets
7. Emergency Blanket
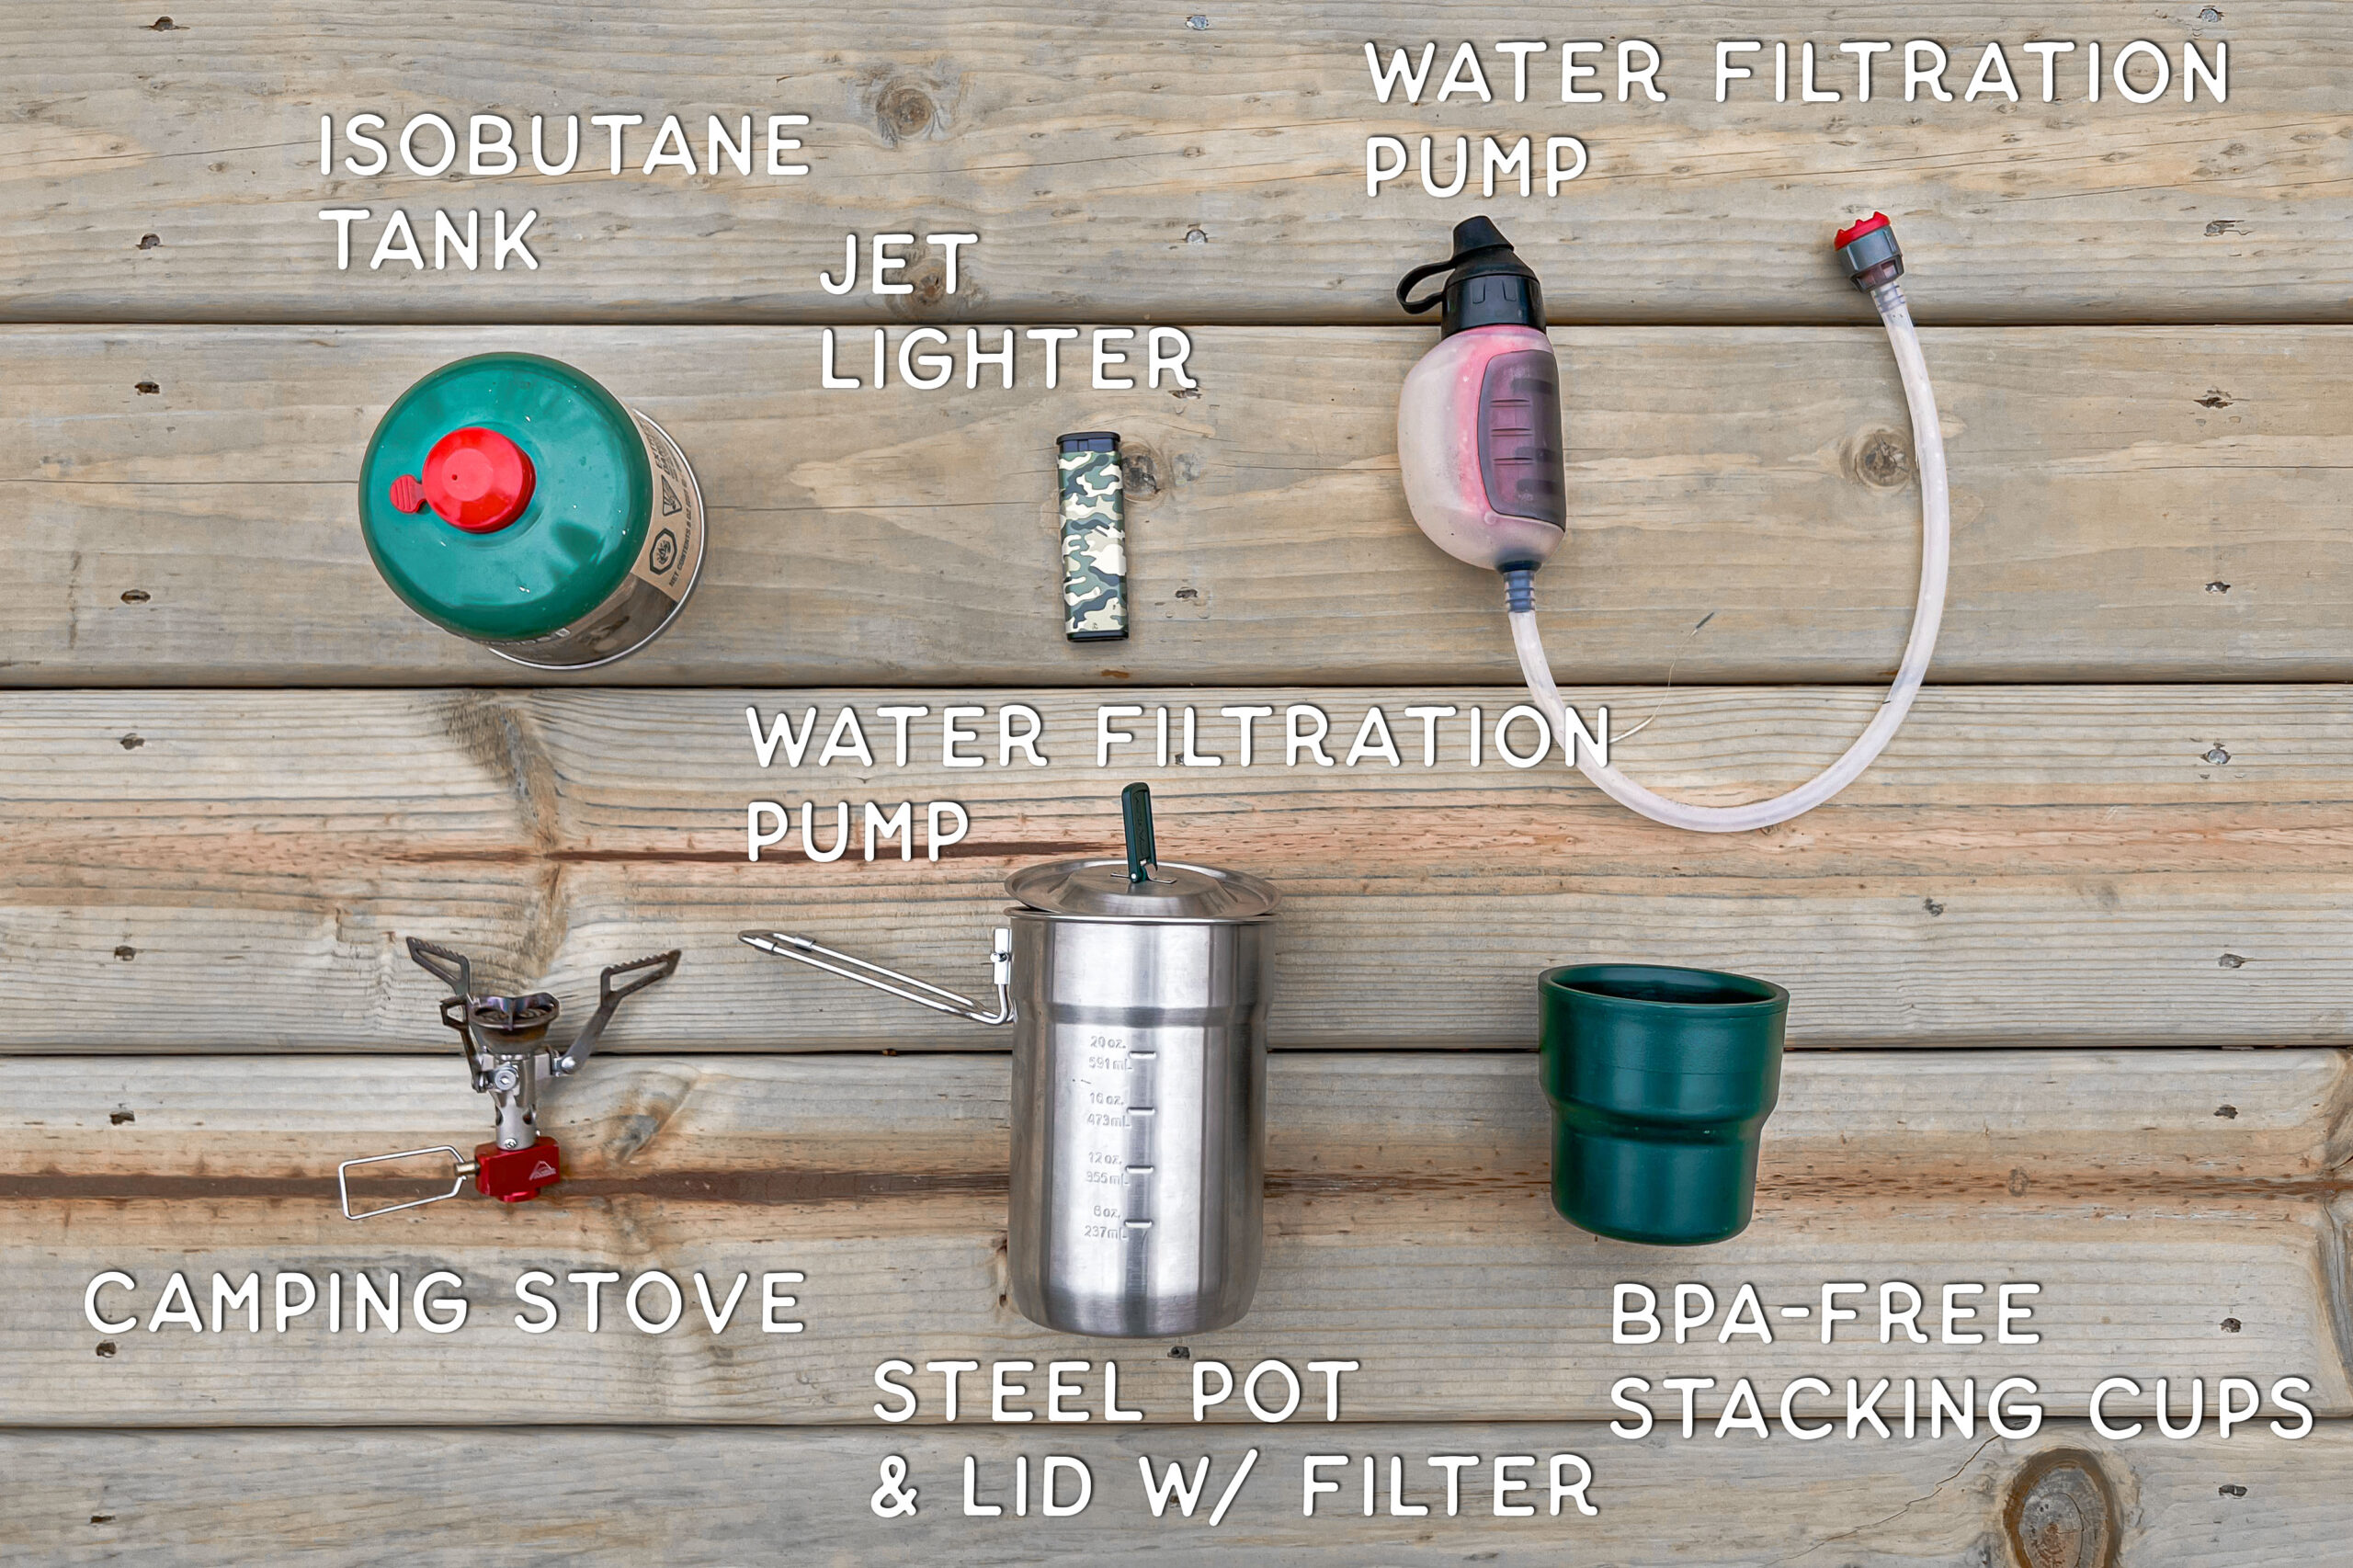
8. Water Filtration Pump
9. Stove & Isobutane Tank
10. Steel Pot
11. Stacking Cups
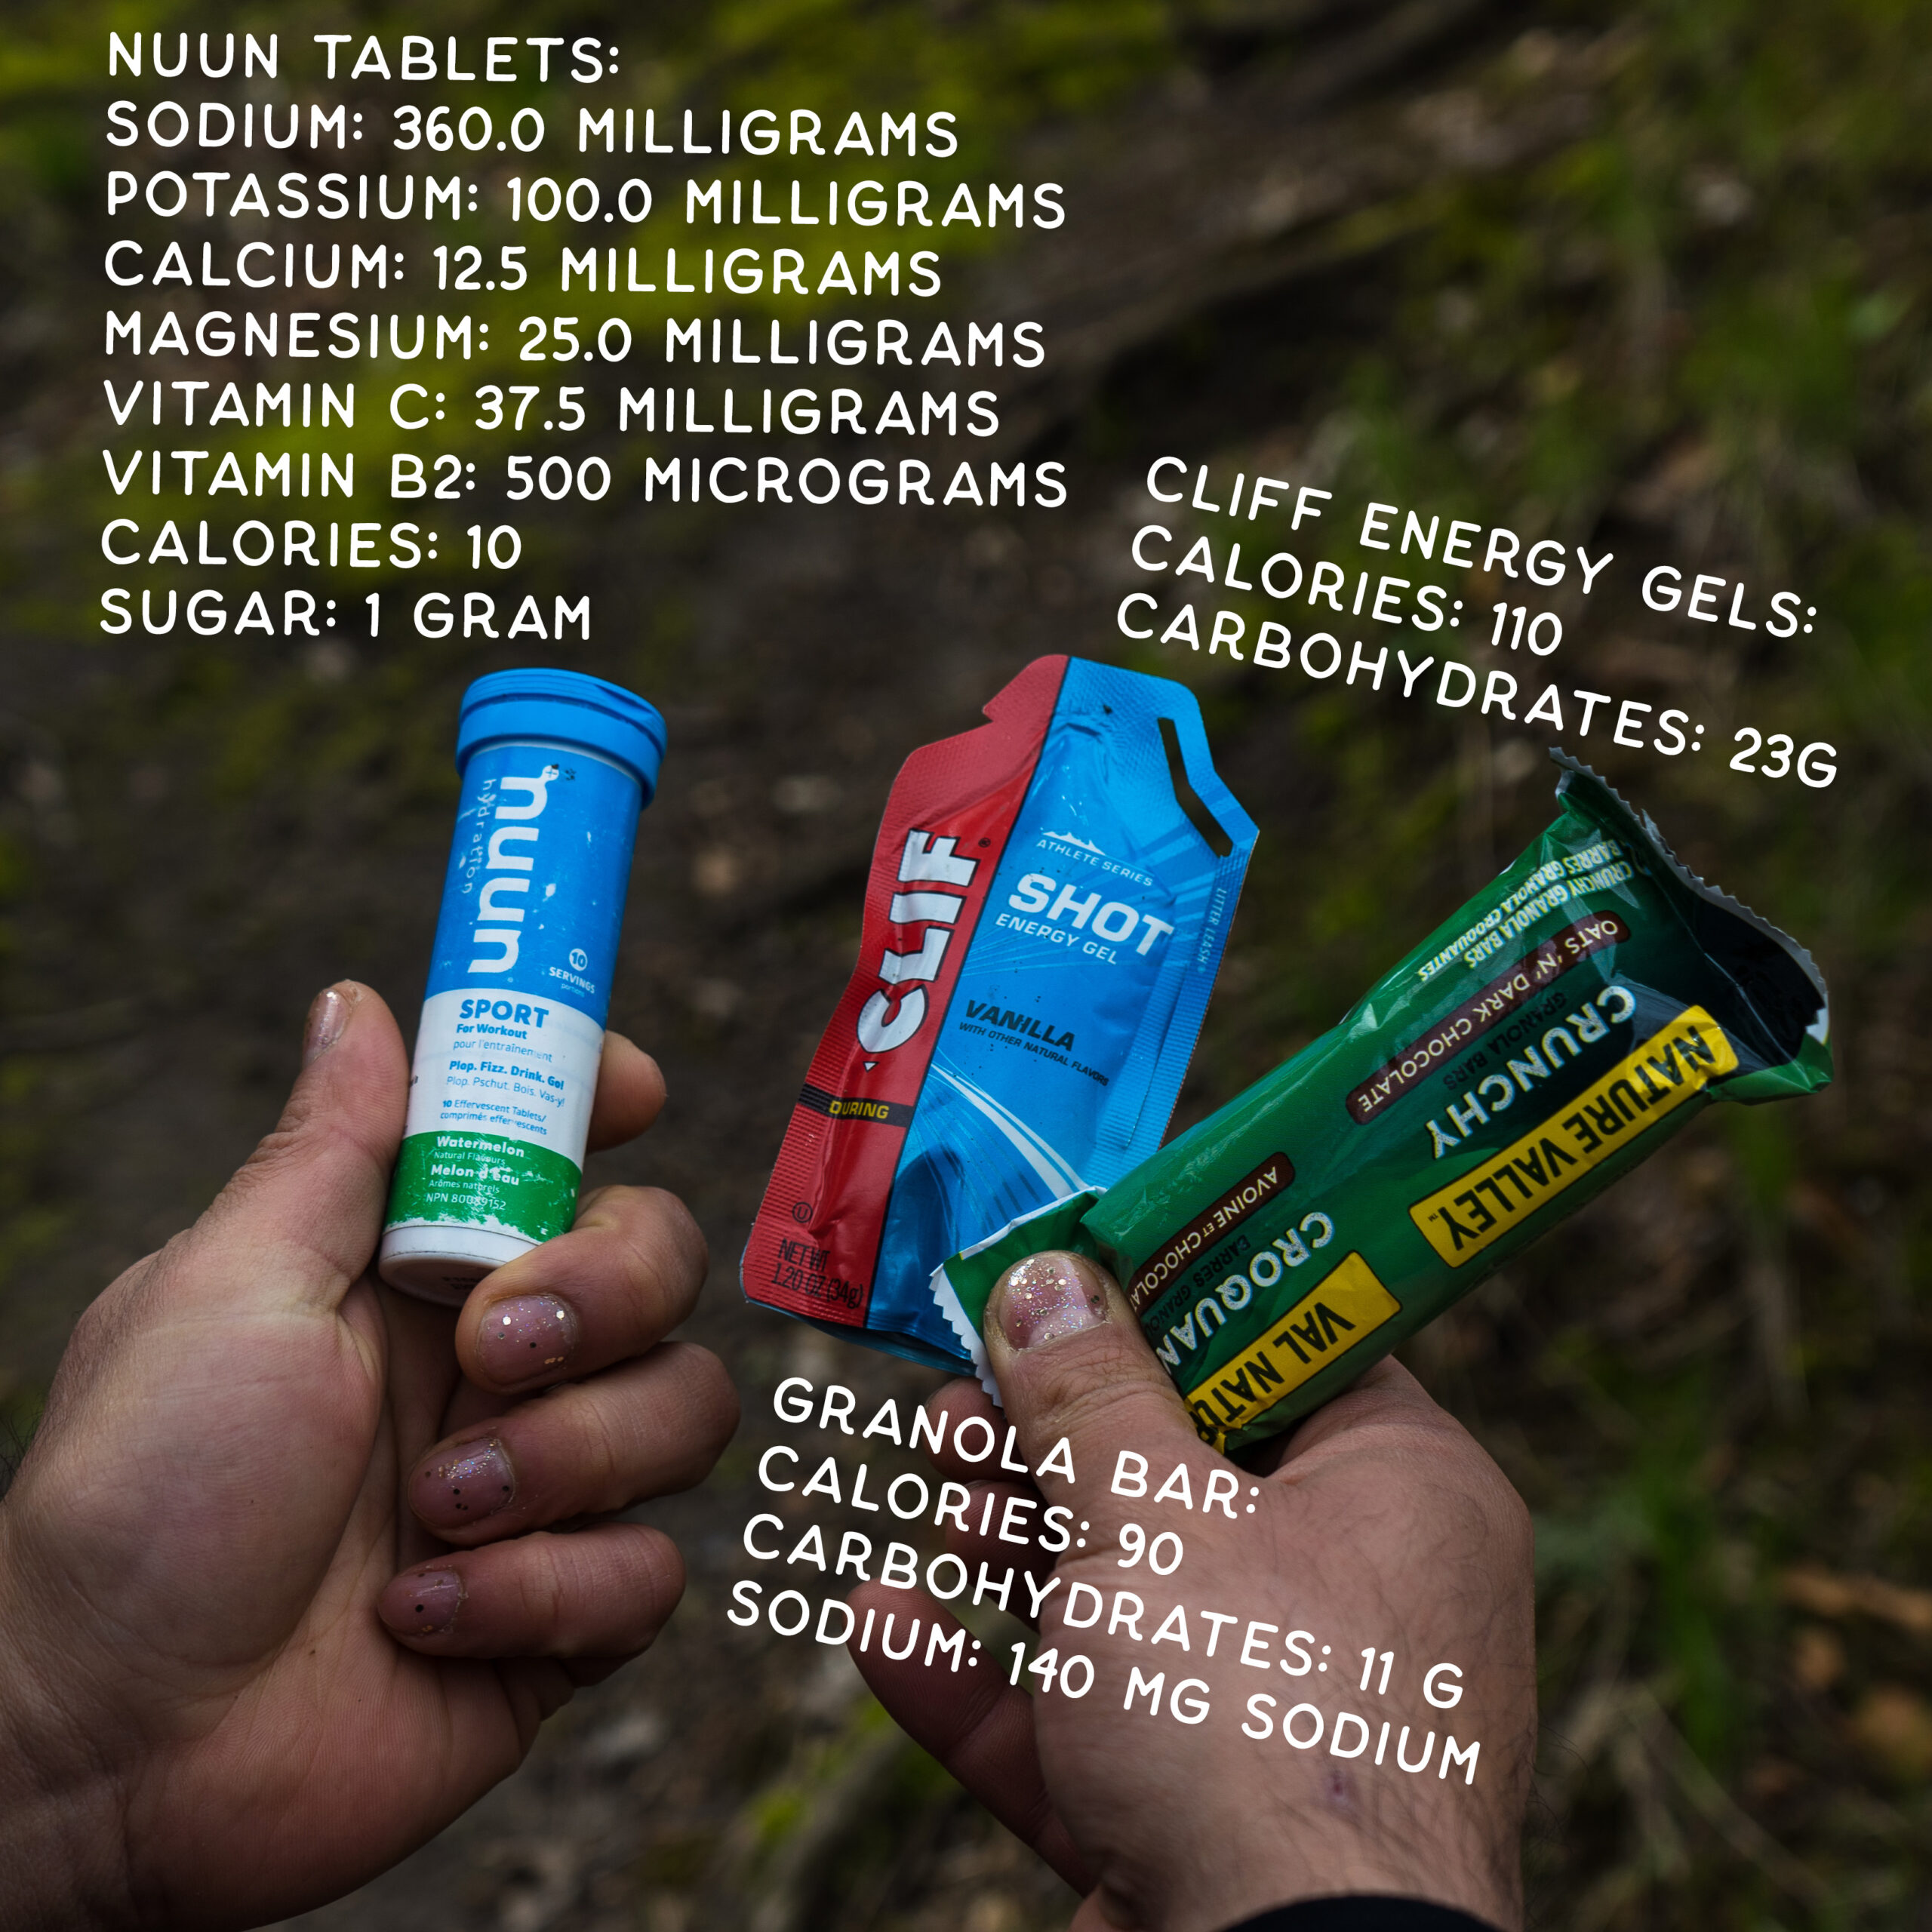
12. Energy-Dense Backup Food
We’d recommend doubling the supplies in the EDC Ouch Pouch for an adventure ride so you can be sure you’re covered for the duration of the trip. Also, as the riding group grows, so should the Ouch Pouch. An easy way to make sure you have everything you need is to use the Cycle Medic Kit from My Medic. It includes: 2” Gauze, Liquid Skin, Tubular Gauze (M), Tubular Gauze (L), Electrolyte Tablet, Sting & Bite Relief, Fabric Bandages 2”x4”, Fabric Bandages 1”x3”, Ibuprofen 200mg, Chamois Butter, Triple antibiotic, Steri Strips, Lip Balm, Sunscreen, Antiseptic Wipe, Antibacterial Wipe, and SuperSkin Strip. This kit comes prepackaged in a sealed waterproof bag. We don’t see a dime from them, we just like their product.
If you’re bike camping in tick territory, we recommend full length pants tucked into long sucks and a daily check for ticks. You should also pack tweezers to remove ticks, and an upcycled film canister makes the perfect tick (&/or joint) container (but maybe not at the same time). Removing and storing the tick is an important step in identifying the species and can be used to guide treatment when you see a doctor. Remember, ticks really like to hang on, so make sure you remove the head with the body!
To brave the elements, especially in Southern Ontario, we recommend packing waterproof matches or a jet lighter, hand-warming packets, and an emergency blanket. A fire-starter kit might be helpful, especially if you plan on cooking over a fire and are unsure if the camp site has dry firewood. You can’t go wrong with a portable flashlight because chances are if you’re looking to make a fire, it’s already dark out! You can choose to use your bike lights as a flashlight, just make sure they’re always charged.
In warmer weather, you will be running through water fast. We would recommend bringing more reusable bottles than you think you need and refill frequently when you stop in town. If you’re away from civilization, a filtered water pump can be a lifesaver. Check out our coffee and tea outside story here to learn more about securing a water source. Finally, you never know when you might run out of food or are unable to get to civilization in time. We like to pack some energy-dense emergency snacks – some go-to’s include Clif bars, dates, and candy. A nice sugar rush might get you out a sticky situation!
Advanced Ouch Pouch: Broken Bones & Big Bleeds
Advanced Ouch Pouch Add-ons
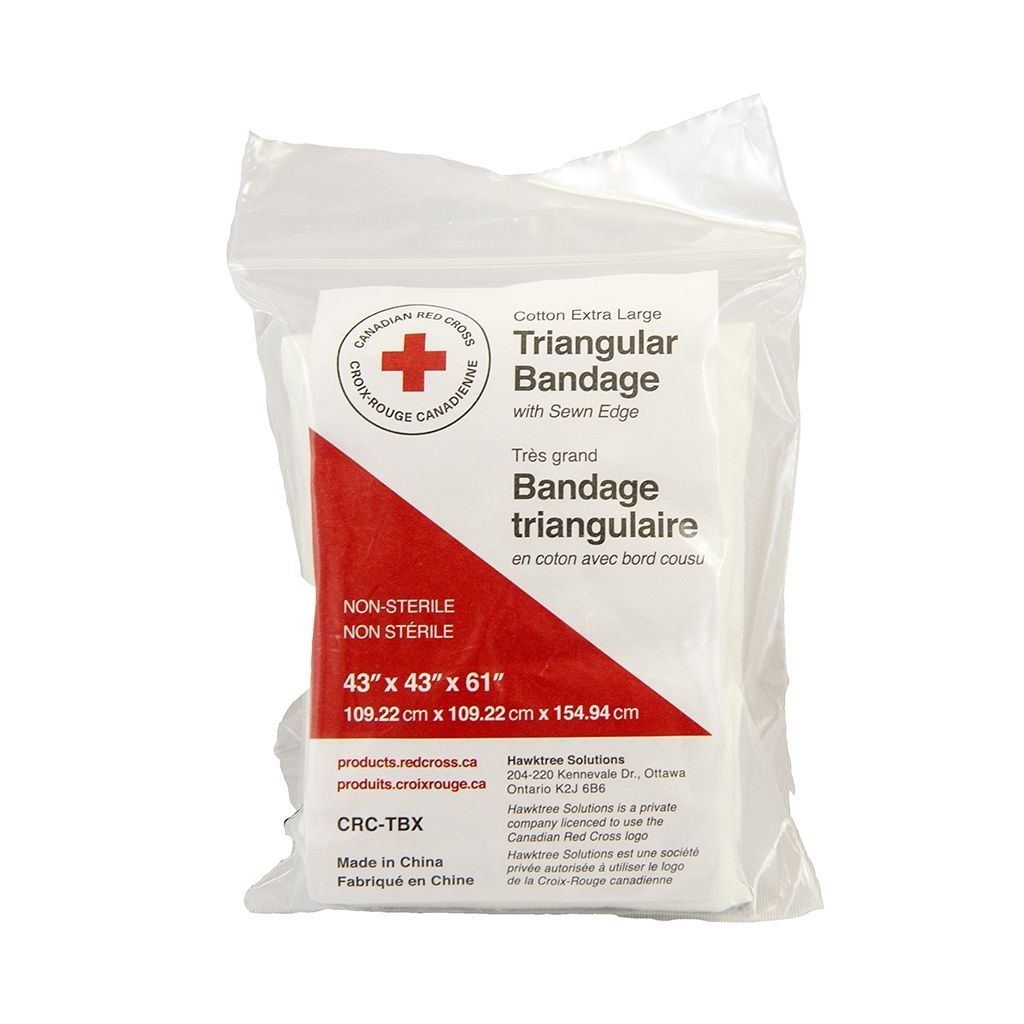
1. Triangle Bandage
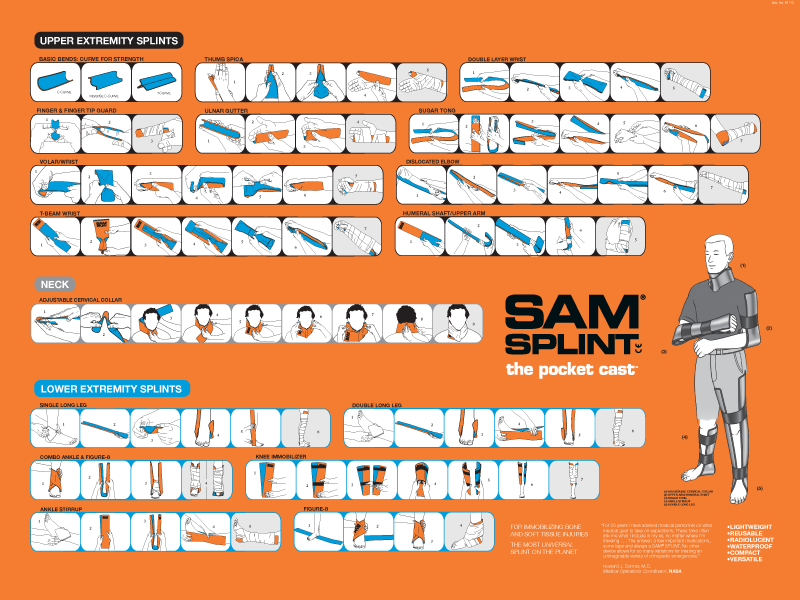
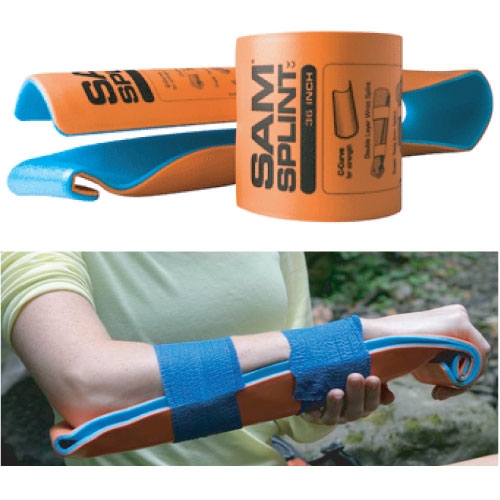
2. SAM/Roll Splint
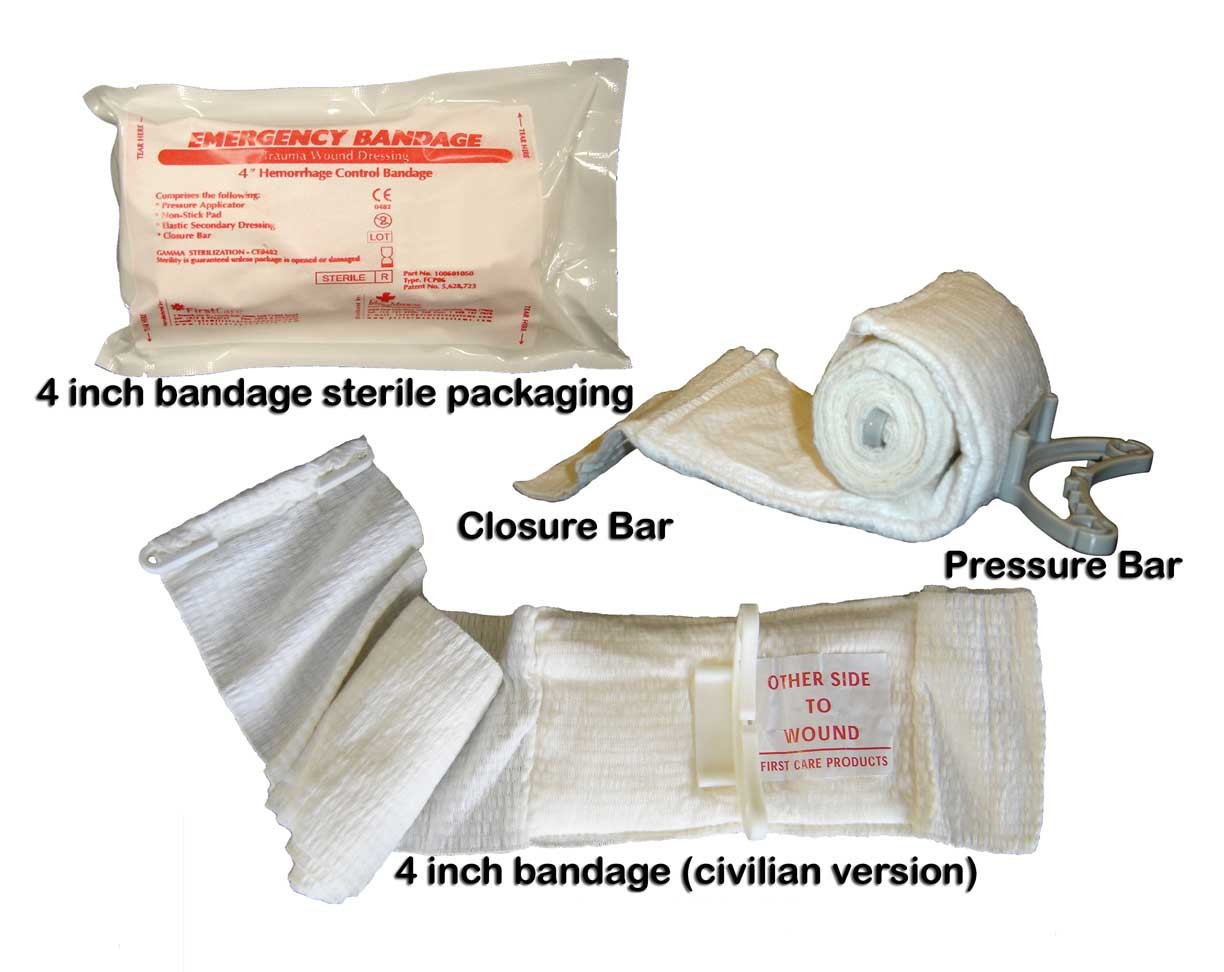
3. Emergency (Israeli) Bandage/Tourniquet
If you’d like to take your Ouch Pouch to the next level and have first aid training, it might not be a bad idea to think about how you might handle broken bones and big bleeds, otherwise known as hemorrhaging. These are likely trip-ending emergencies that require immediate medical attention, so we wouldn’t advise continuing your ride (bummer, we know). The below tools are meant to help you stabilize the injured person and buy you time to either get to civilization or for civilization to get to you.
Immobilizing with a splint
Remember, when breaking a bone, the best thing you can do to improve the likelihood of it healing up well is to stop using it. Immobilization is the process of providing structural support at the site of the break, which limits how much the bones on either side can move and limits further damage. If that sounds like your jam, consider adding a SAM/roll splint to your Ouch Pouch. Depending on the size of the splint, this versatile tool gives you the ability to immobilize broken bones in the arms, wrists, legs and ankles. We decided not to include an instructional video on how to splint each of these injuries, but to learn more we would encourage you to sign up for a first aid course at one of the links provided at the end of this article.
